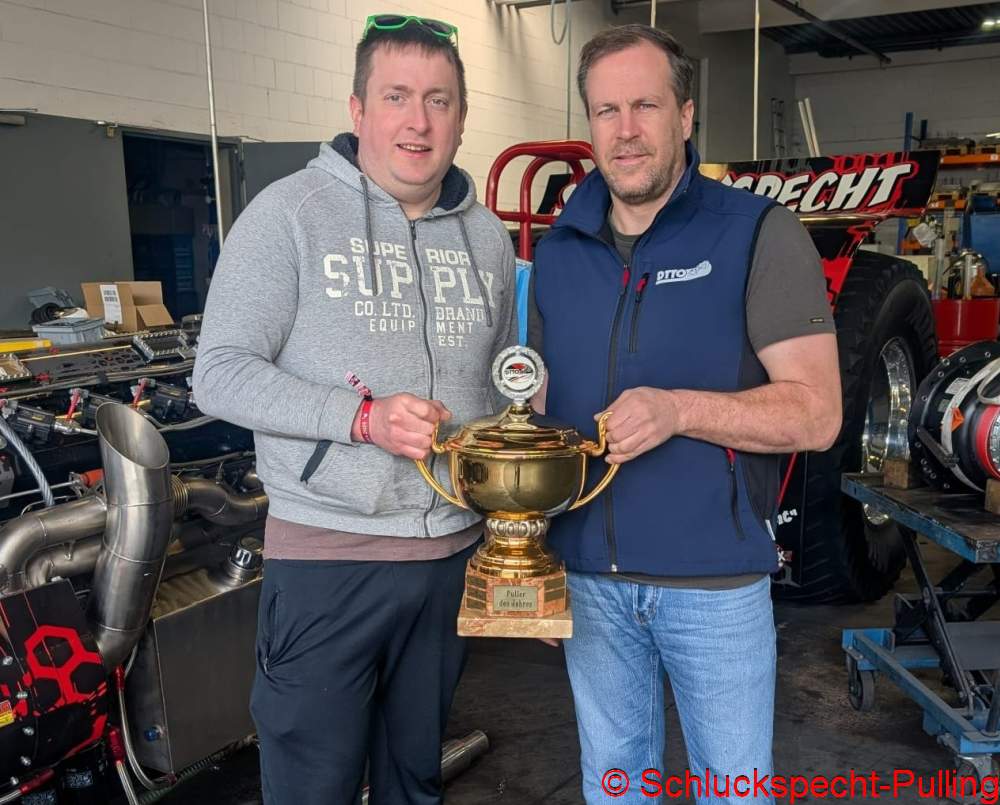
Not our year (english below)
Irgendwie ist 2026 nicht unser Jahr. Alles wird natürlich noch von Simons Tod überschattet. Neben einem sehr guten Freund haben wir auch eine enorme Arbeitskraft verloren, man muss das einfach mal so nüchtern sehen.
Mit zwei Leuten in der Werkstatt einen Light Modified am Laufen zu halten ist schon eine ordentliche Arbeit, aber da ist ja auch noch ein 600er und ein 500kg Standartschlepper. An den Aufbau des nötigen Ersatzteillagers um schnell mal was reparieren zu können ist gar nicht zu denken.
Und eigentlich hatten wir uns schon auf Edewecht gefreut weil der Termin dieses Jahr nicht mit dem Familienurlab kollidiert, aber nun fällt Alex mit einer Knieverletzung länger aus als zunächst angenommen. Deswegen werden wir nicht in Edewecht anhaken. Frustrierend, aber die Gesundheit geht natürlich vor.
Ein anderes Thema ist die nicht enden wollende Suche nach einem zukunftsfähigen Transportfahrzeug. Etwas fertiges zu finden was auch nur grob zu dem passt was wir suchen…hehe…klar…der war gut. Fahrzeuge mit niederländischer Zulassung kommen mir nicht mehr auf den Hof. Das hatten wir mit der BE-Kombi schon mal. LKW-Händler wollen einem gerne überteuerten Müll andrehen den man dann noch extrem aufwändig umbauen muss. Dann kommt noch die deutsch Straßenverkehrs-Zulassungs-Ordnung daher und macht einem wo es nur geht einen Strich durch die Rechnung. Und Fahrzeugbauer nehmen einen nicht mal ernst. Und ich dachte das die Industrie nichts zu tuen hat??? Ich bin echt bedient.
Zu guter Letzt kommen wir mit der Entwicklung des Light Mod viel langsamer voran als ich das gerne hätte. Wir müssten viel öfter anhaken um schneller voran zu kommen. Ideen sind tonnenweise da und was möglich ist, sieht man am Truckpower.
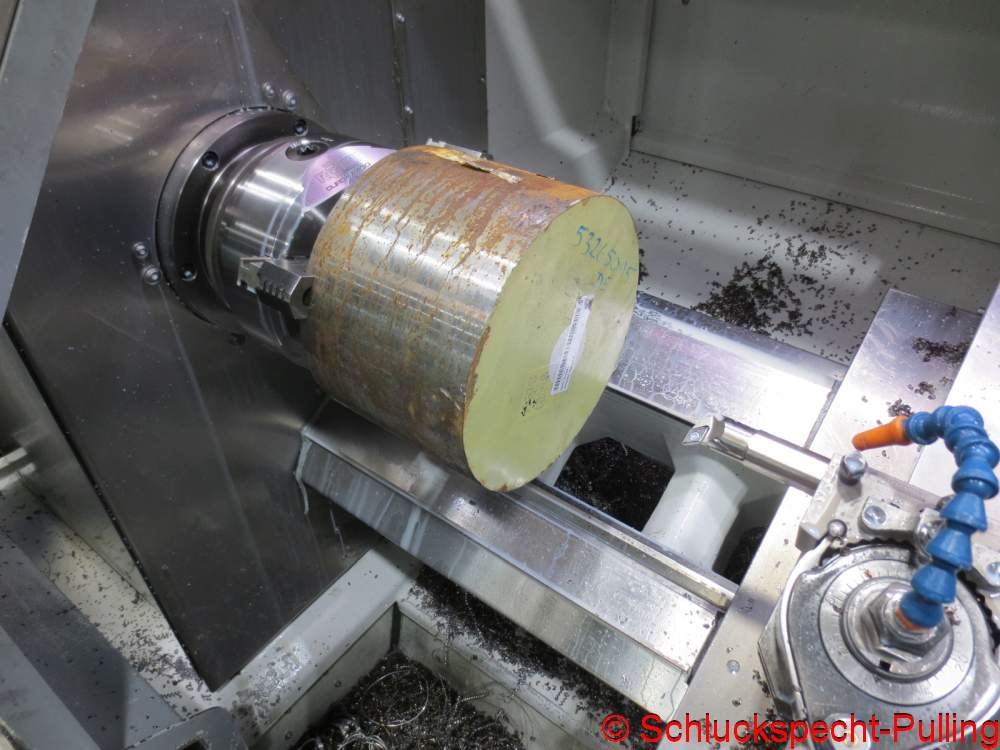
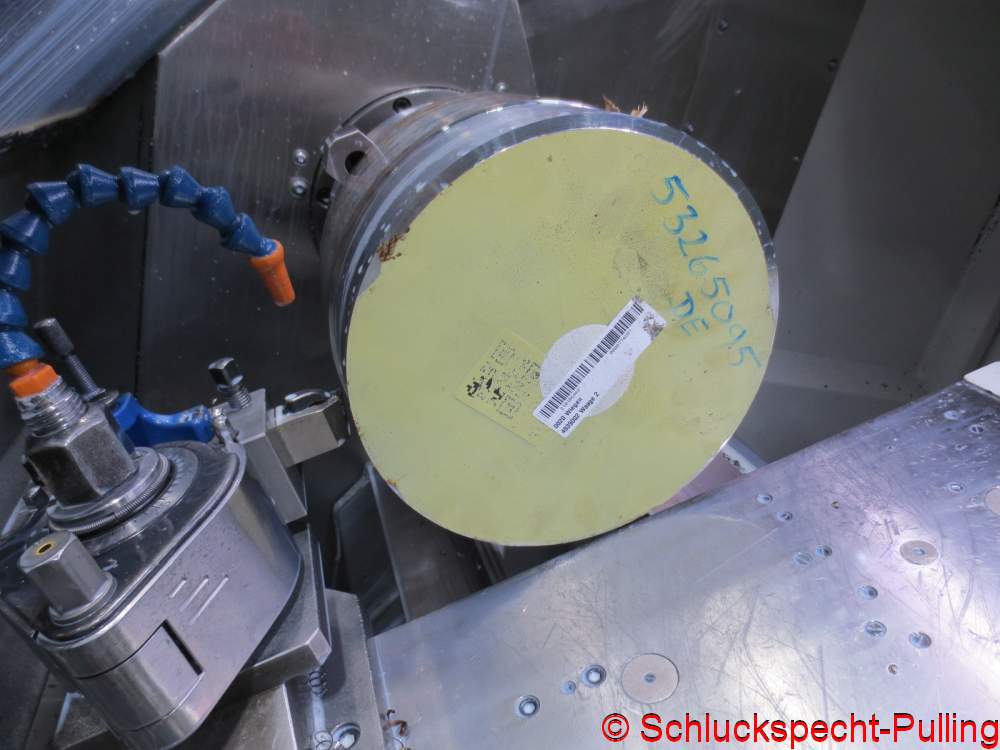
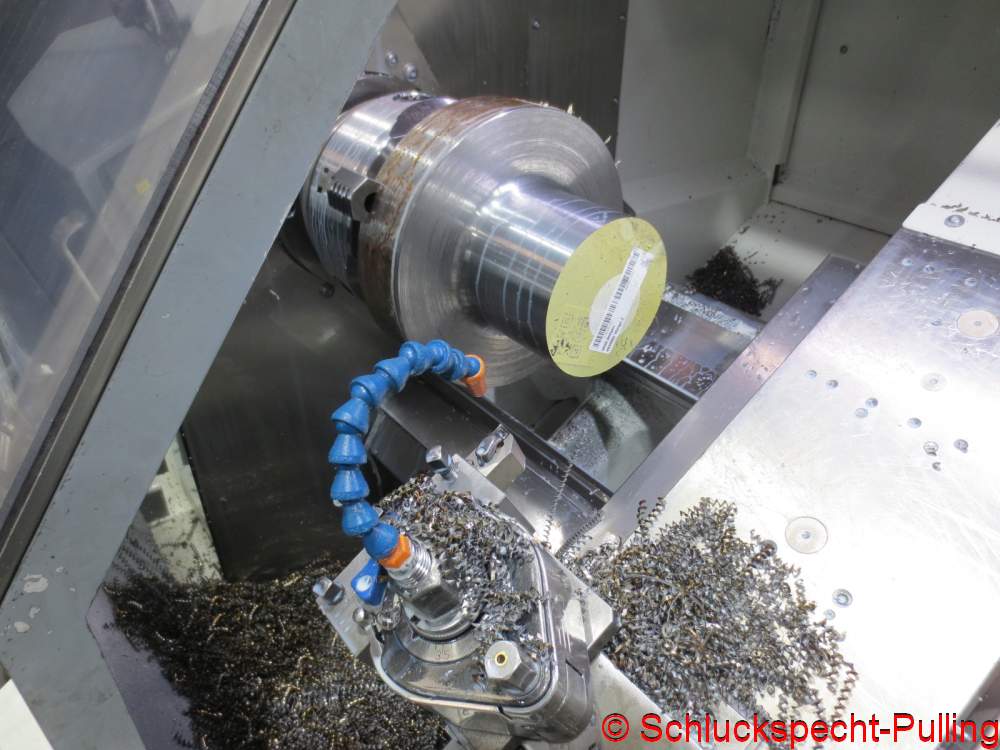
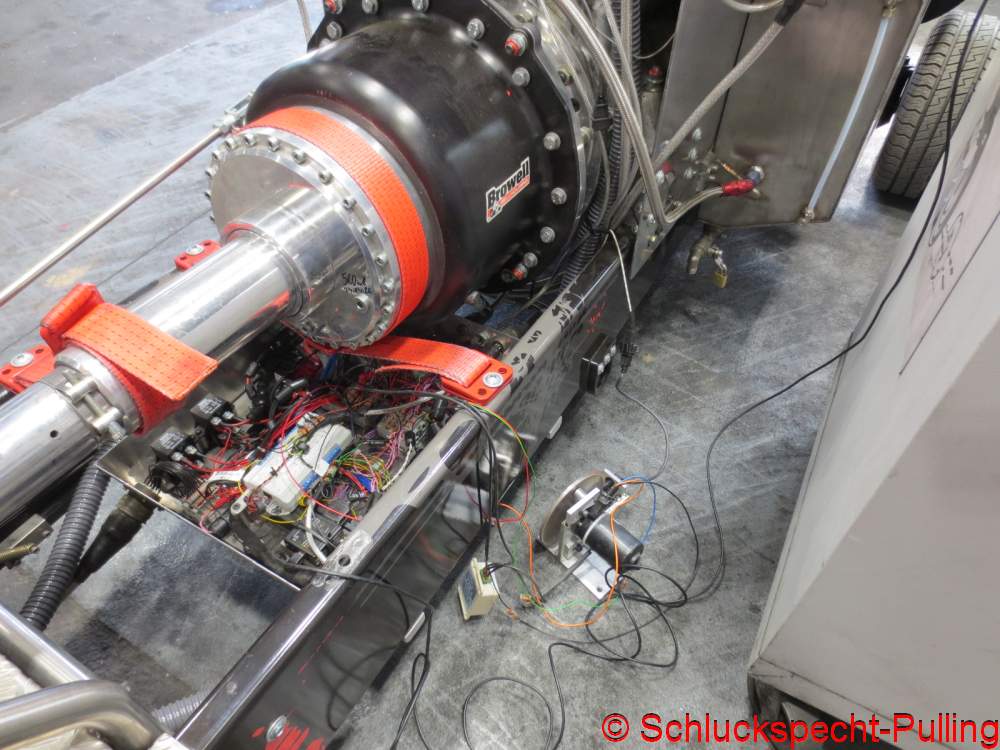
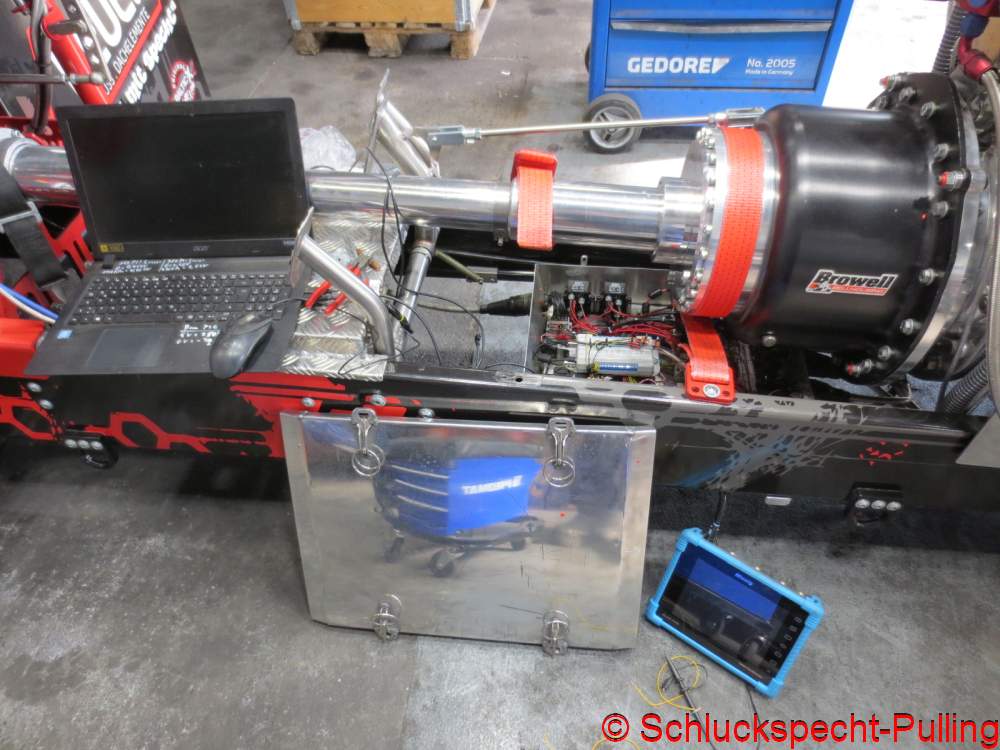
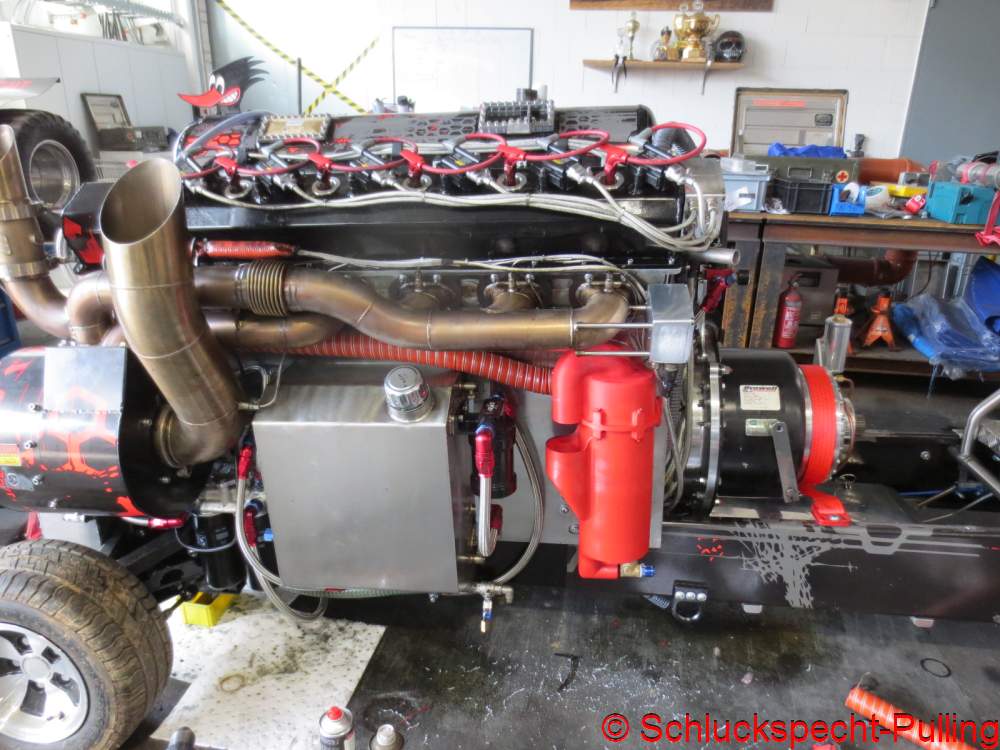
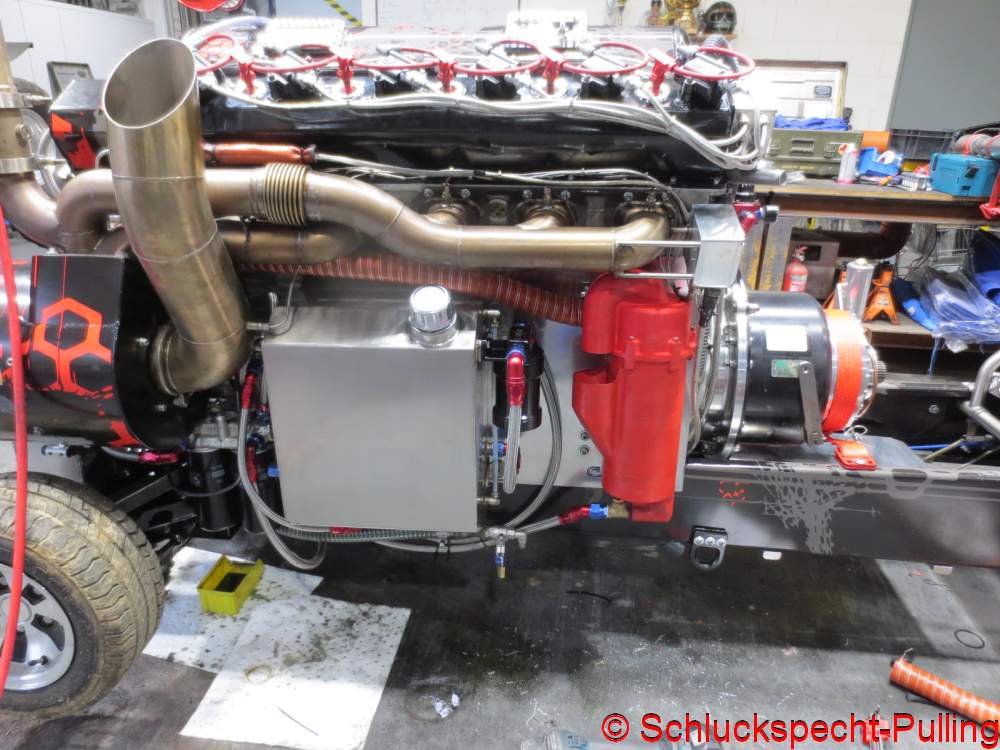
Nicht zuletzt in Ermangelung eines Transportfahrzeuges mit dem man auch mal die Familie mitnehmen kann, fahren wir diese Saison wohl nur 4 Veranstaltungen, da bekommt man so gut wie gar nichts getestet. Ok, an einer Möglichkeit schneller ans Ziel zu kommen arbeiten wir ja gerade…..ich finde wir sollten diesen Beitrag mit dem Dyno beginnen 😉 😉
Somehow, 2026 just isn’t our year. Naturally, everything is still overshadowed by Simon’s death. Beyond losing a very good friend, we’ve also lost a huge amount of manpower—you have to look at it realistically.
Keeping a Light Modified tractor running with just two people in the workshop is a massive job in itself, and that’s not to mention the 600hp and 500kg Standard class tractors we’re also handling. Building up a stock of spare parts for quick repairs is completely out of the question.
We were actually looking forward to Edewecht because the date didn’t clash with our family vacation this year, but now Alex is out of action longer than expected due to a knee injury. So, we won’t be hooking up at Edewecht. It’s frustrating, but health comes first, of course.
Then there’s the never-ending search for a suitable transport vehicle for the long haul. Finding something ready-made that even remotely fits what we’re looking for… heh… right… as if. I’m done with Dutch-registered vehicles; we already had that experience with our previous BE-Combination. Truck dealers try to offload overpriced junk on you that requires an incredibly complex conversion. On top of that, German road traffic regulations throw a wrench in the works at every turn. And vehicle manufacturers won’t even take us seriously. And to think I heard the industry was short on work? I’ve really had enough.
Finally, progress on developing the Light Mod is much slower than I’d like. We really need to hook up more often to make faster headway. We’ve got tons of ideas—just look at Truckpower to see what’s possible. But—not least because we lack a transport vehicle that can also accommodate the family—we’ll likely only compete in four events this season, which means we hardly get any testing done at all. Okay, we’re actually working on a way to reach the goal faster right now… I think we should start this post with the dyno 😉 😉
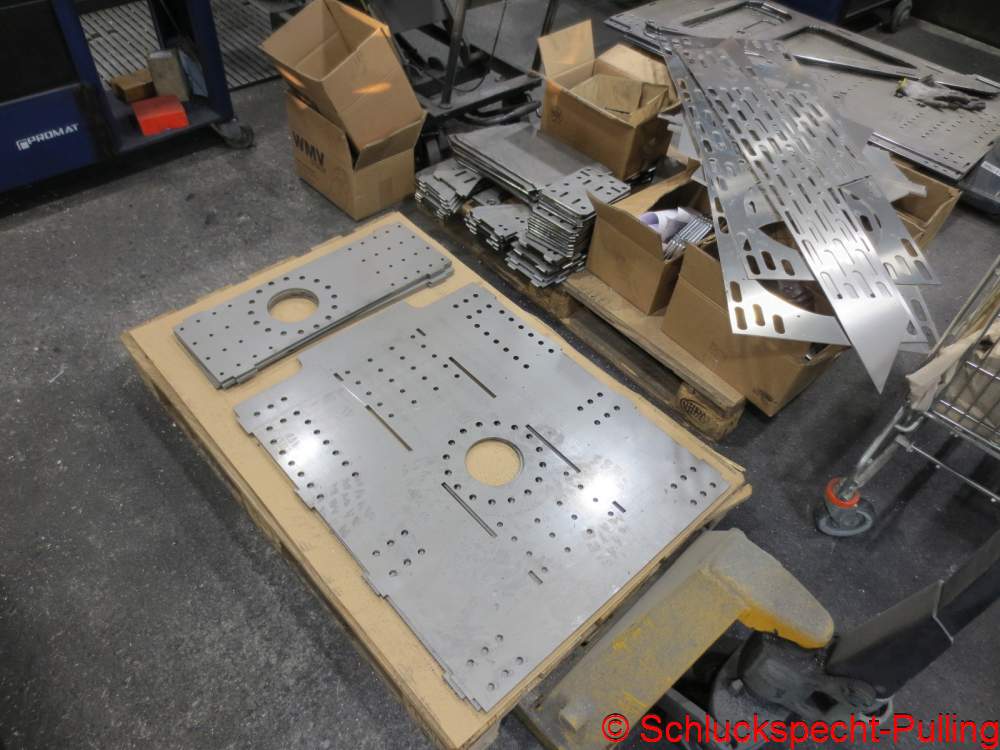
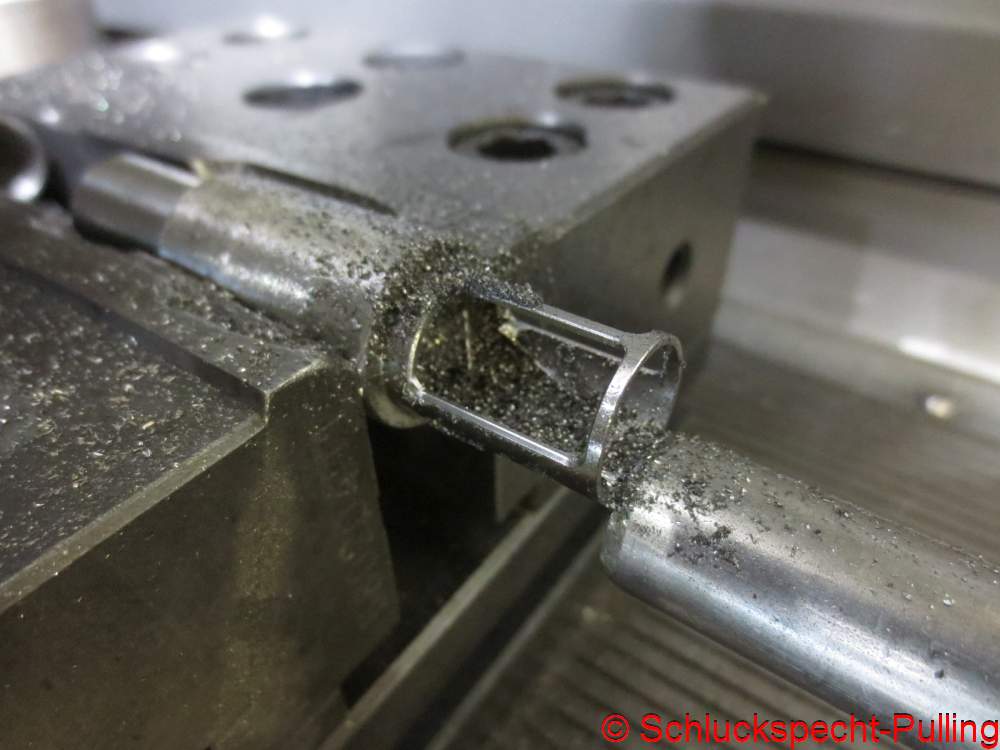
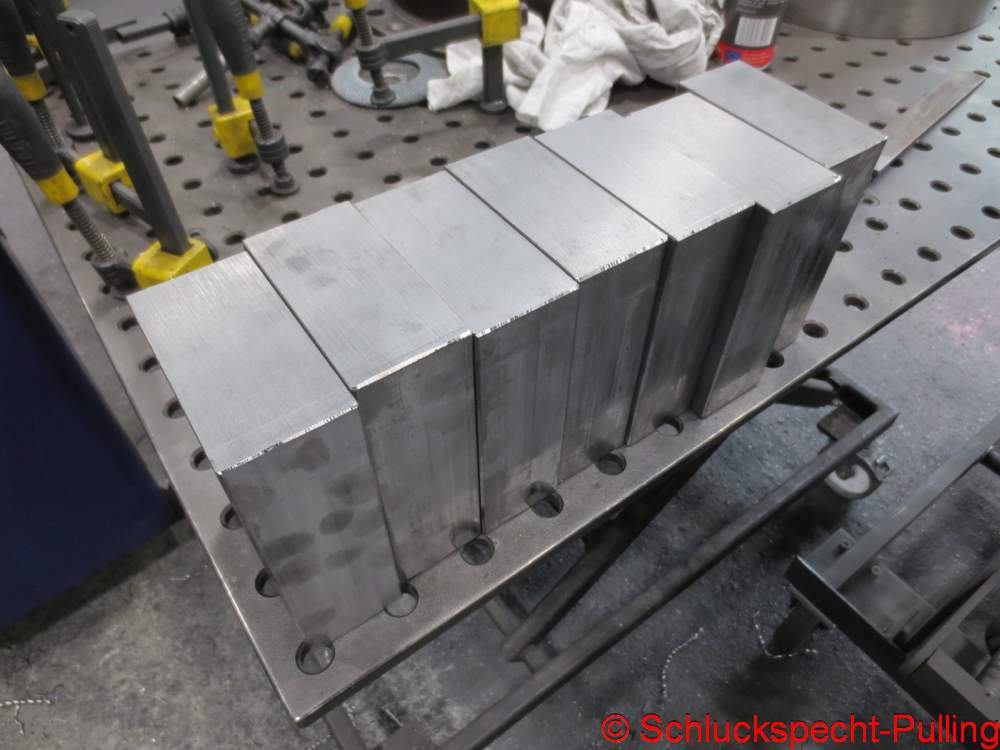
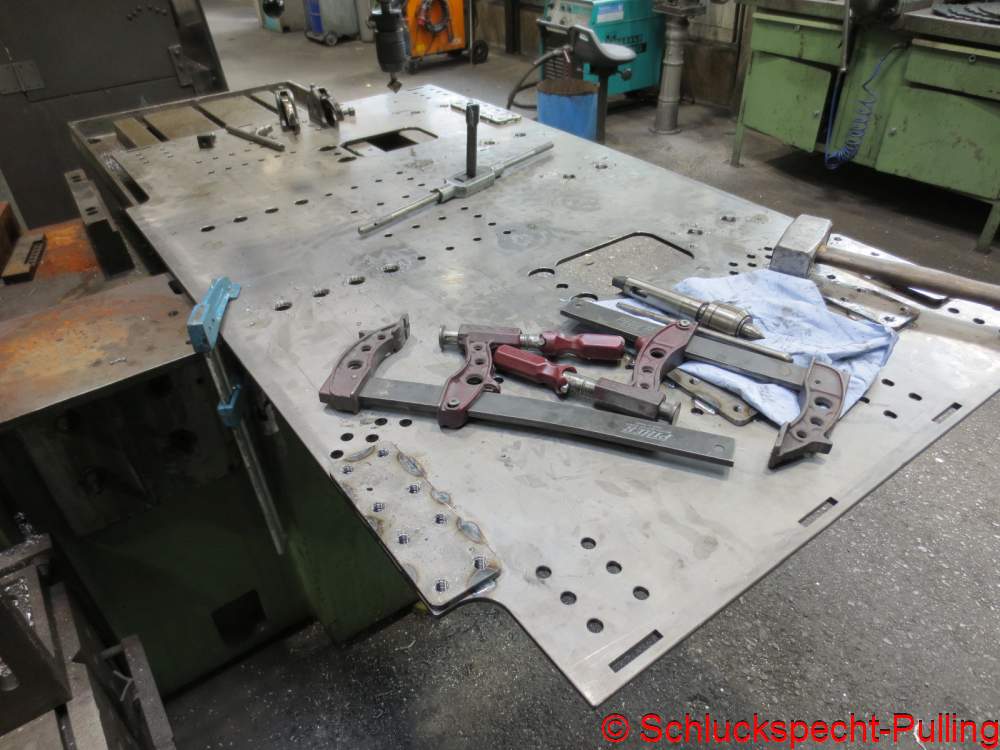
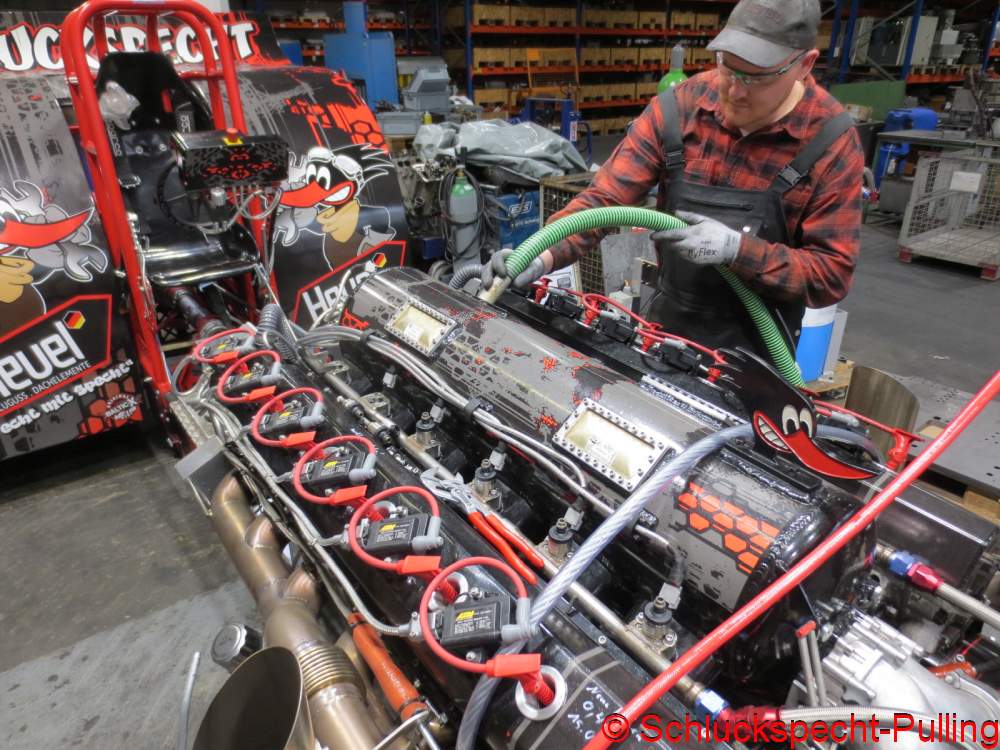
Am Anfang steht stundenlange Entgratarbeit.
It begins with hours of deburring work.

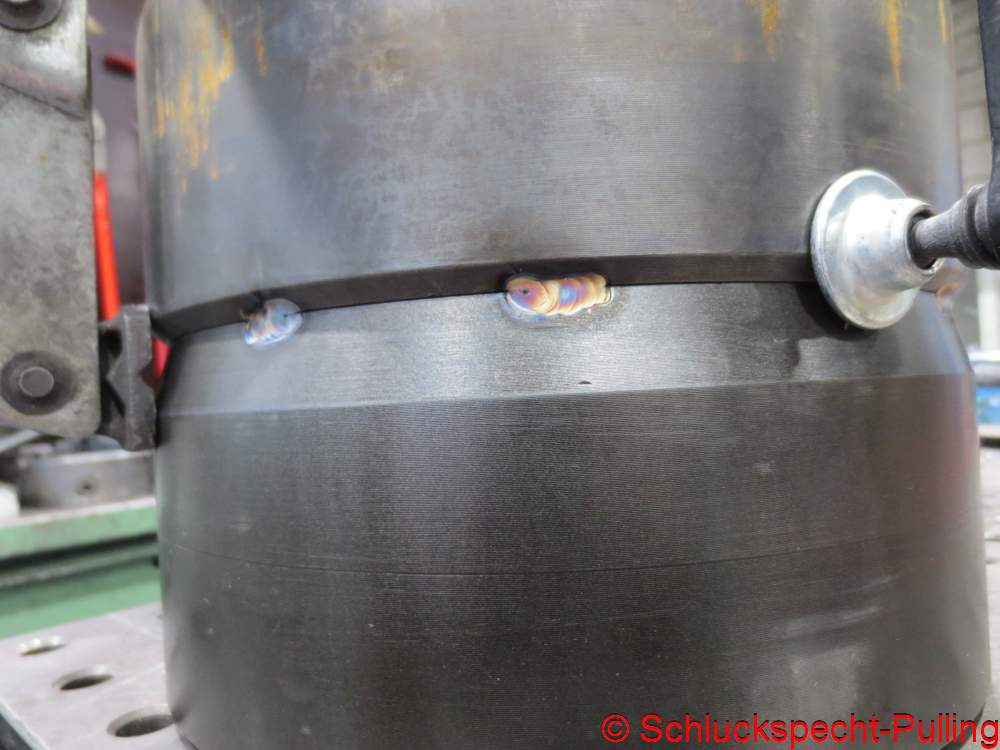
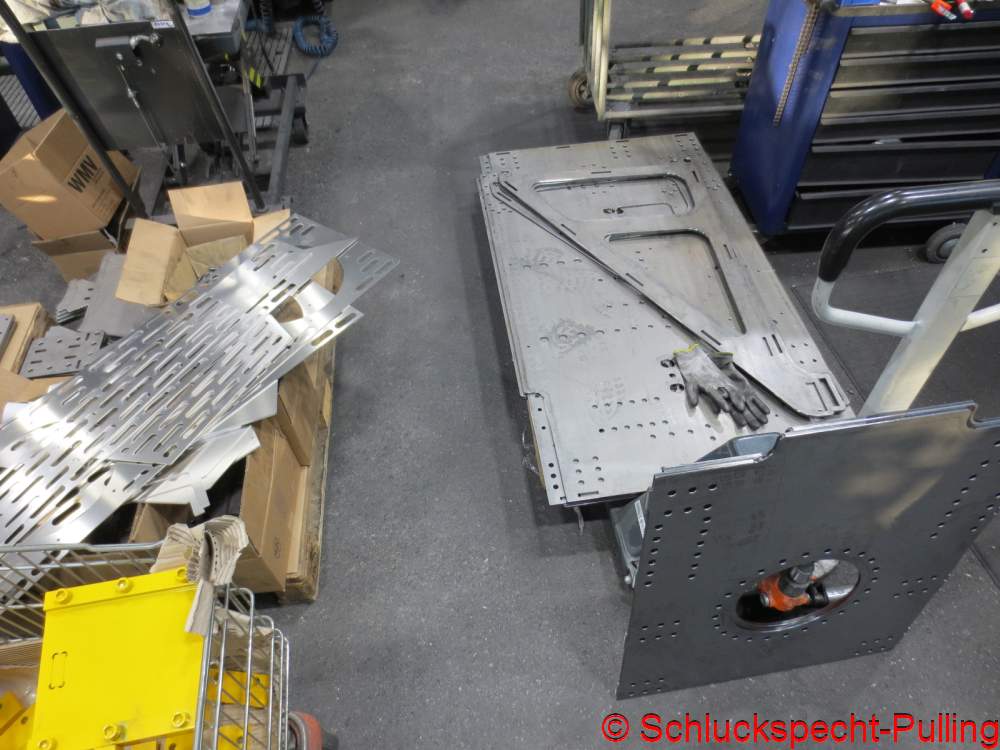
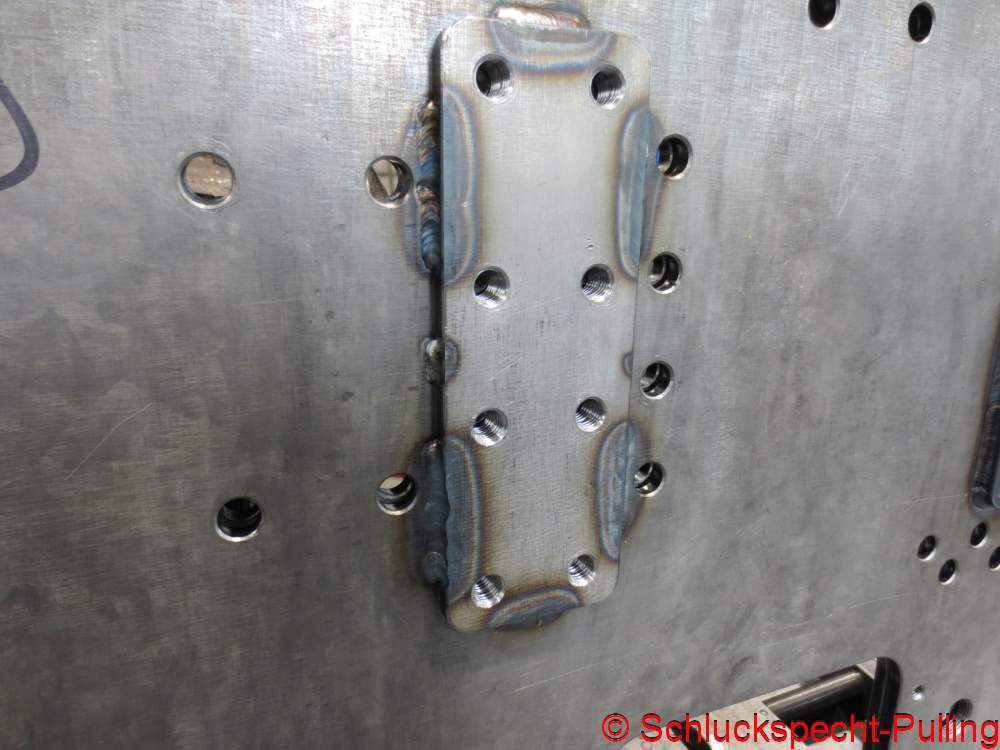
Bevor stundenlange Schweißarbeit beginnt 😉 😉
Before the hours of welding work begin 😉 😉
Ok, und ein paar Gewinde müssen auch noch in die Platten…..
Okay, and a few threads need to be cut into the plates as well…
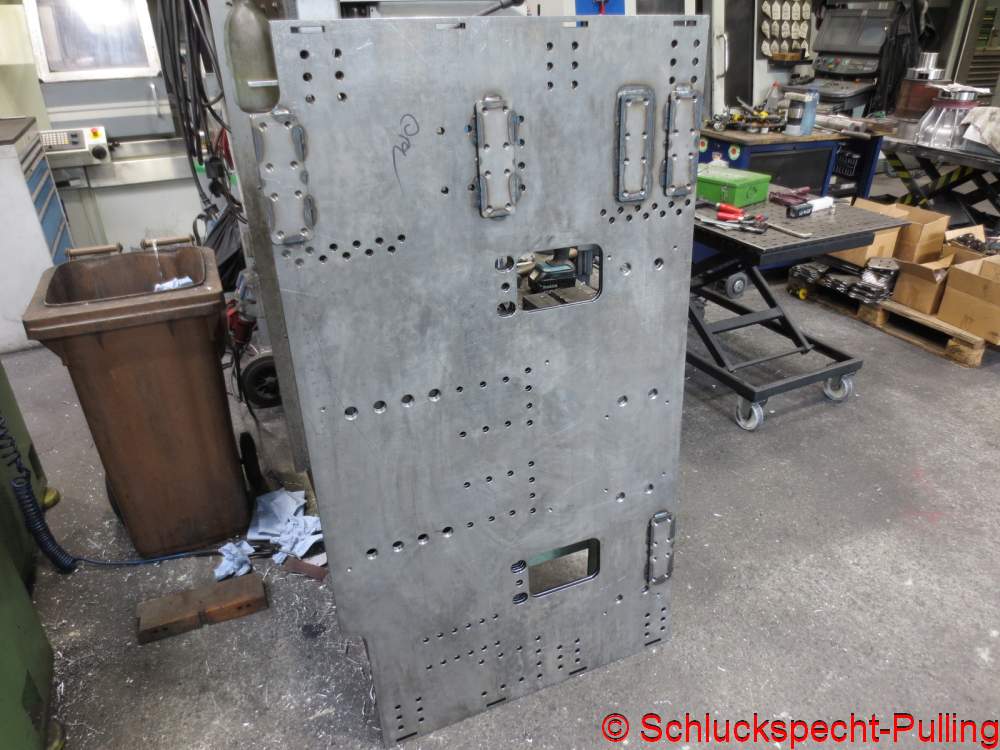

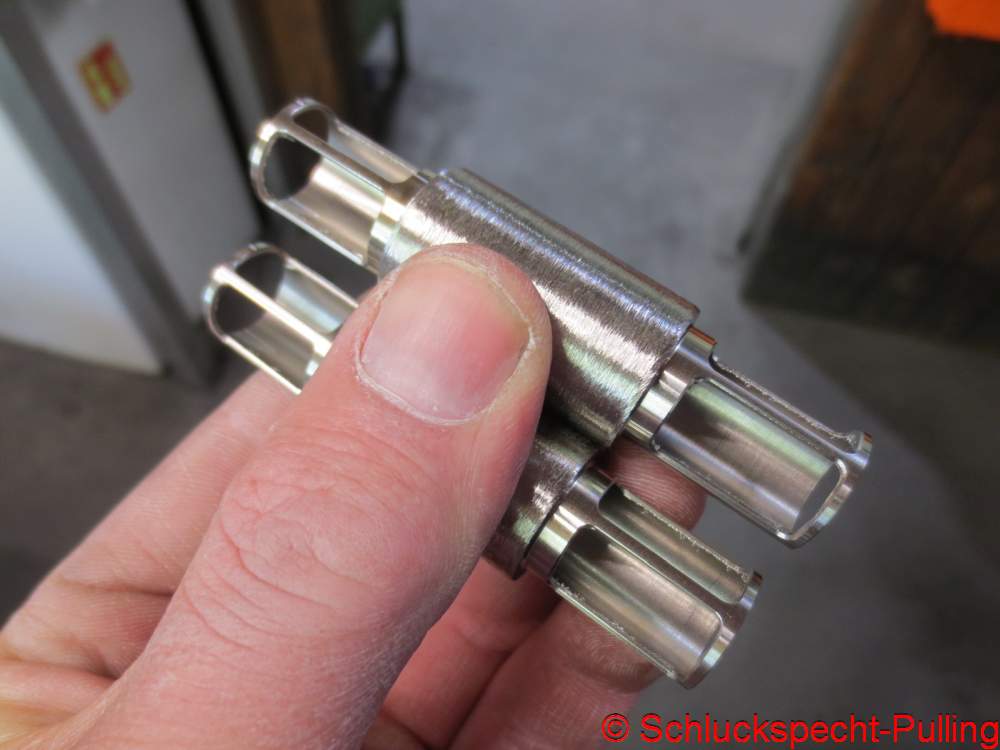
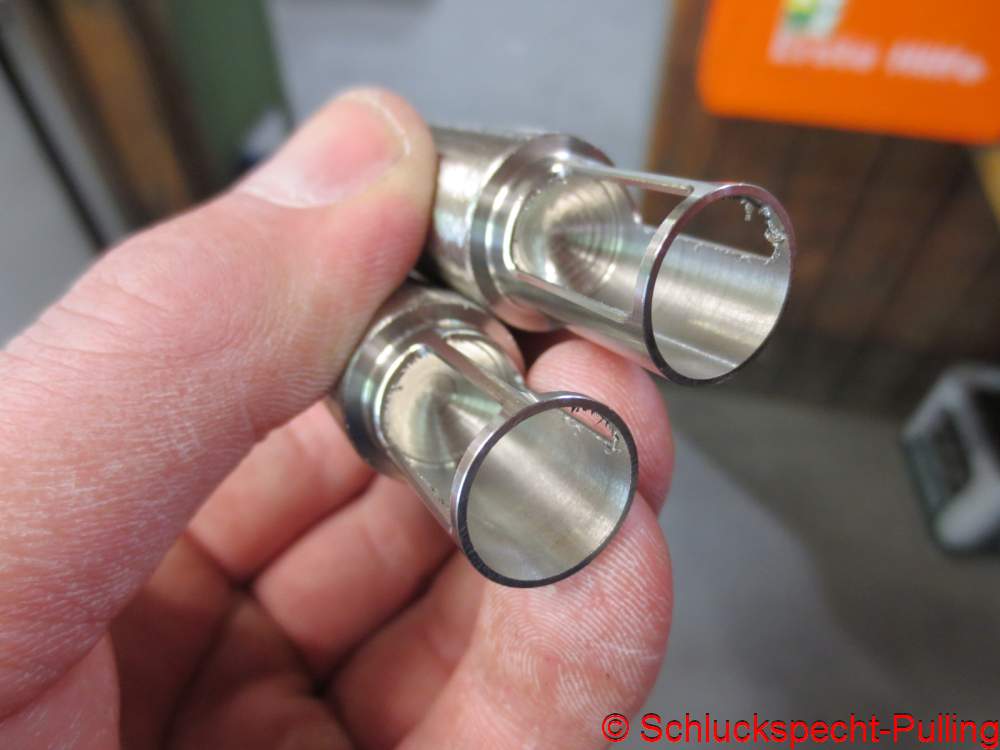
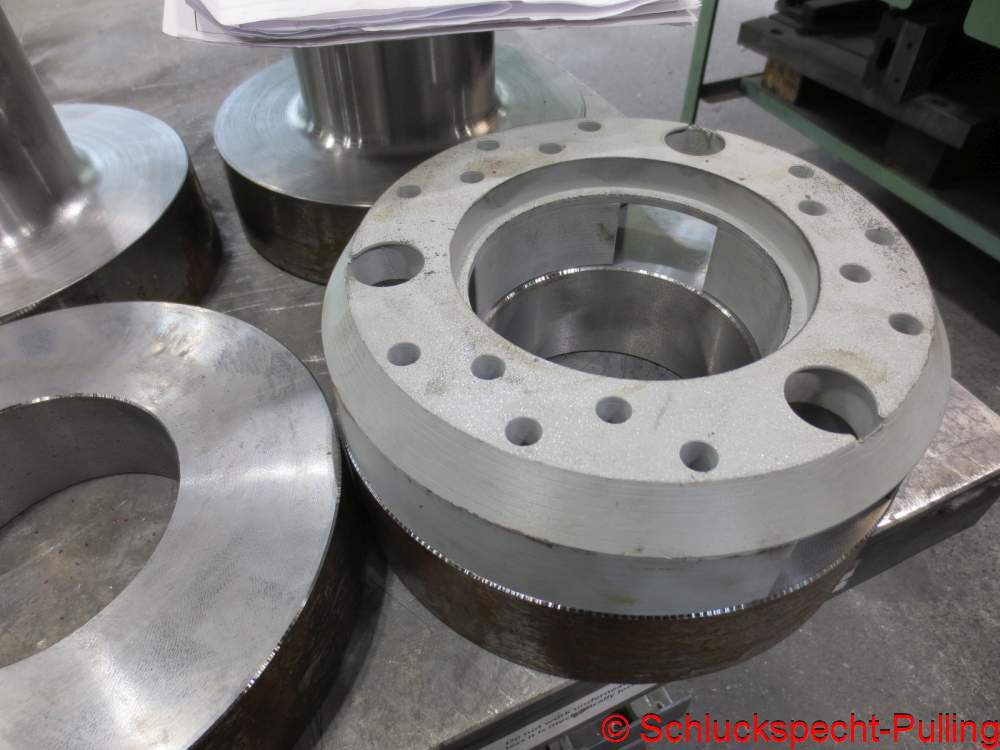
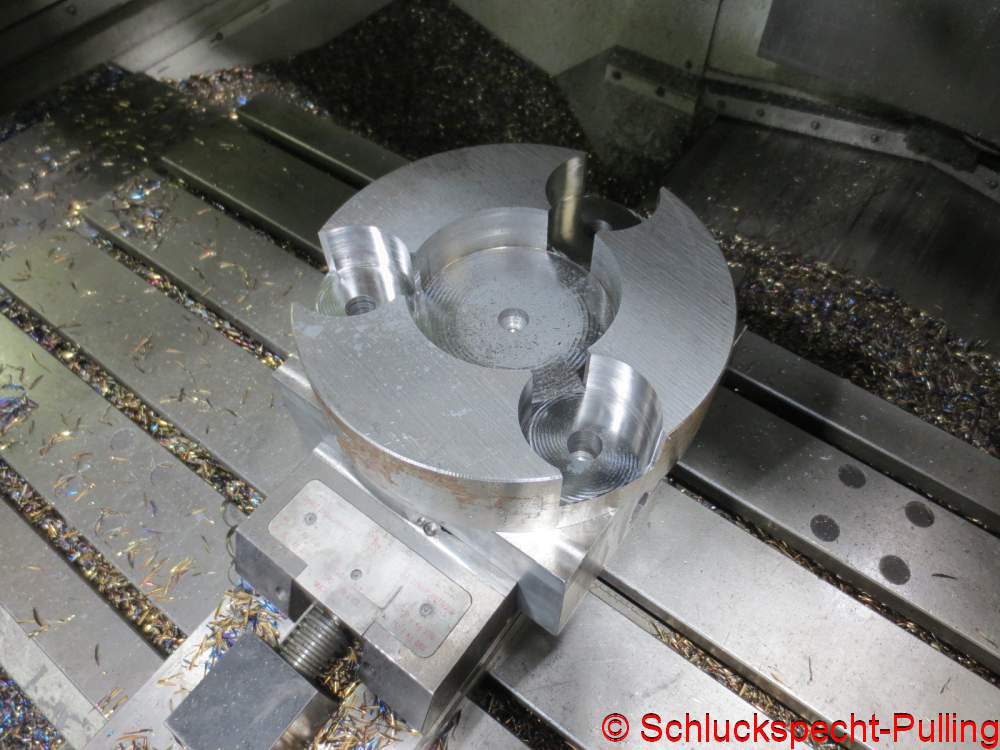
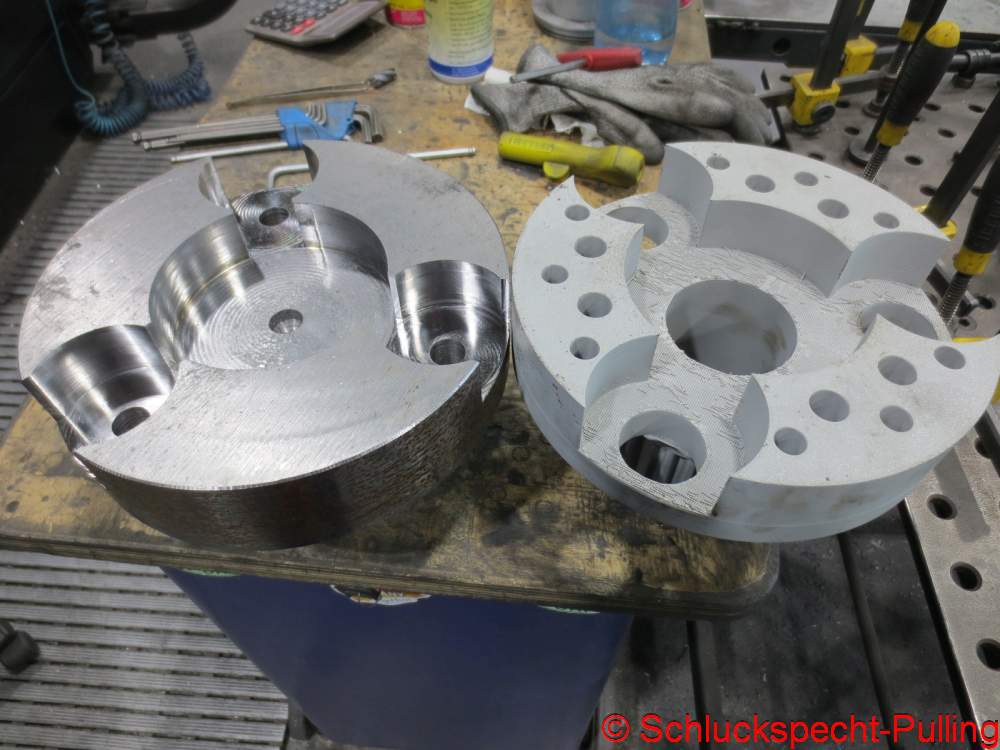
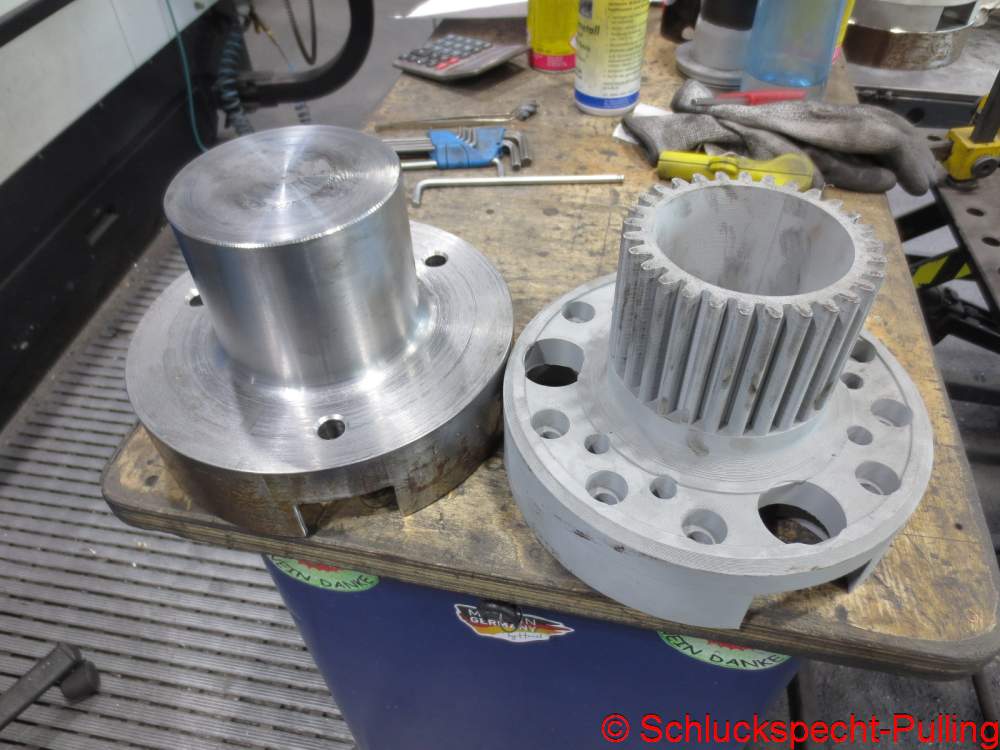
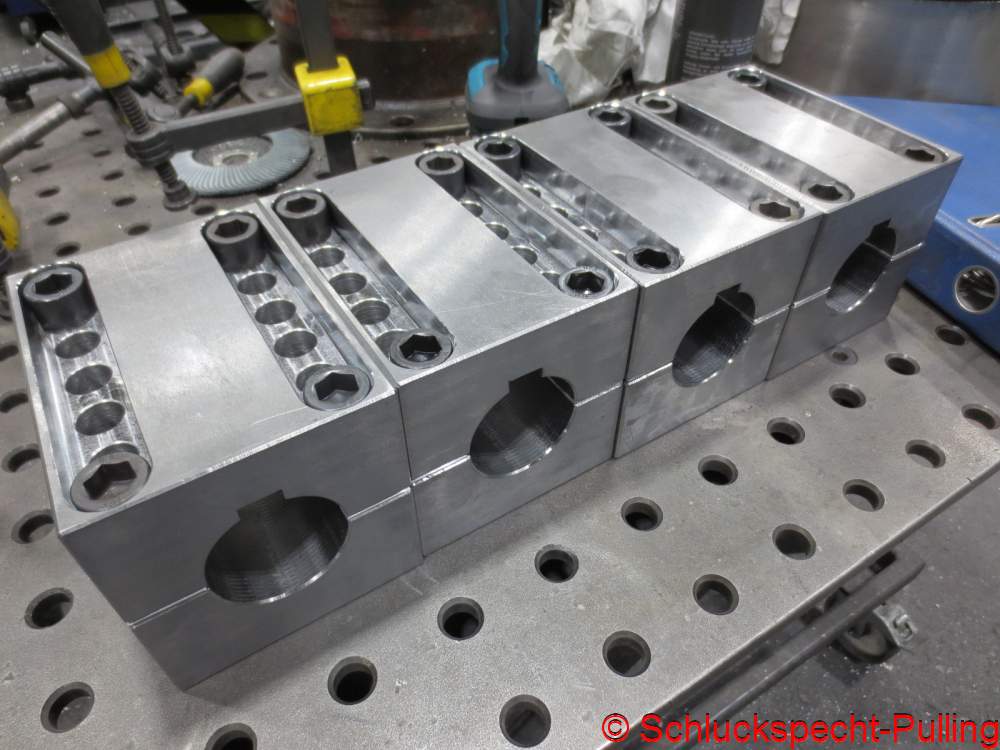
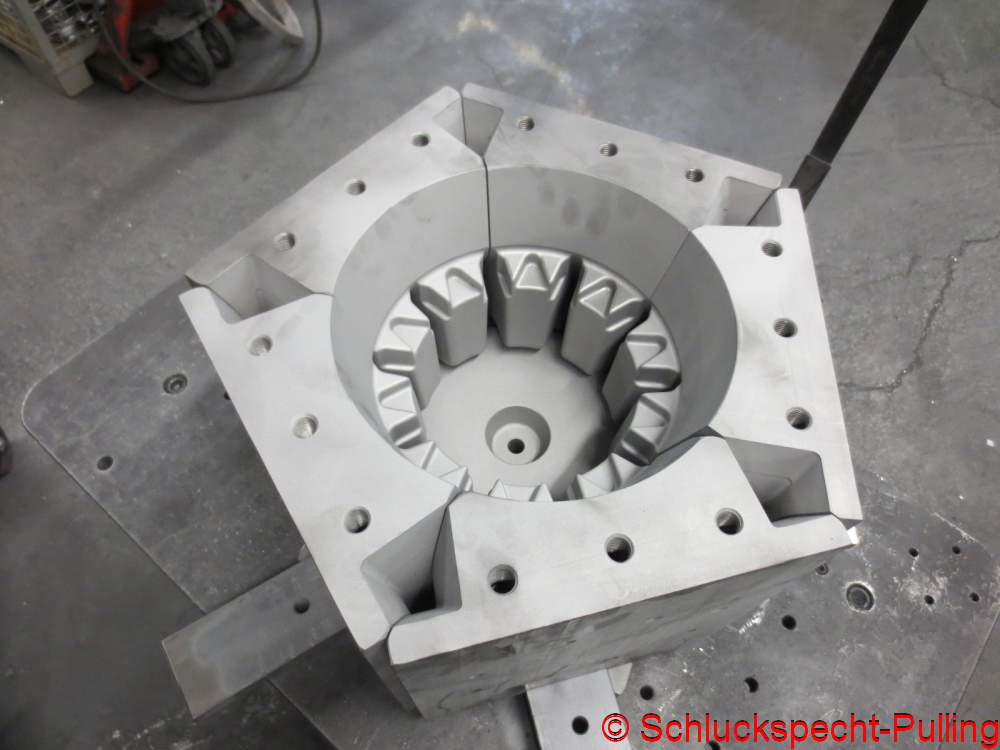
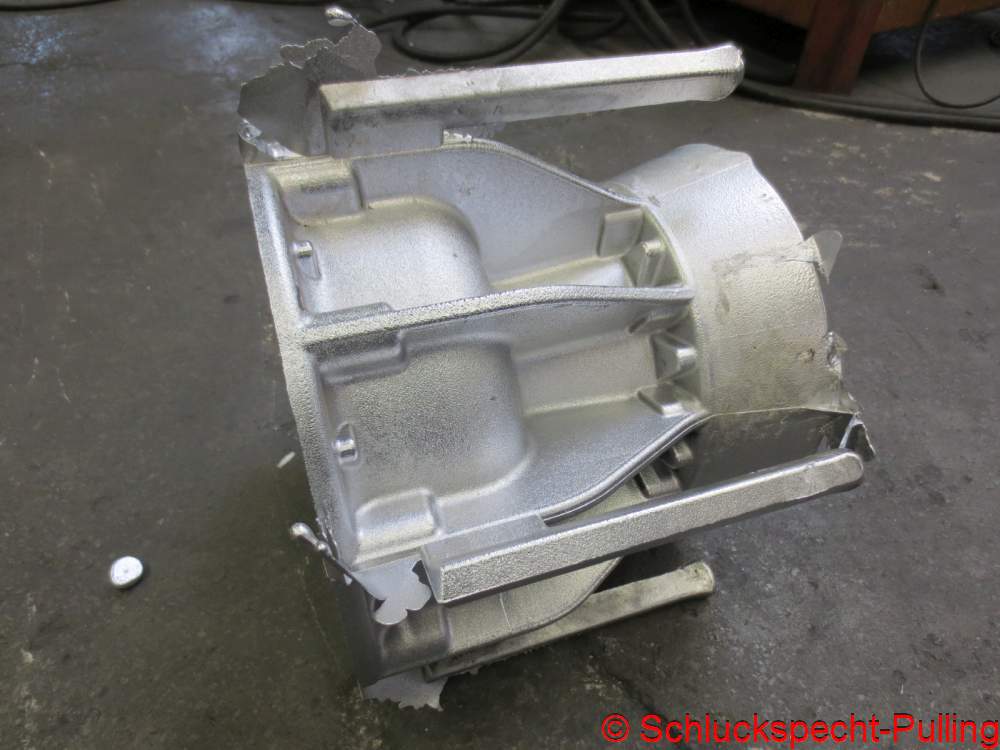
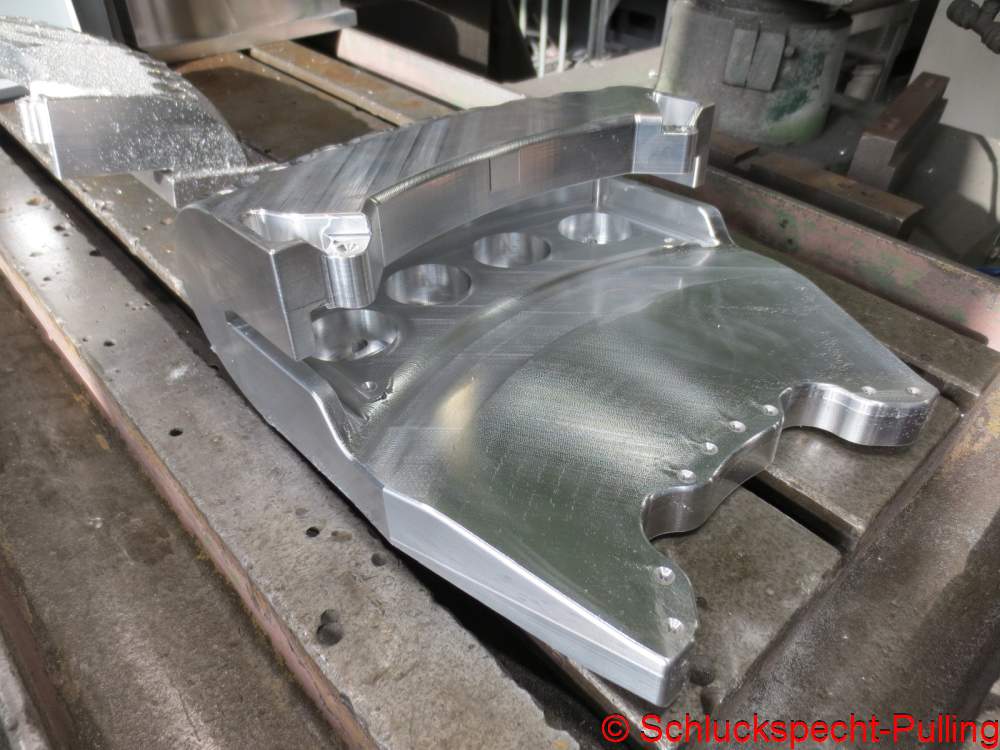
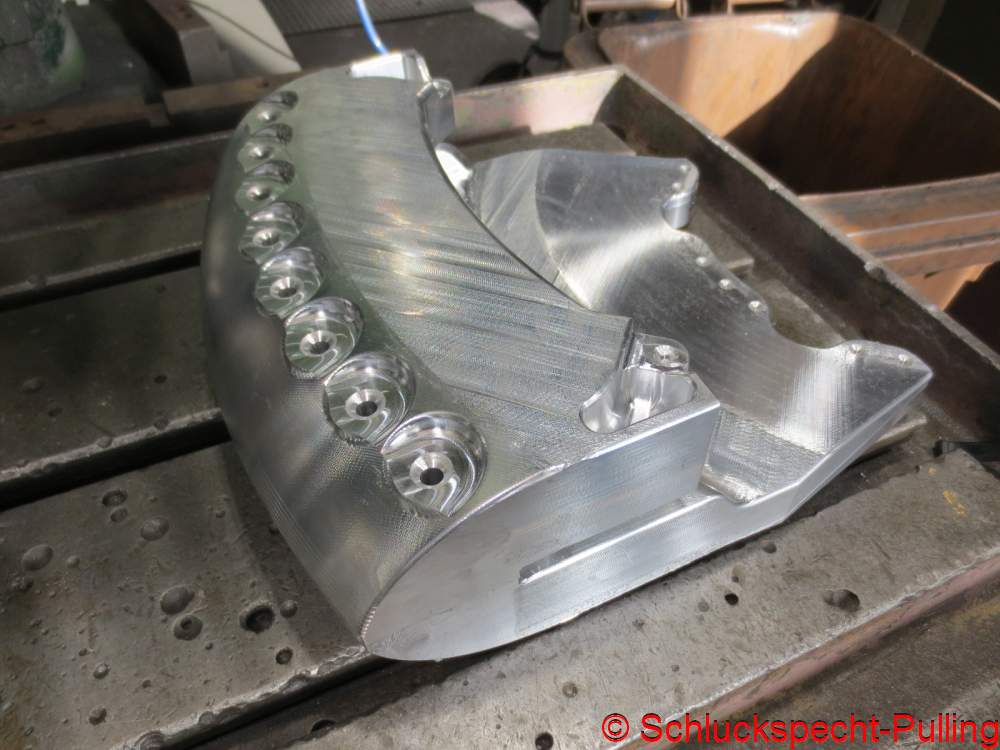
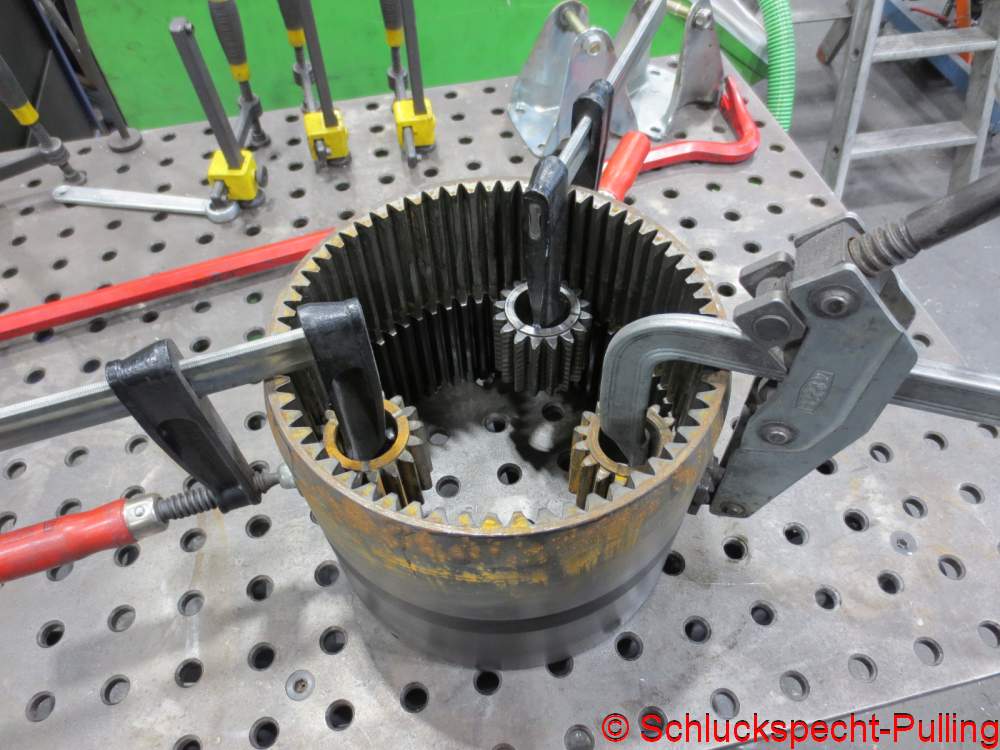
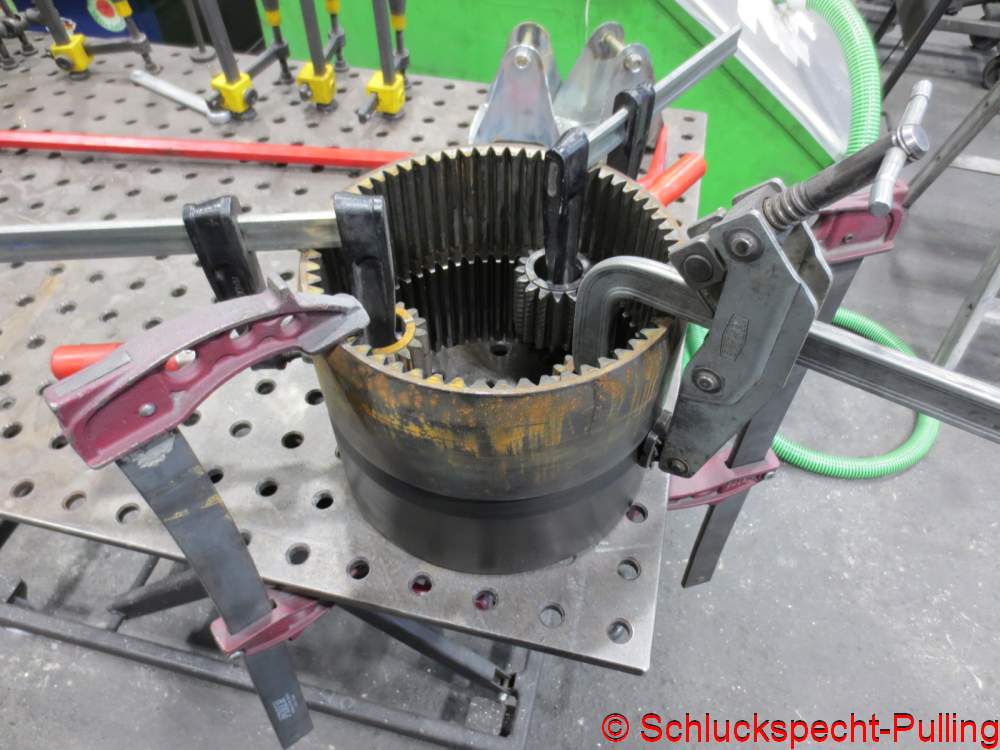
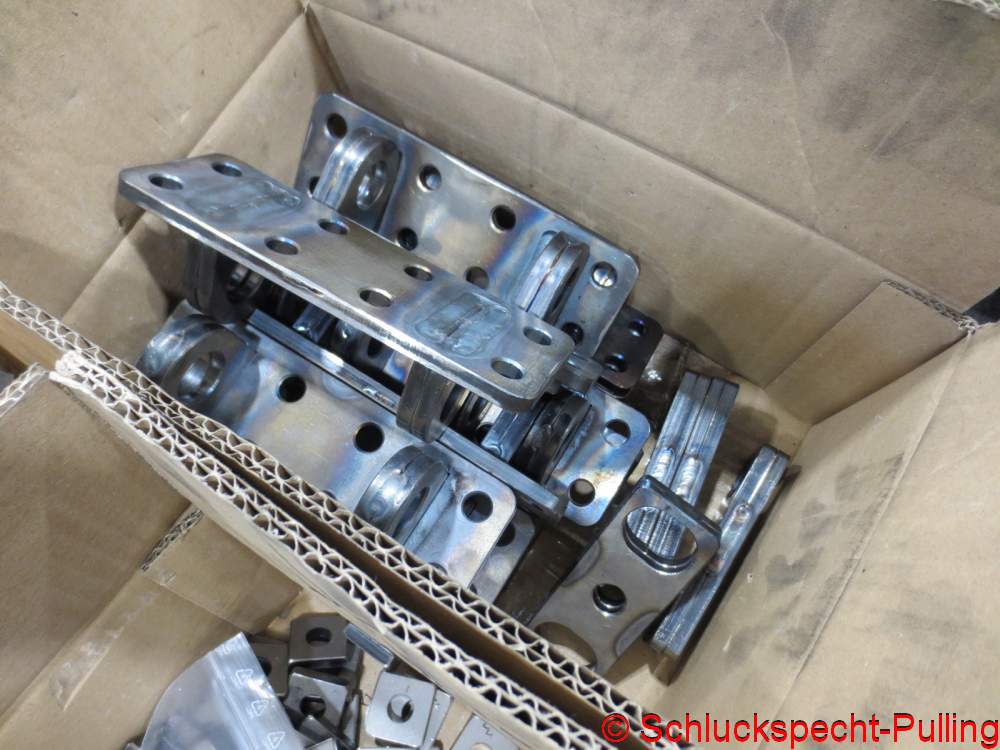
Das ist halt das Doofe an komplett durchkonstruierten Baugruppen. Man baut stumpf etwas zusammen ohne einen wirklichen Fortschritt zu sehen. Das Gute ist: Meistens passen die Teile nachher wie ein Puzzle zusammen 😉
That’s the annoying thing about fully engineered sub-assemblies: you just mindlessly put things together without seeing any real progress. The upside is that, more often than not, the parts fit together like a puzzle in the end 😉
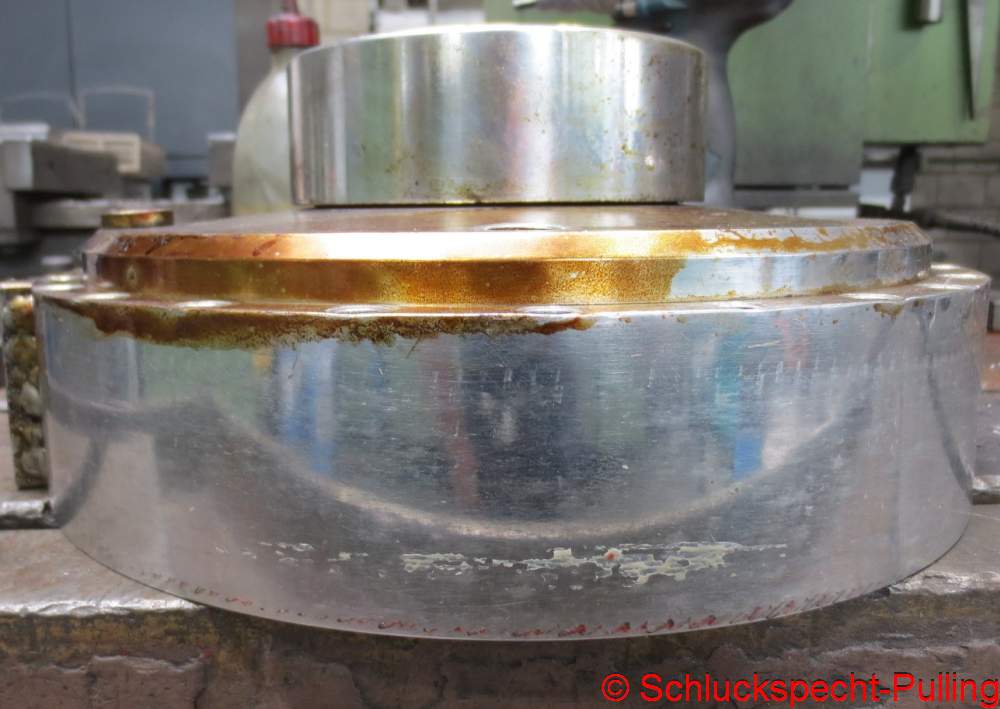
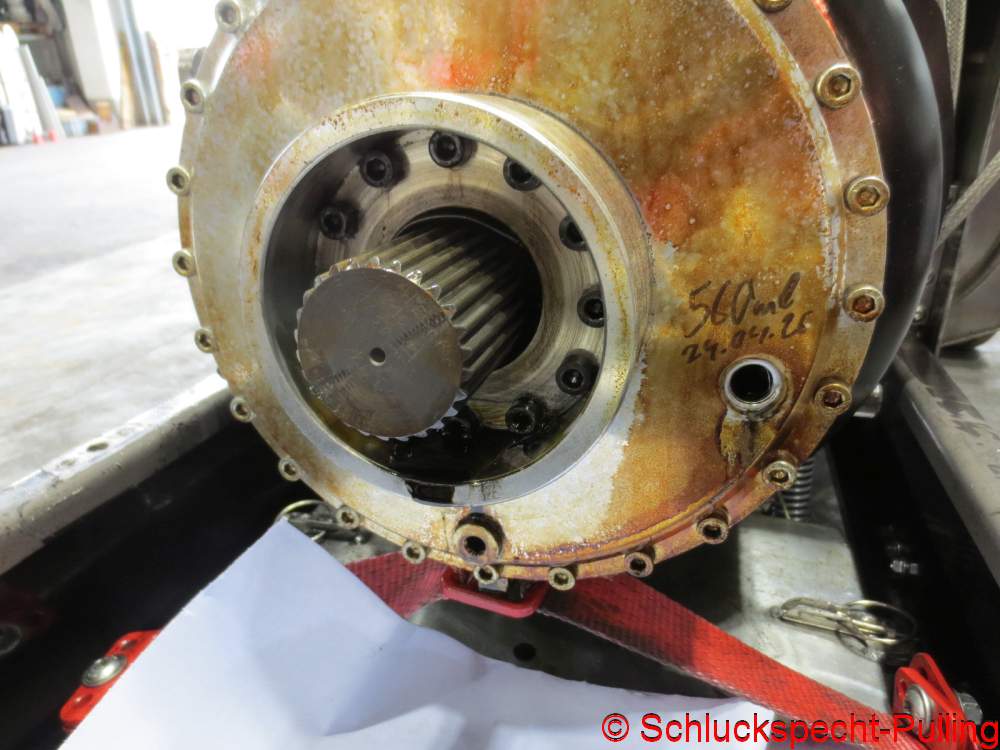
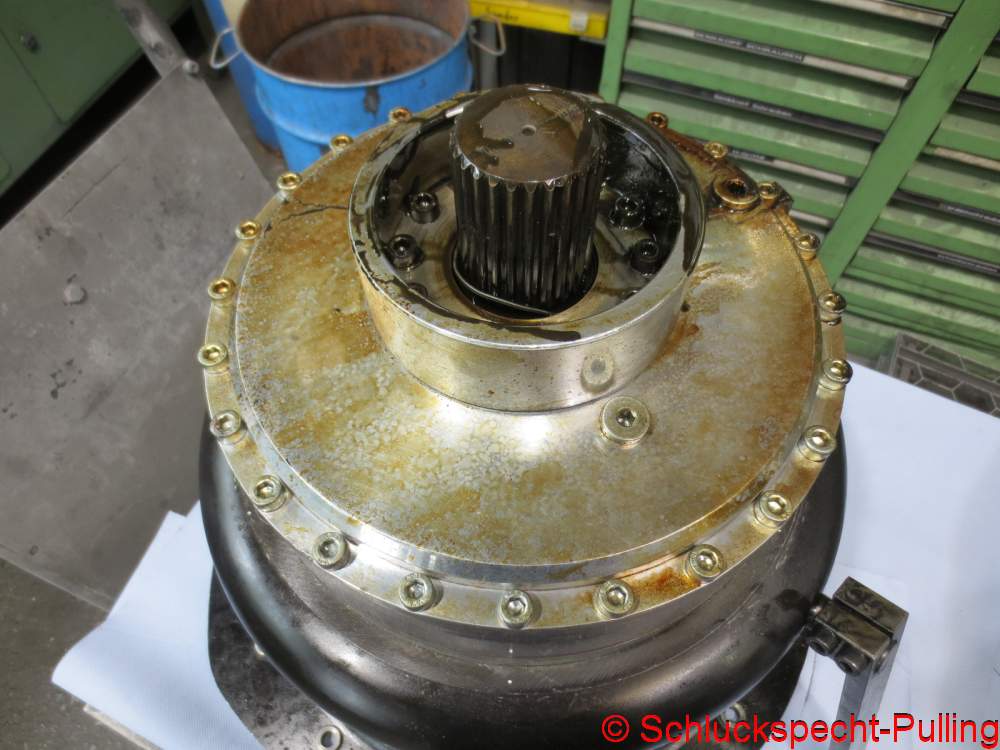
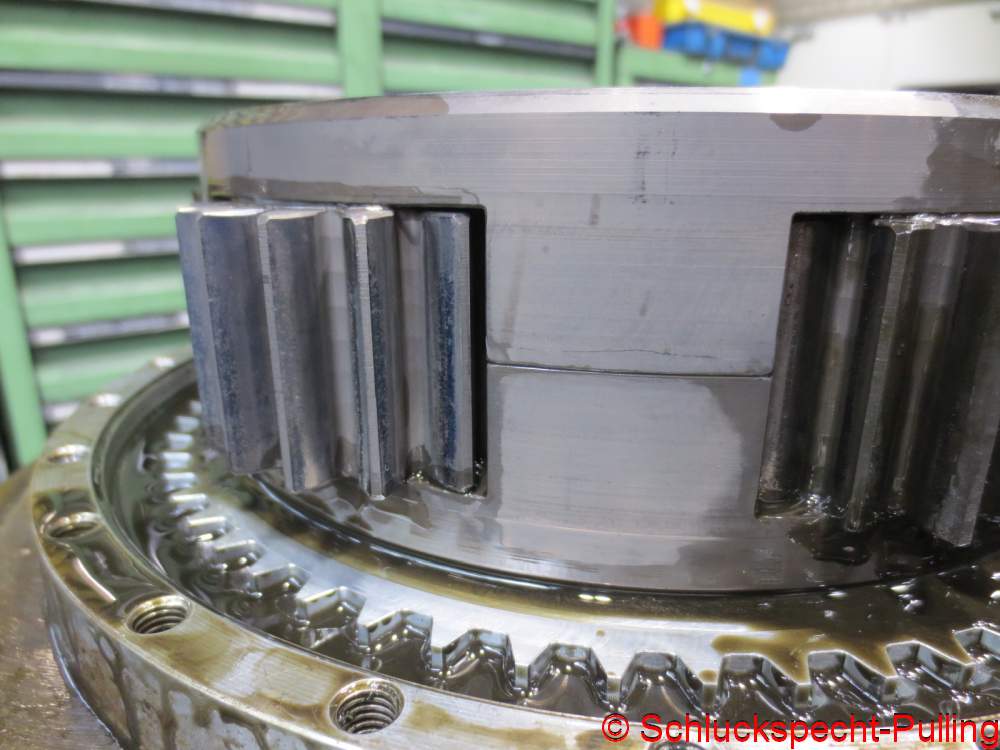
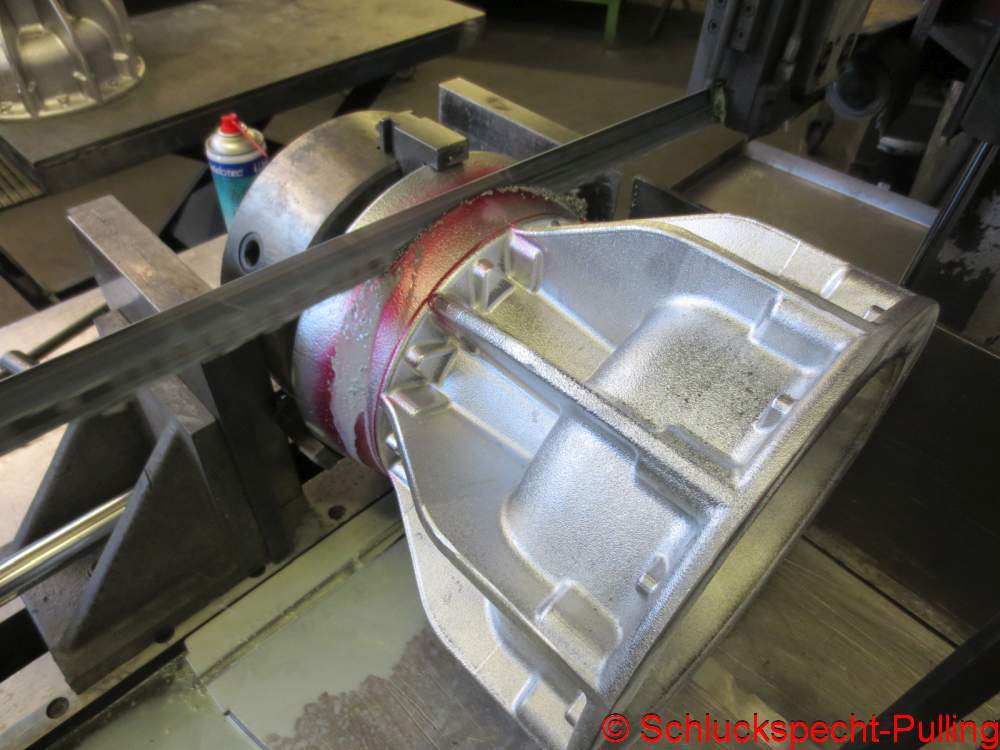
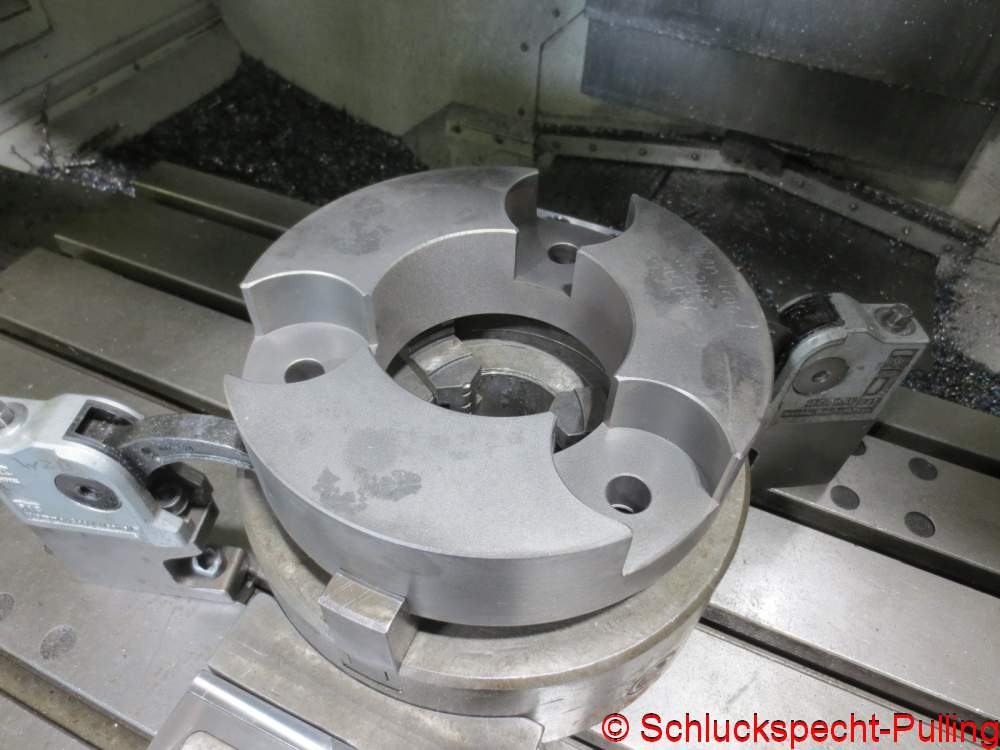
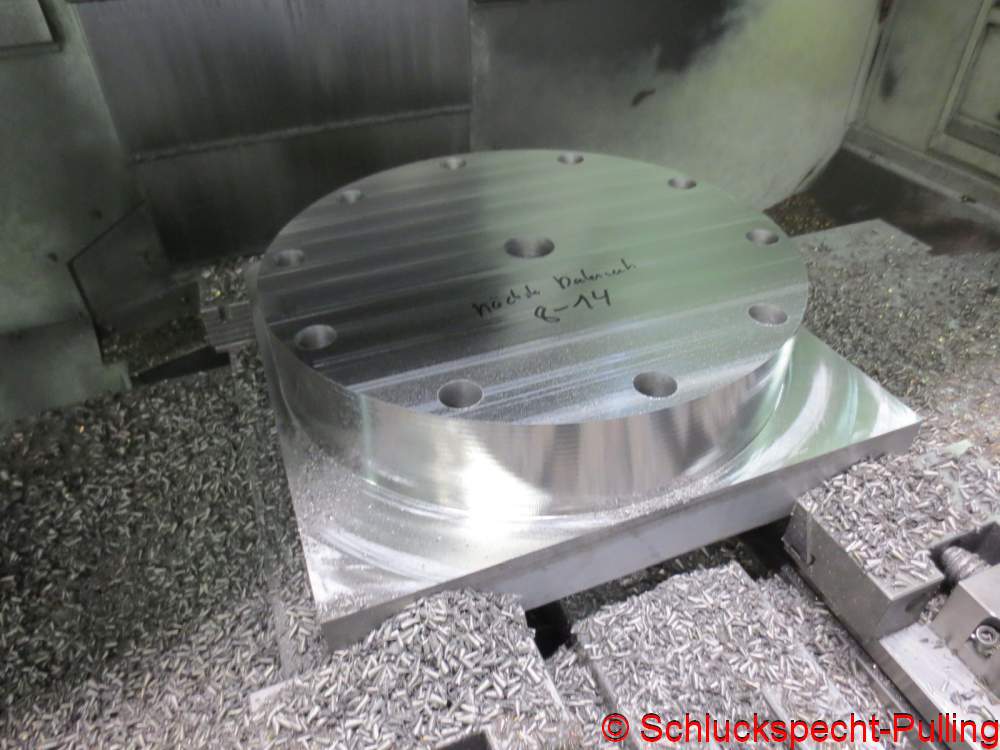
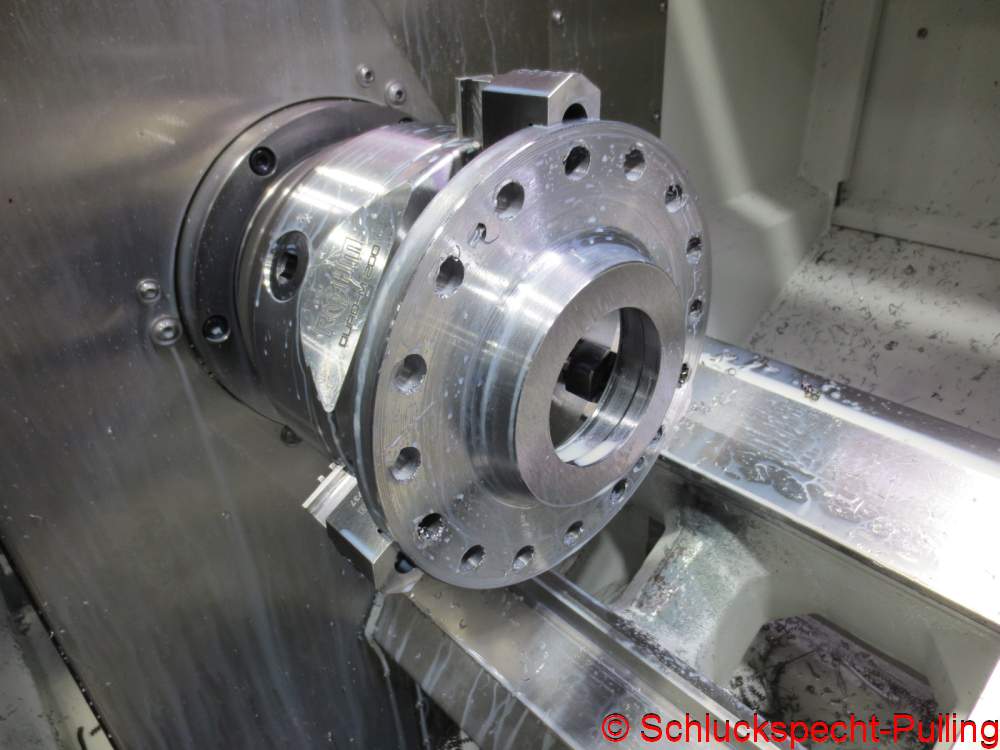
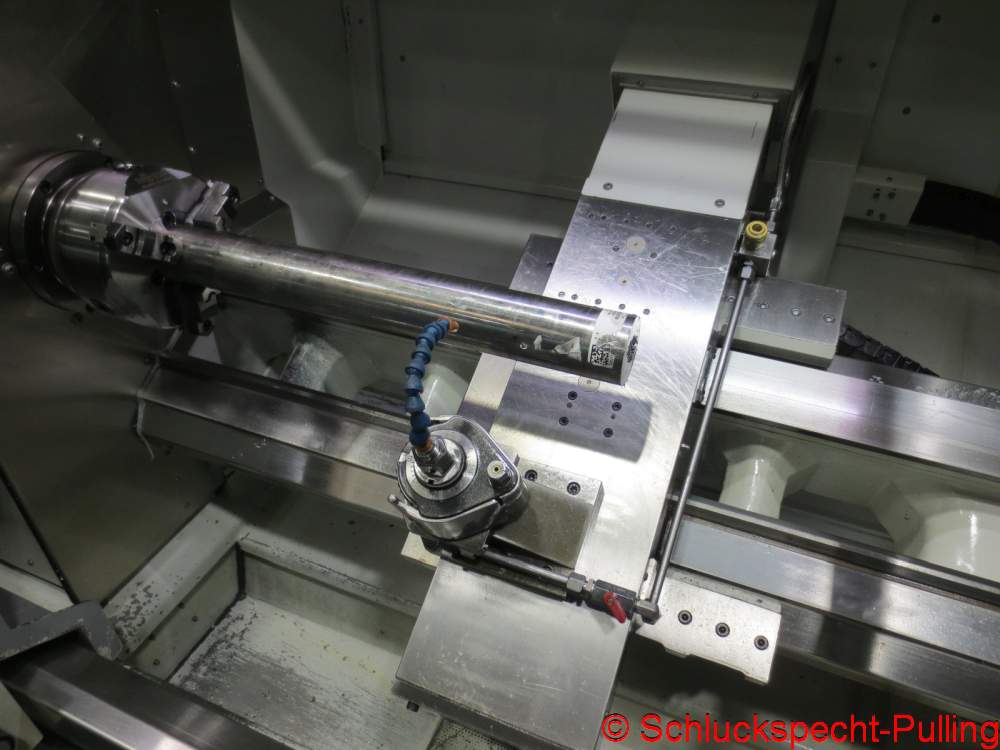
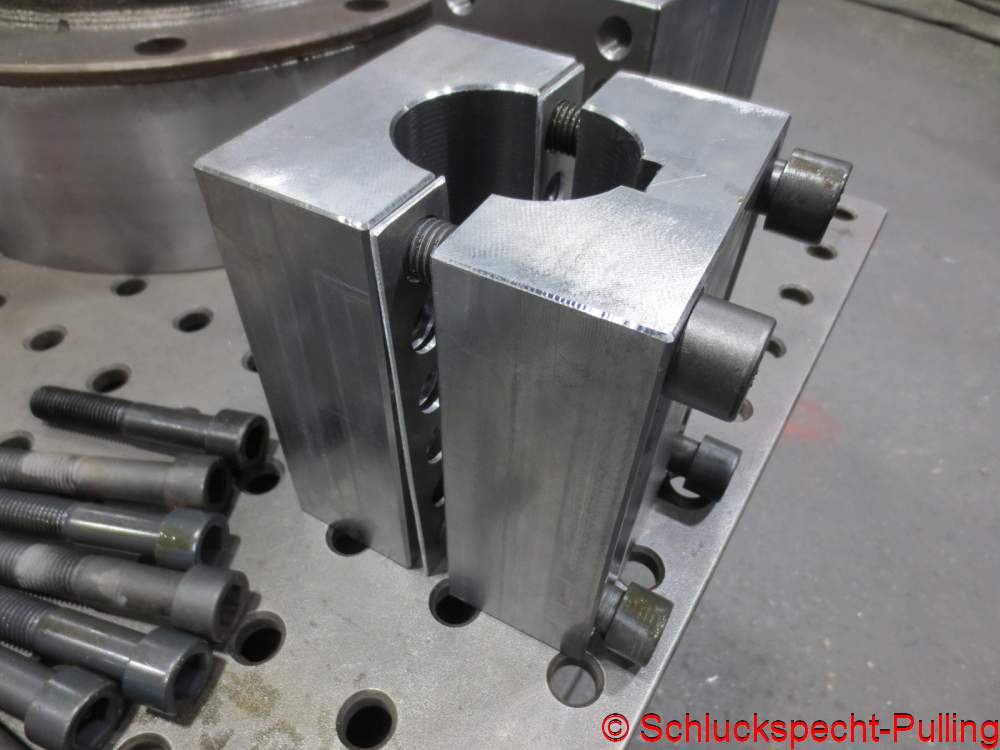
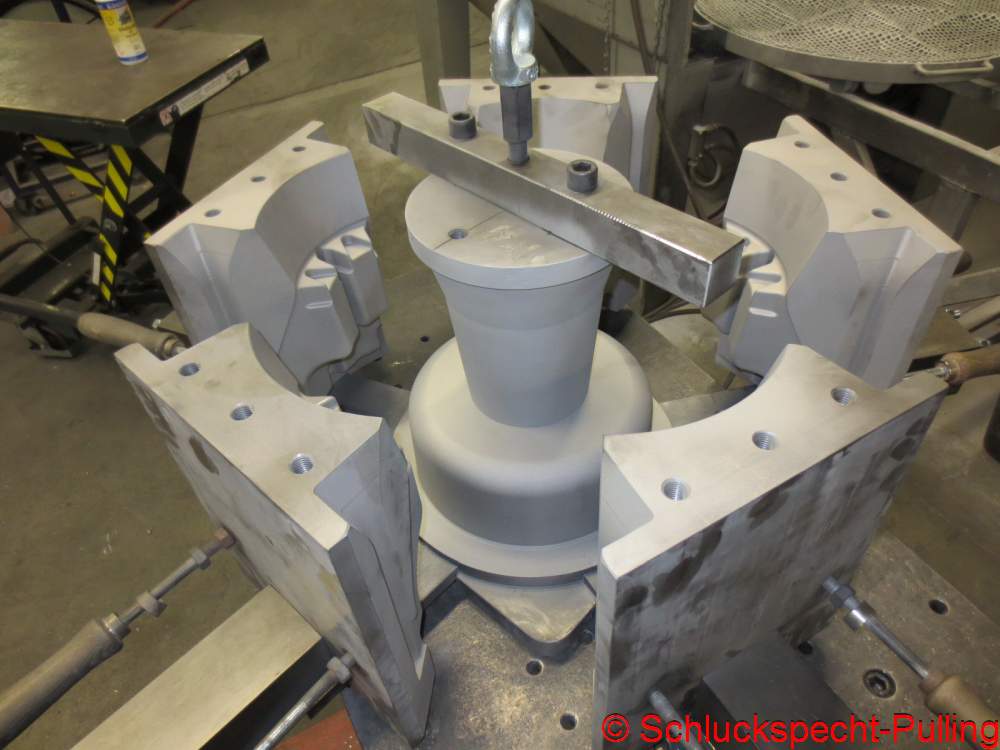
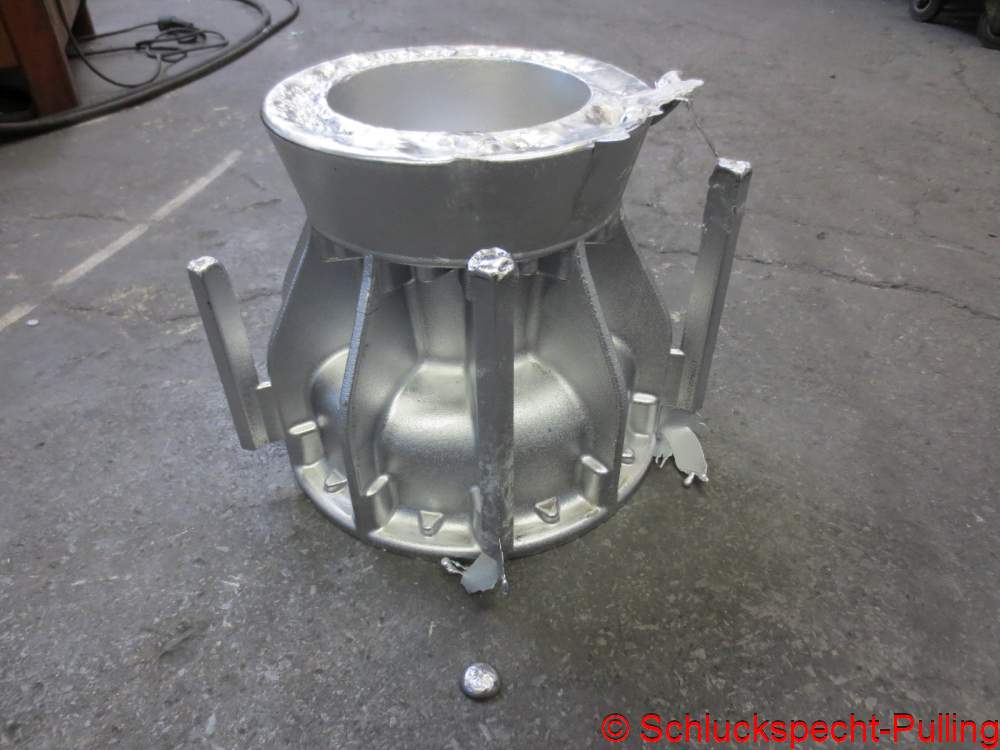
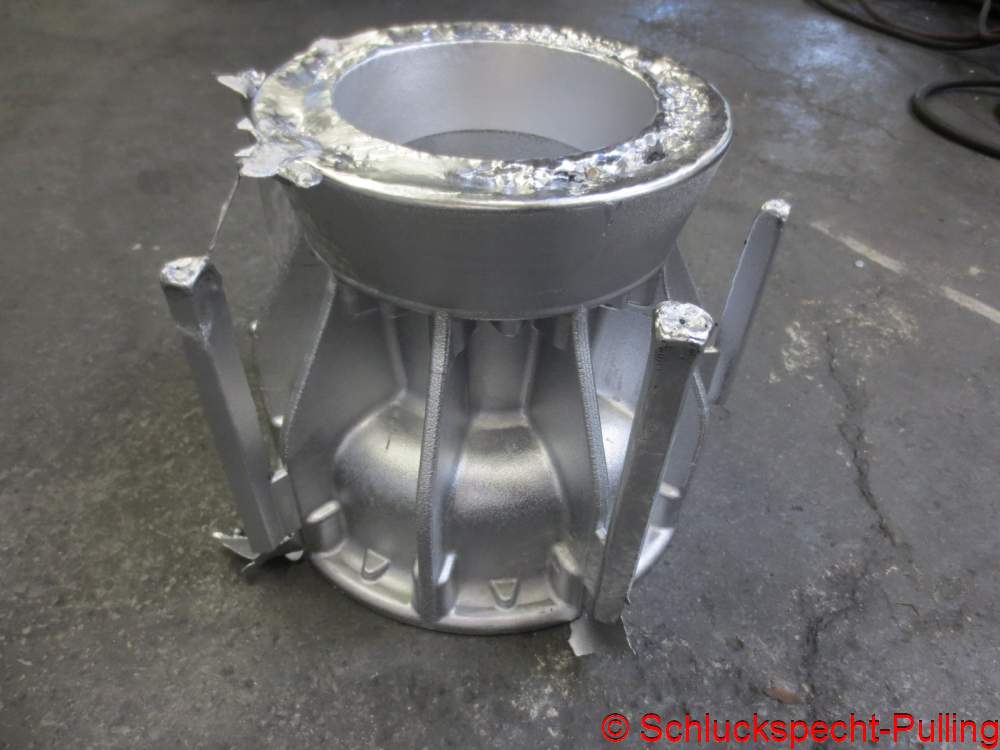
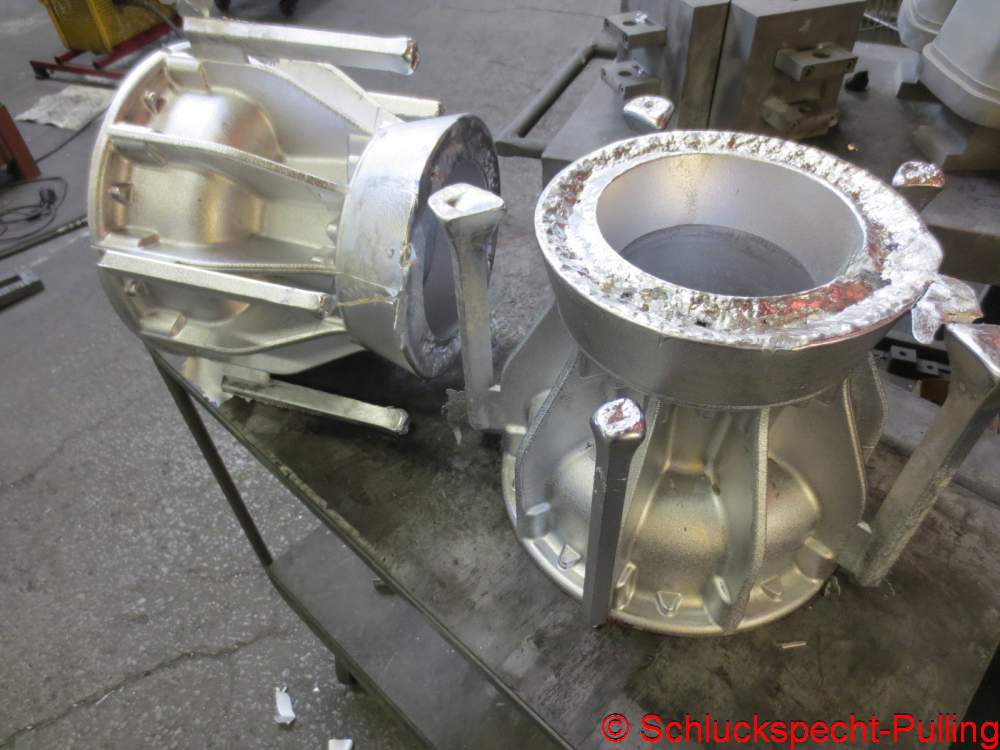
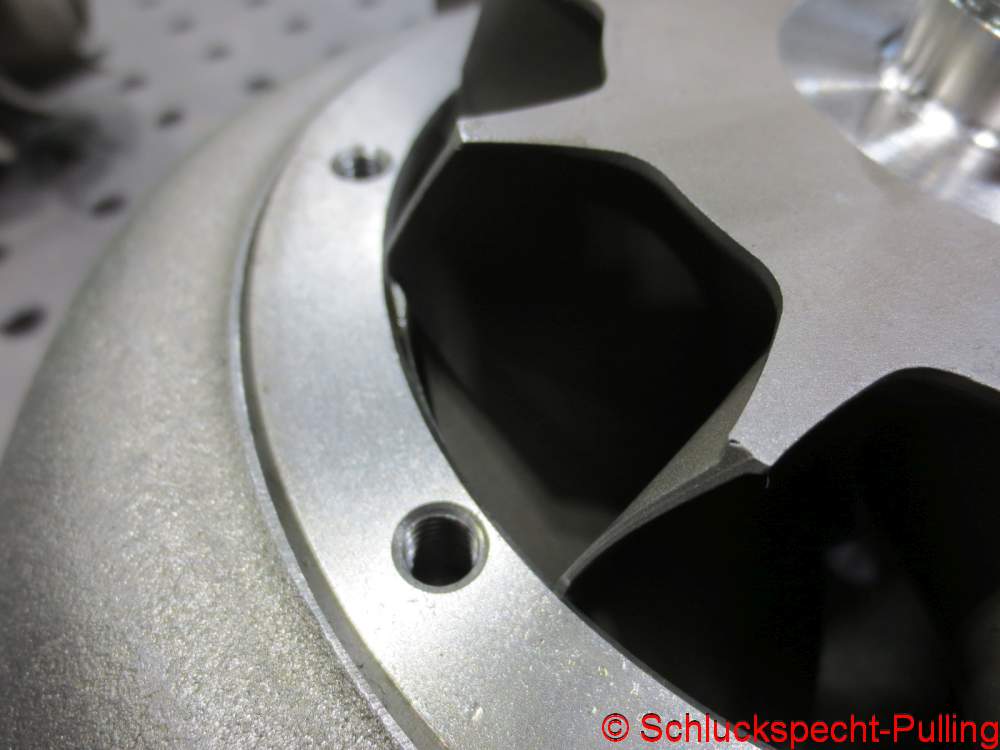
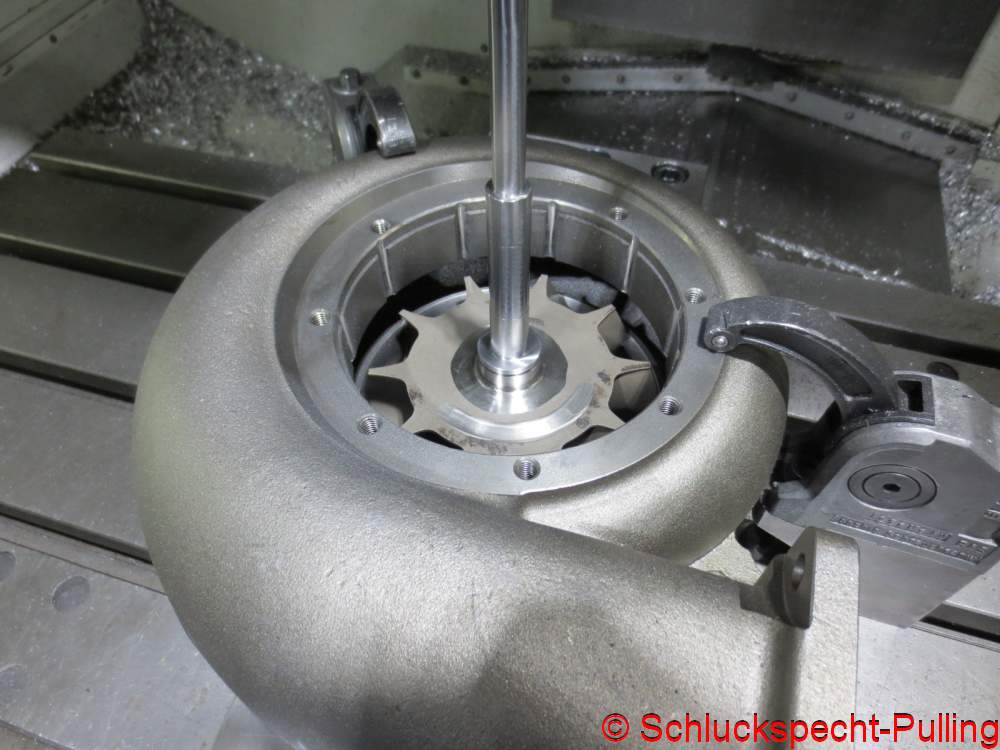
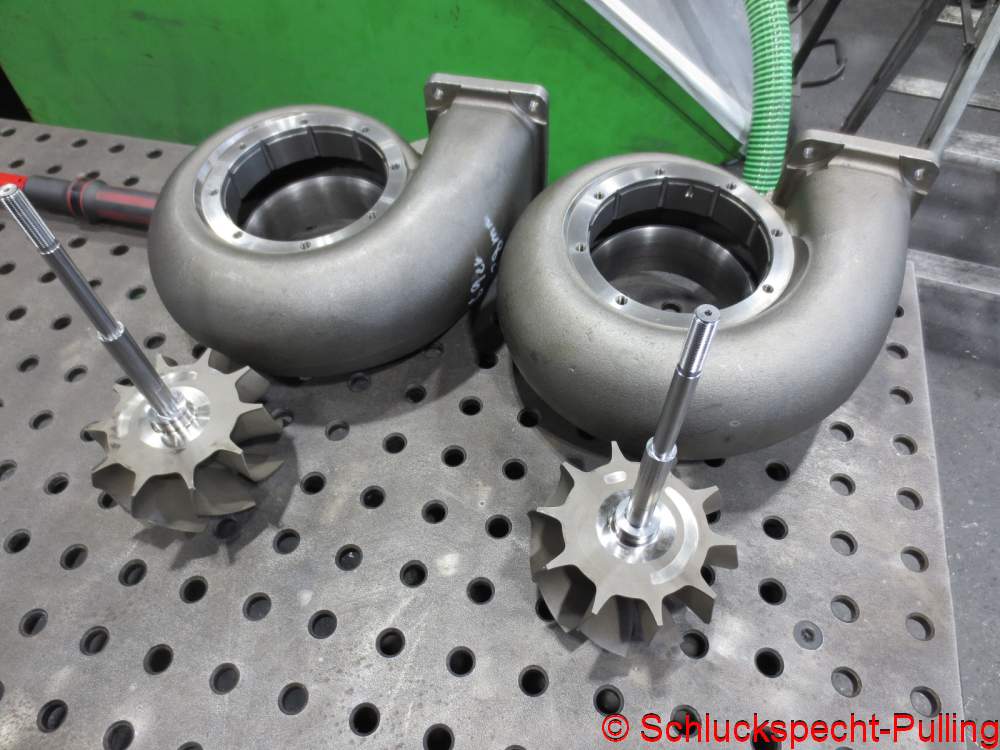
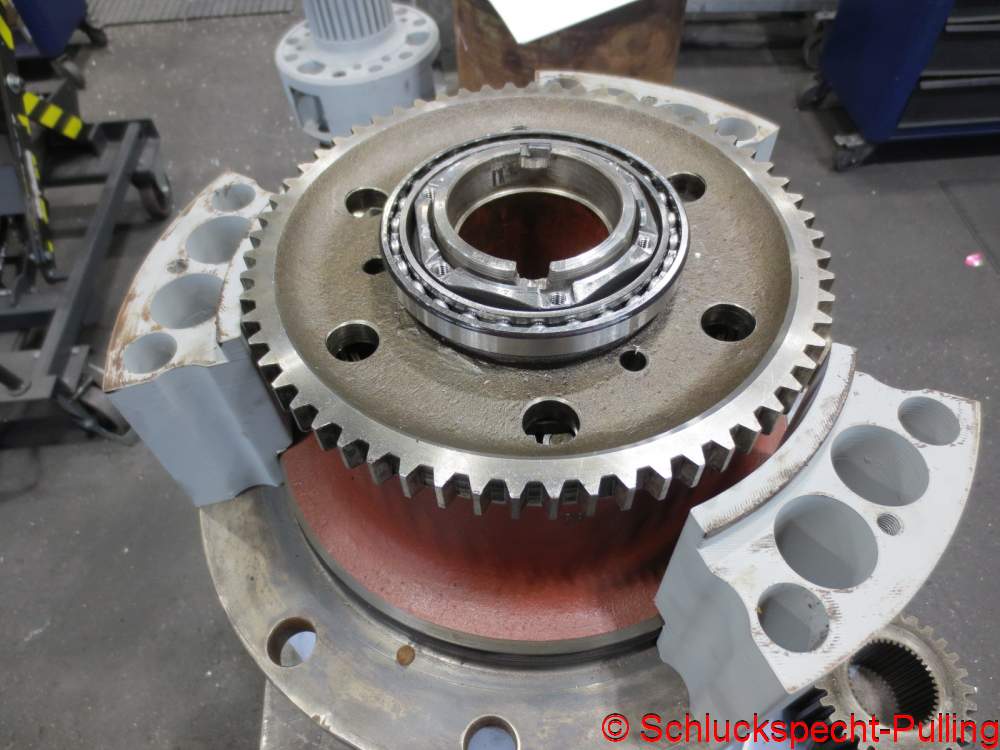
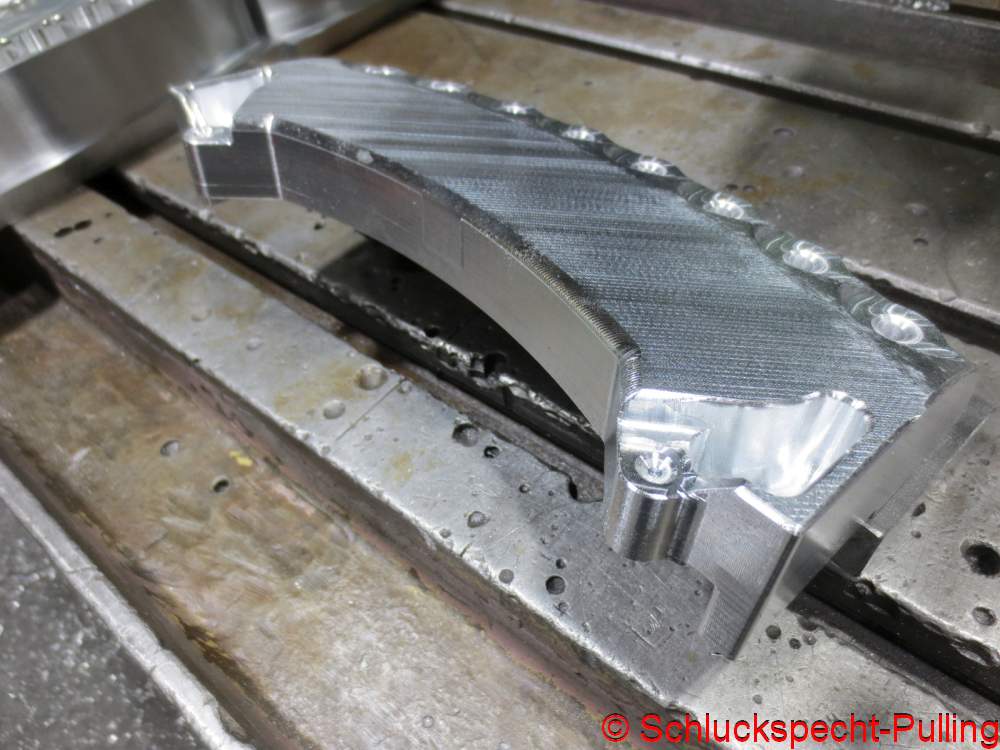
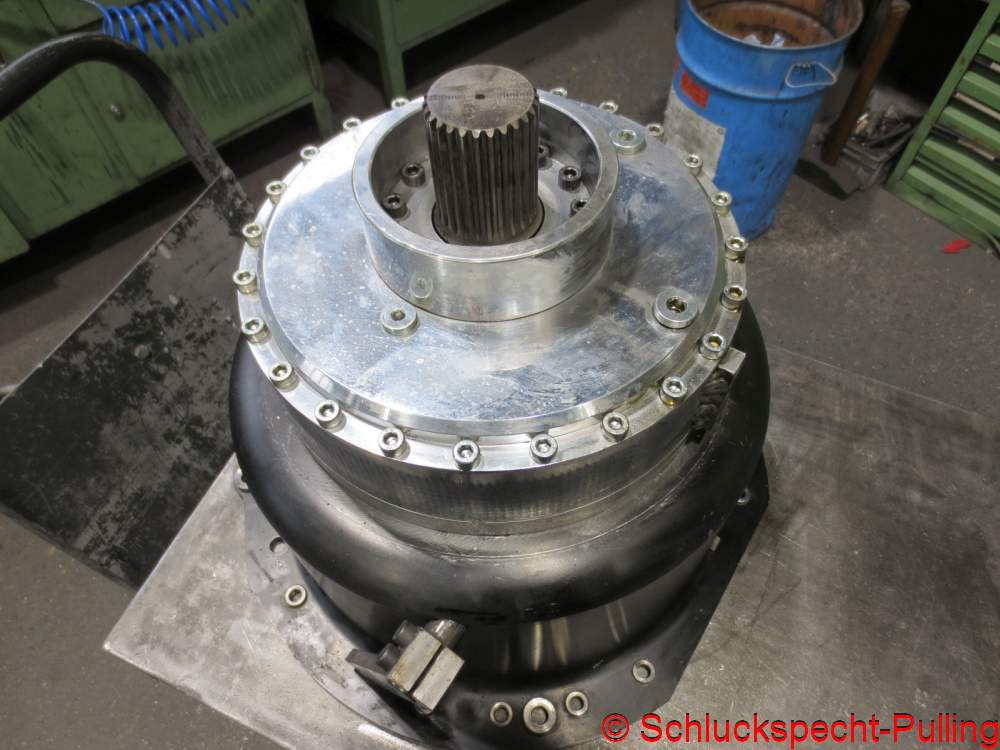
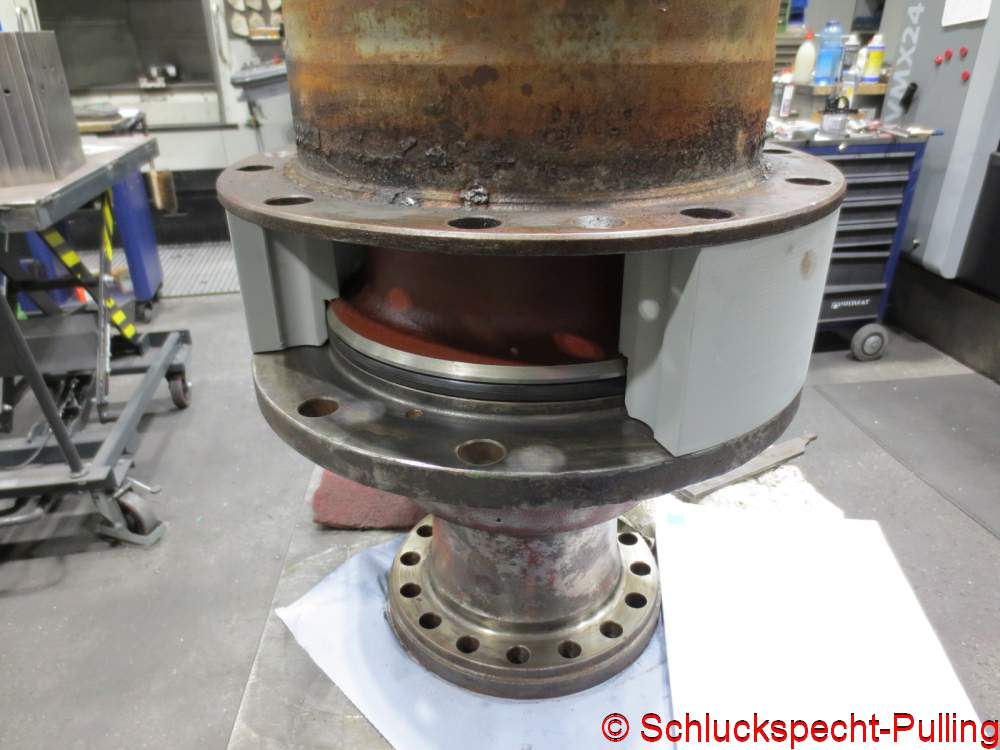
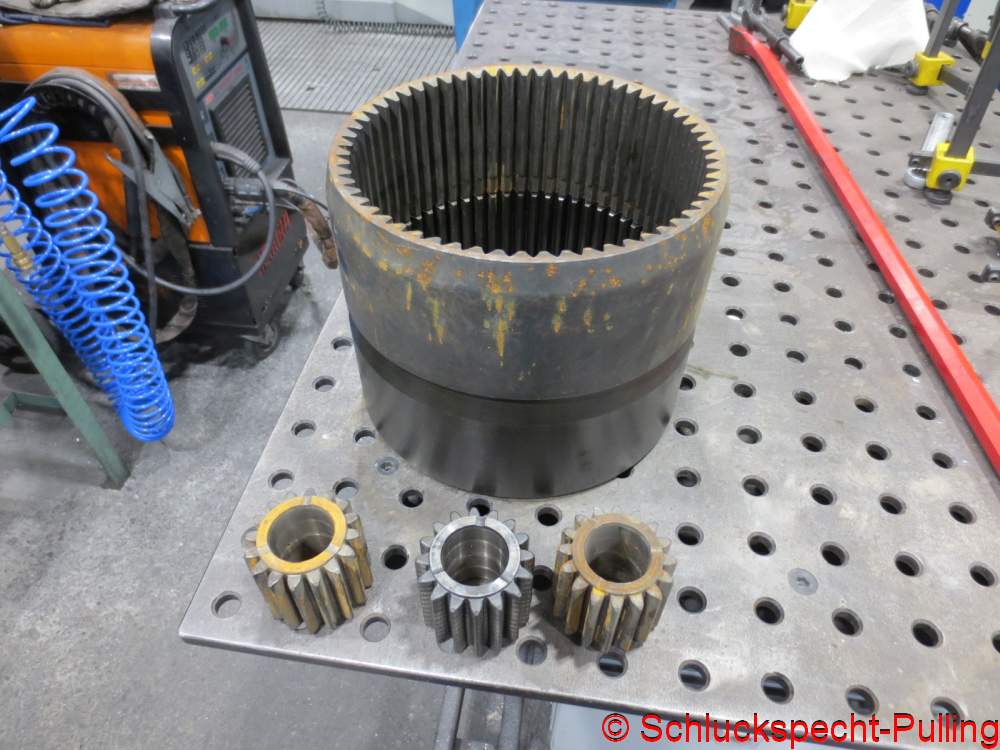
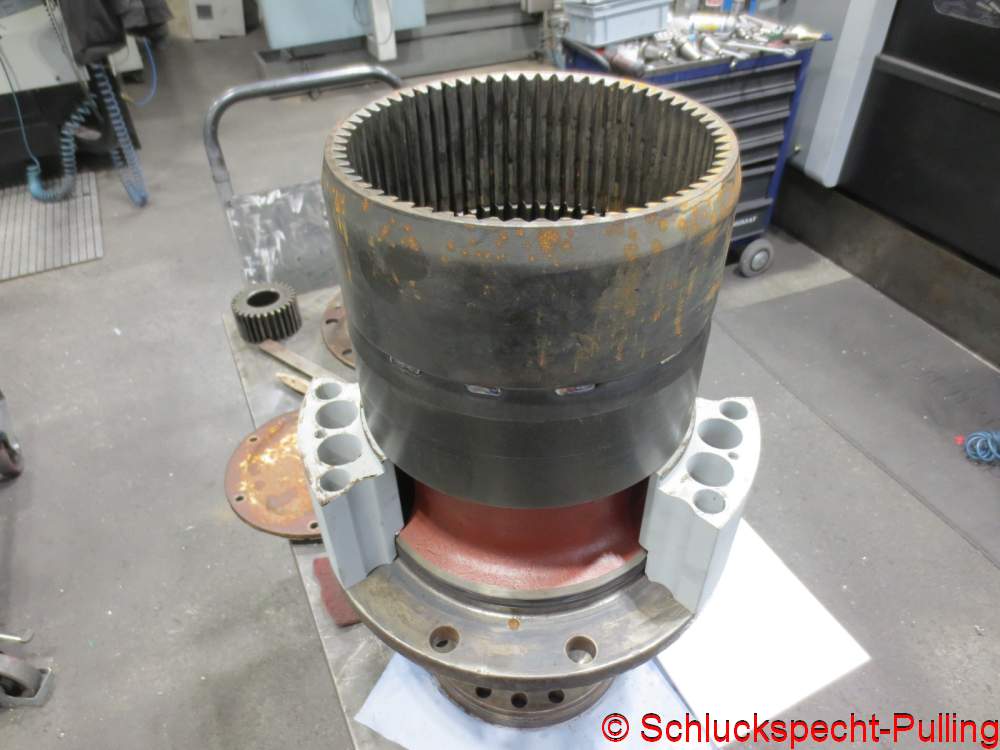
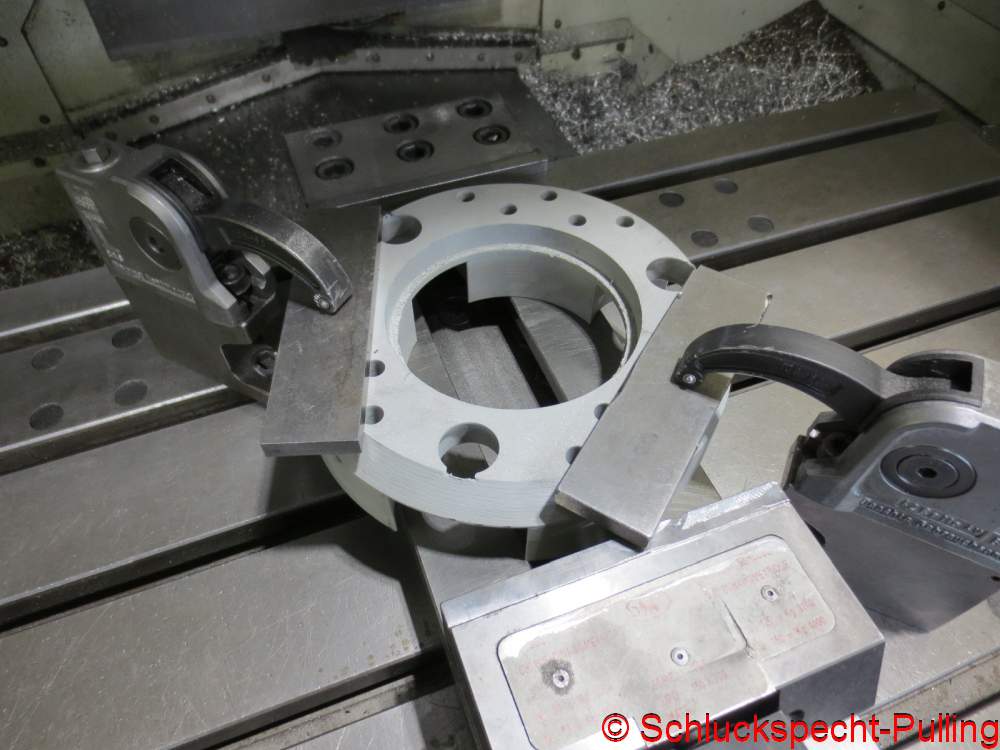
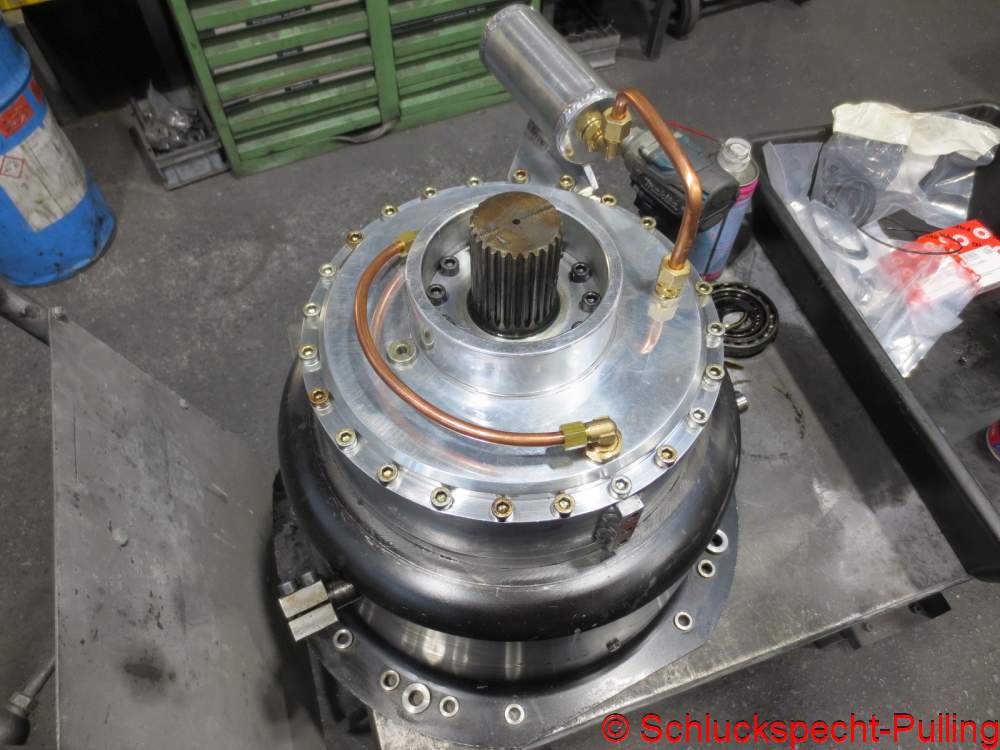
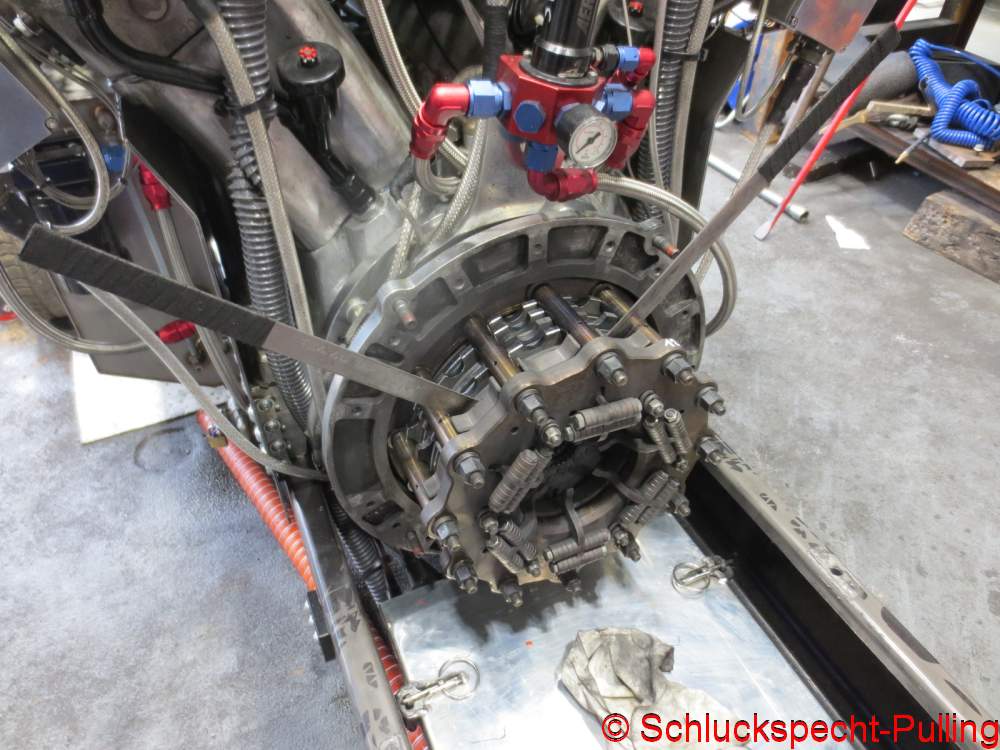
Zusammenpassen ist ein gutes Stichwort für das was jetzt kommt. Seht Ihr die Ausbeulung an dem Getriebedeckel?
„Fitting together“ is a good keyword for what comes next. Do you see the bulge on the transmission cover?
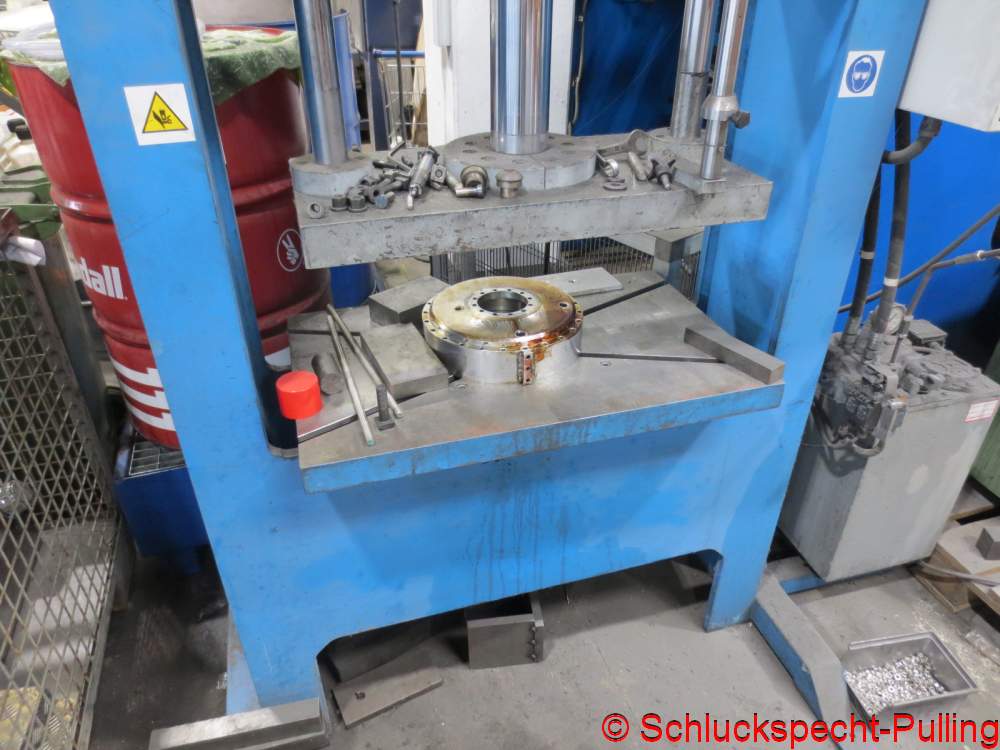
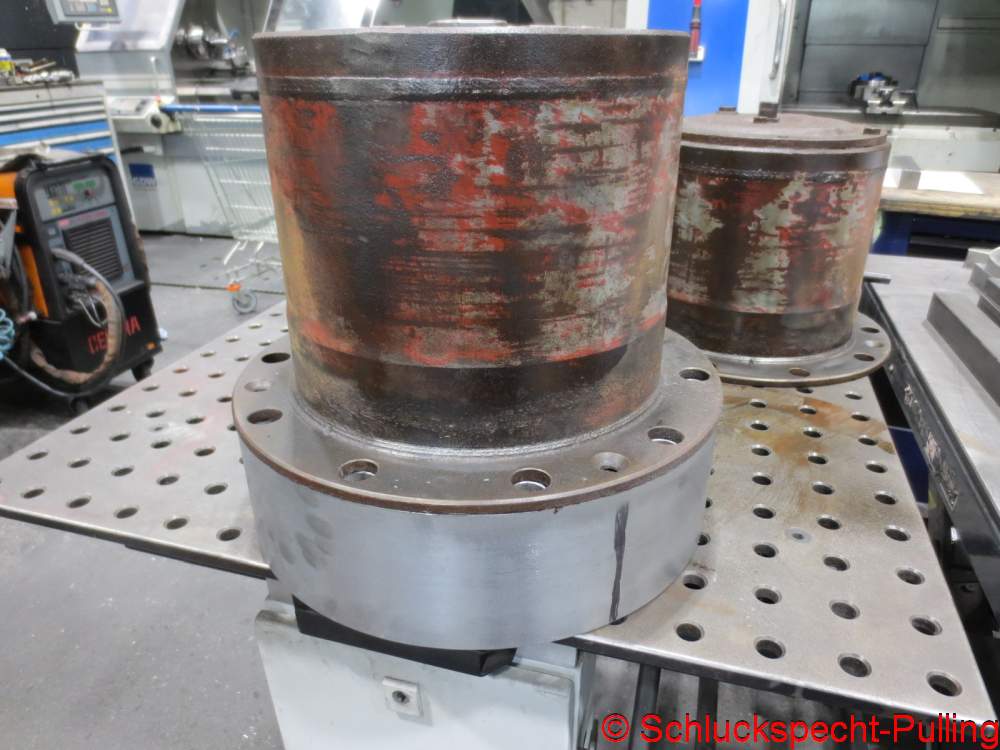
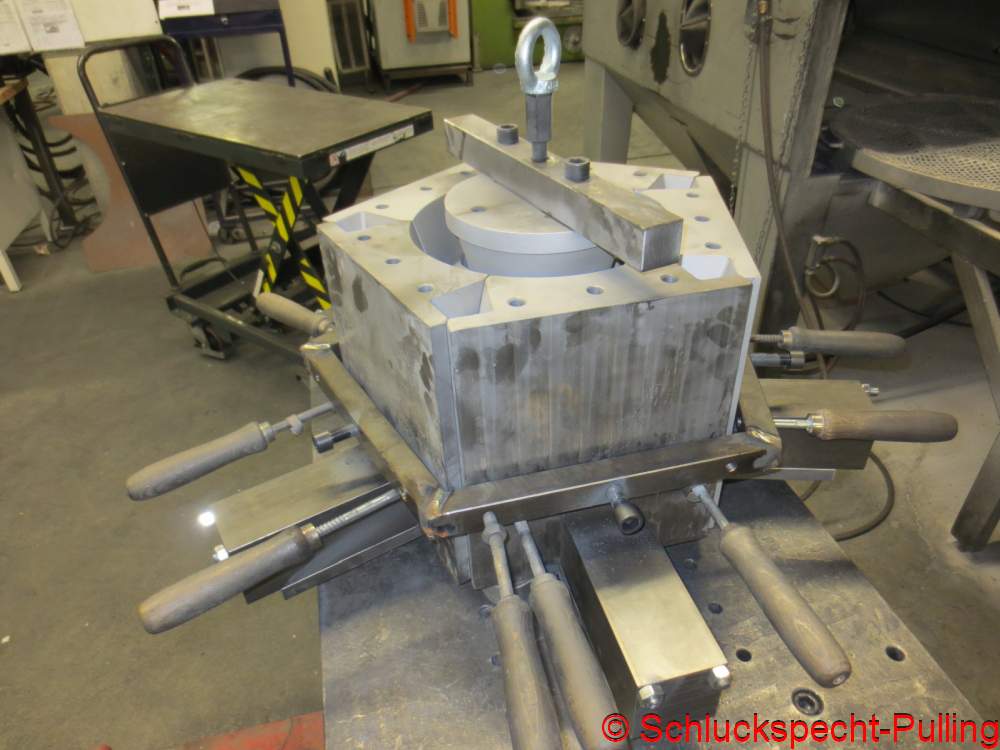
Wo rohe Kräfte sinnvoll walten. Auf lange Sicht soll der Deckel natürlich neu gefertigt werden. Nur dann direkt mit angeflanschtem Reverser. Nur ich würde halt gerne noch so ein paar Dinge bezüglich des Schmierölhaushaltes testen. Dafür ist der Deckel dann doch noch gut genug. Sie sehen: Eine 60 Tonnen Hydraulikpresse die sich erstaunlich anstrengen musste die Beule wieder zurück zu drücken. 😉
Where raw force is applied purposefully. In the long run, of course, the cover is to be newly manufactured—ideally with a flanged-on reverser right from the start. But for now, I’d like to test a few things regarding the lubricating oil system, and the cover is still perfectly adequate for that. As you can see: a 60-ton hydraulic press that had to work surprisingly hard to push the dent back out. 😉
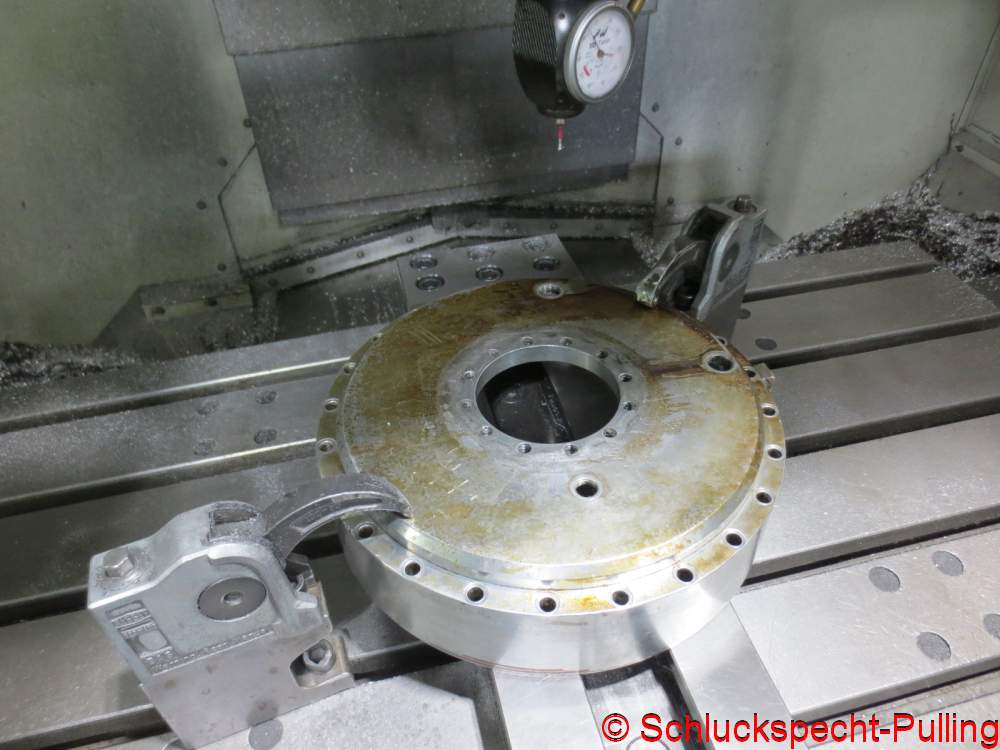

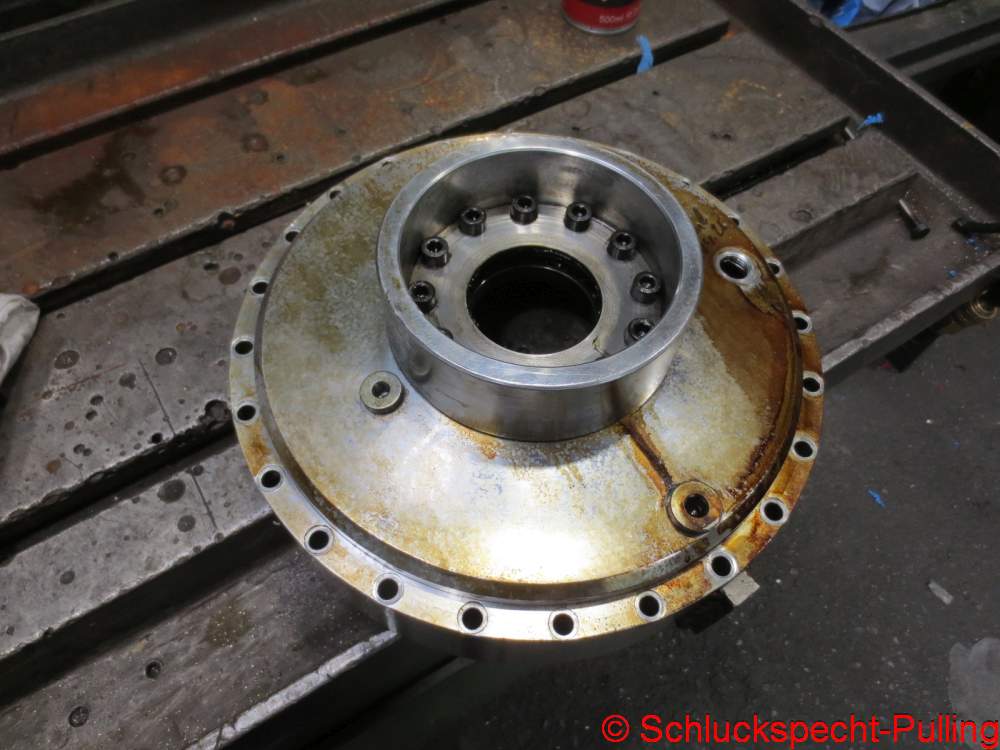
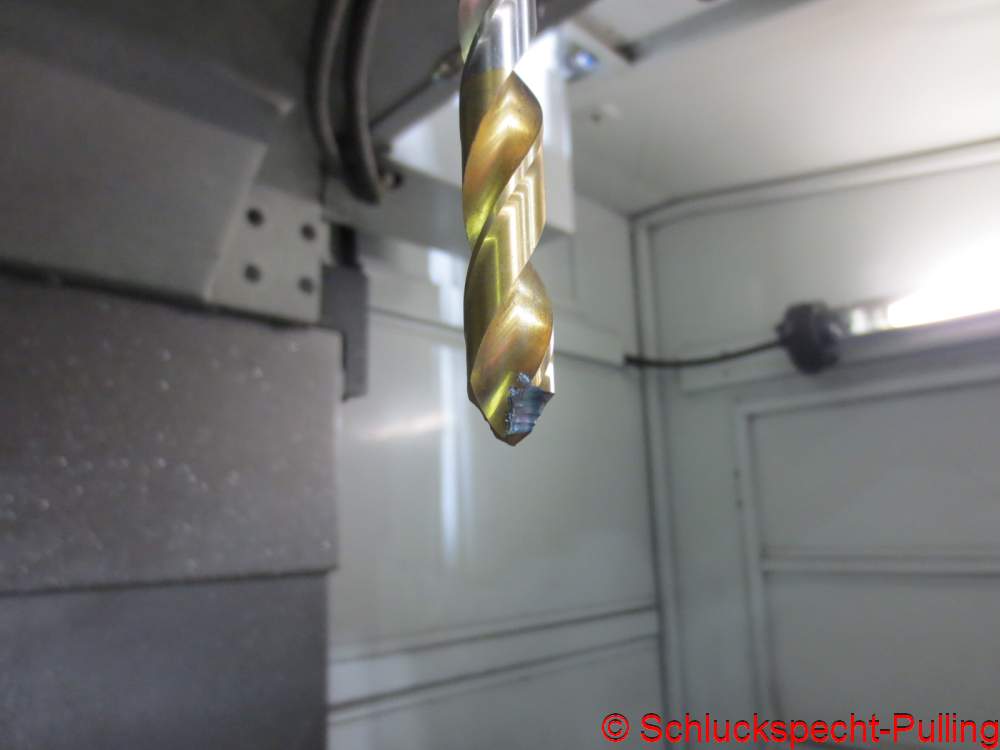
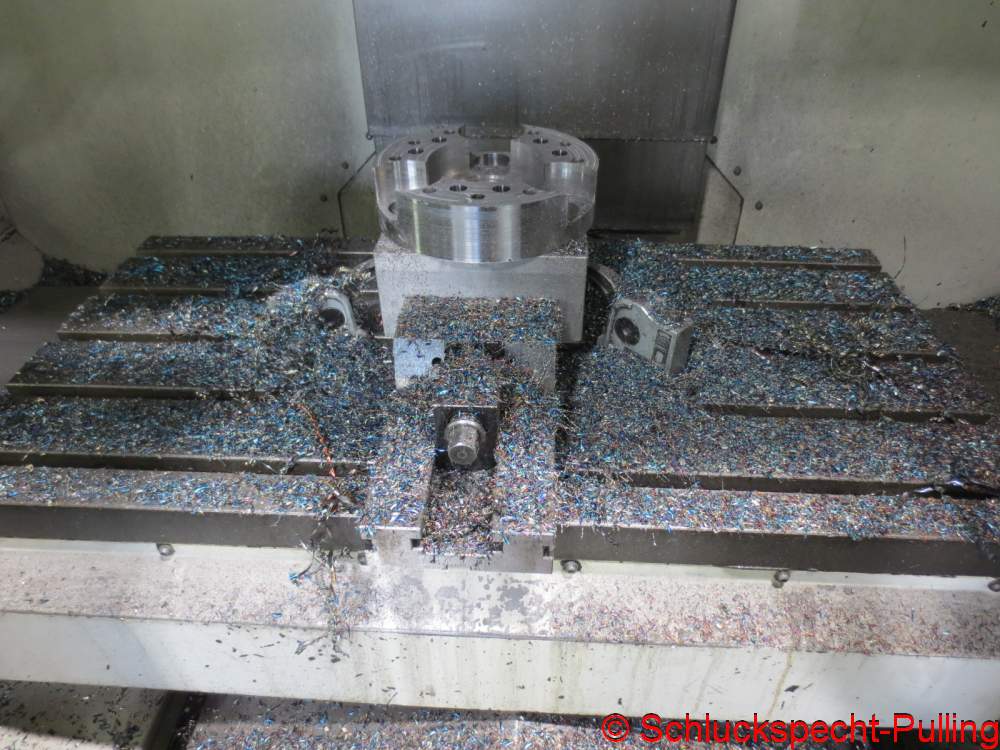
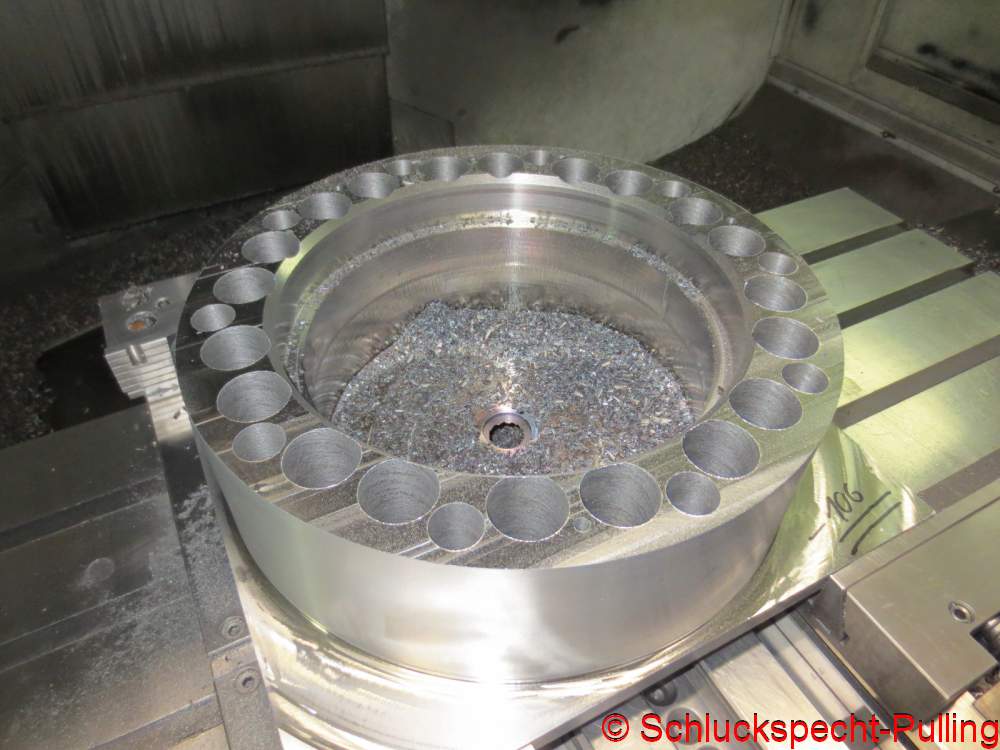
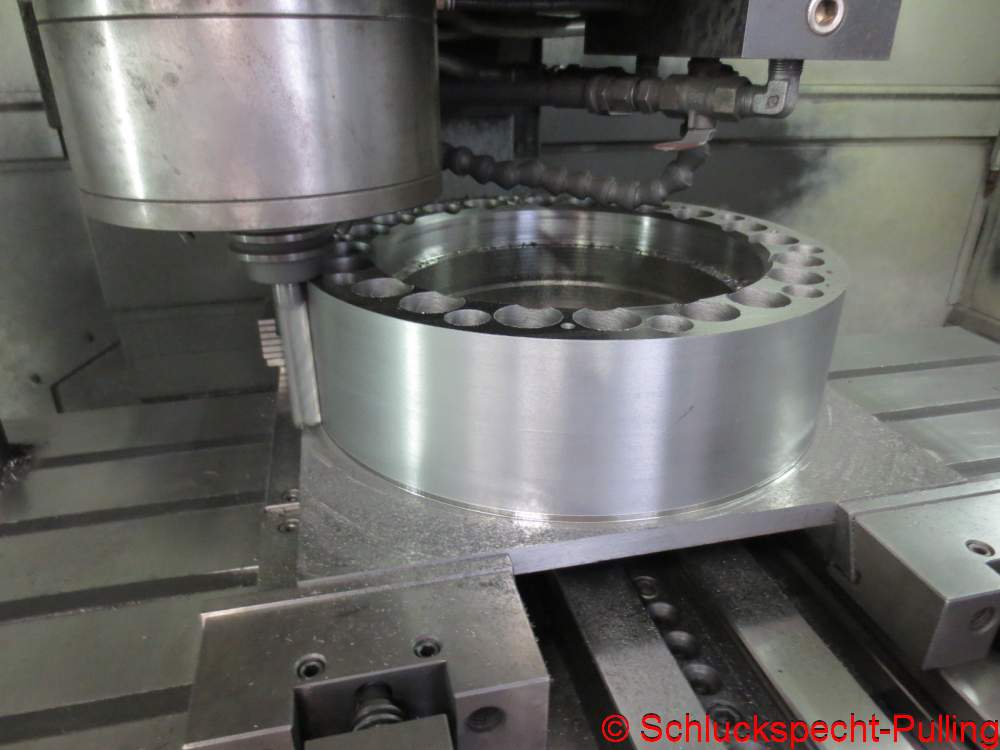
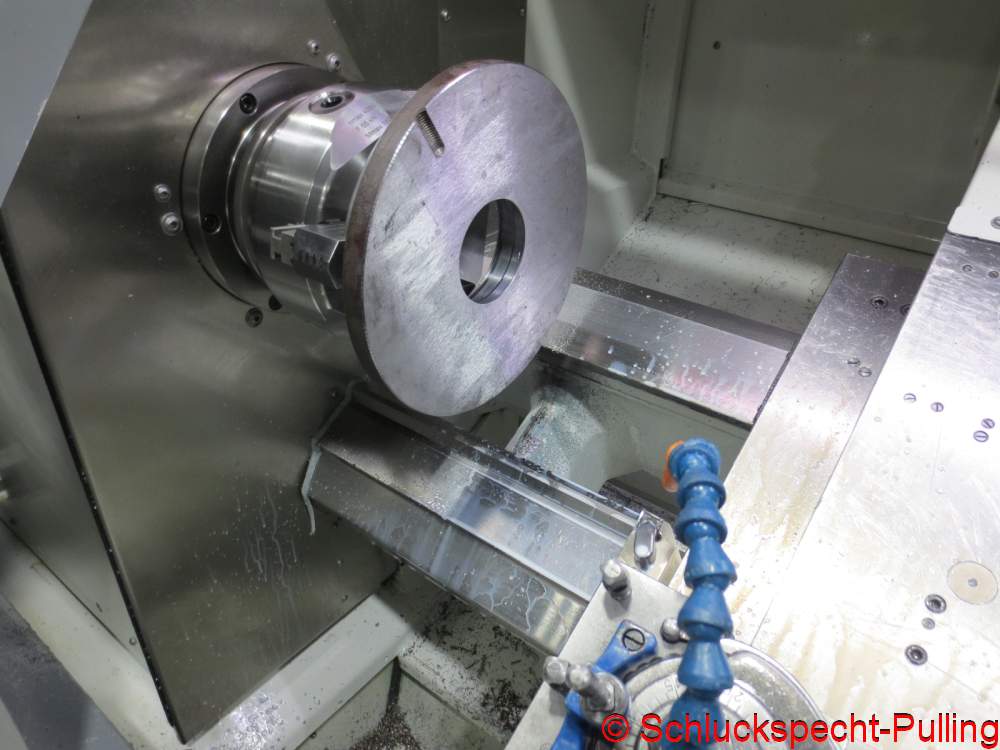
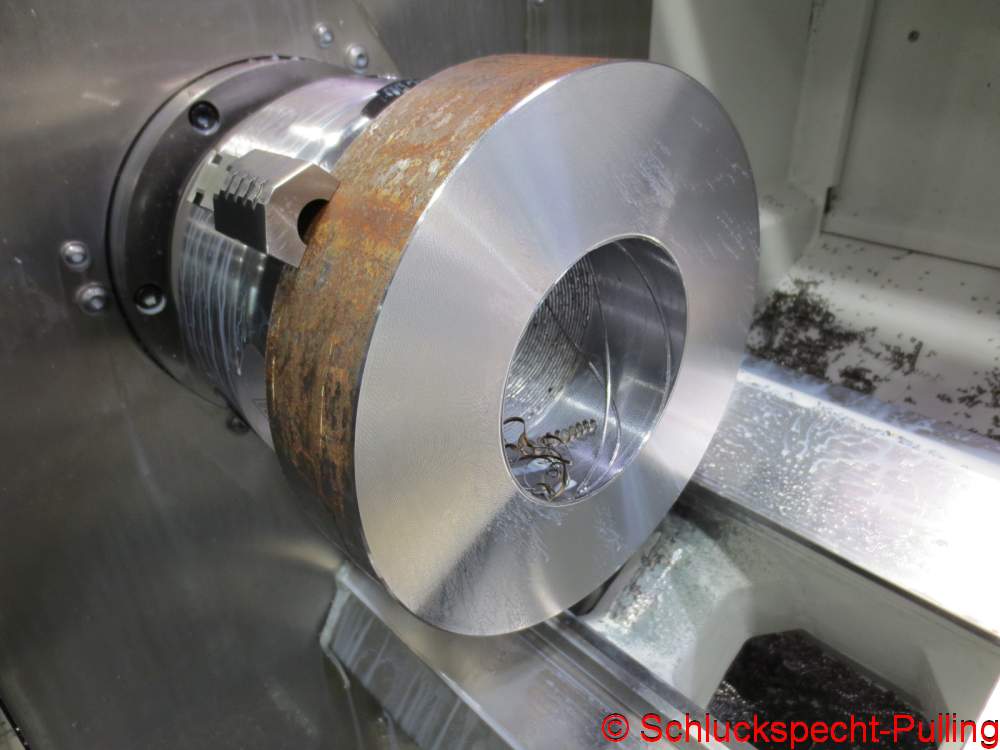
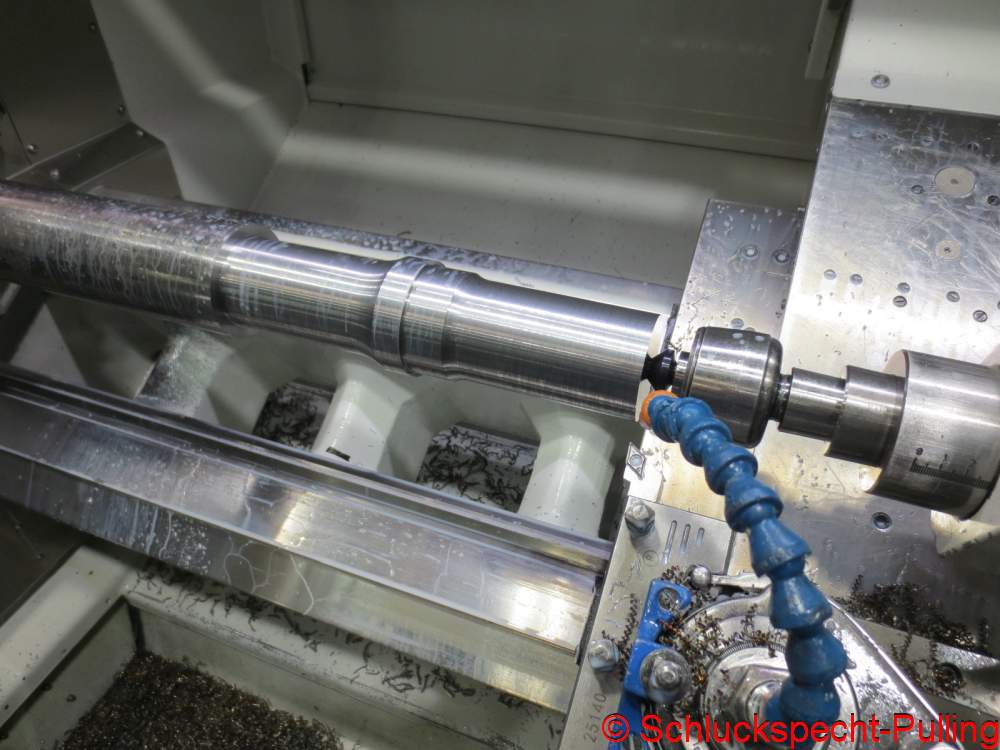
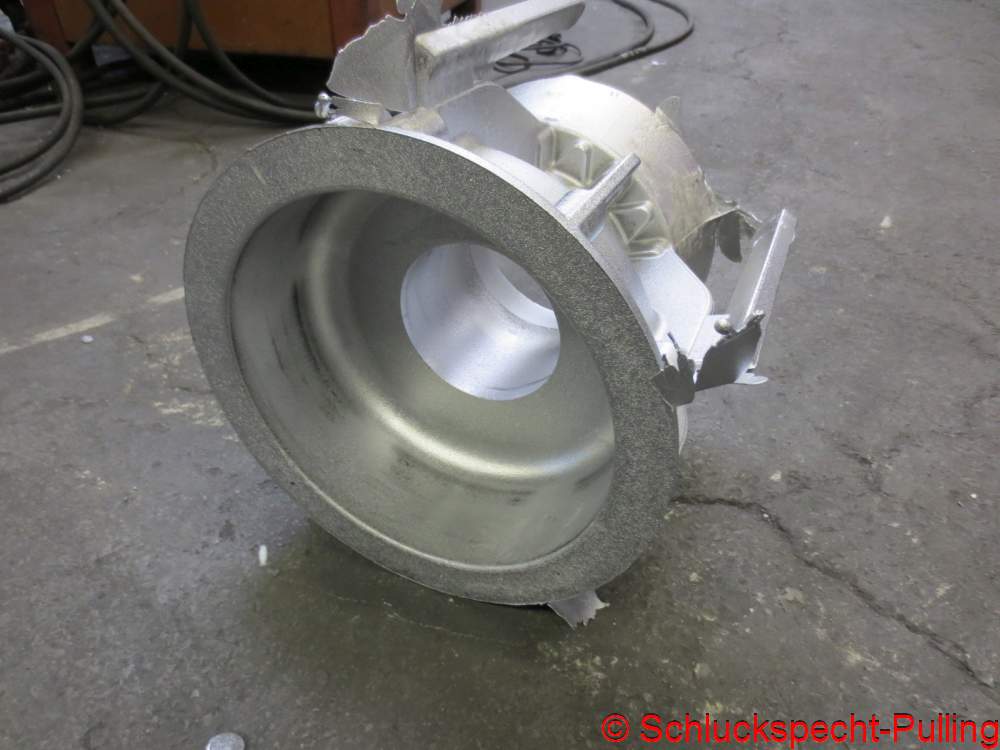
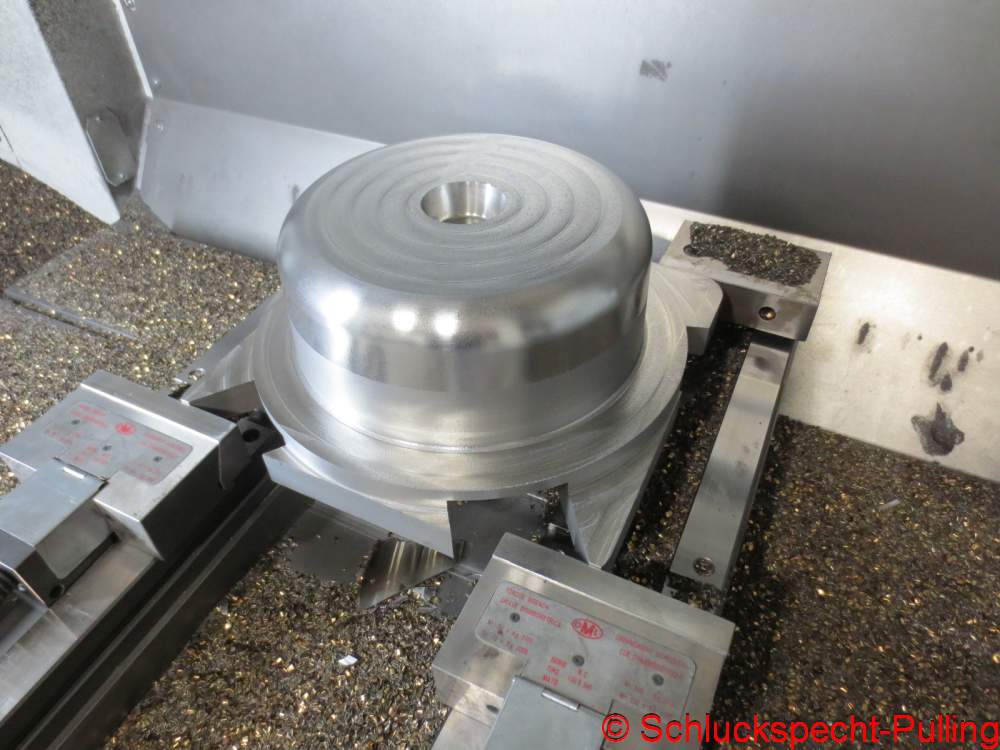
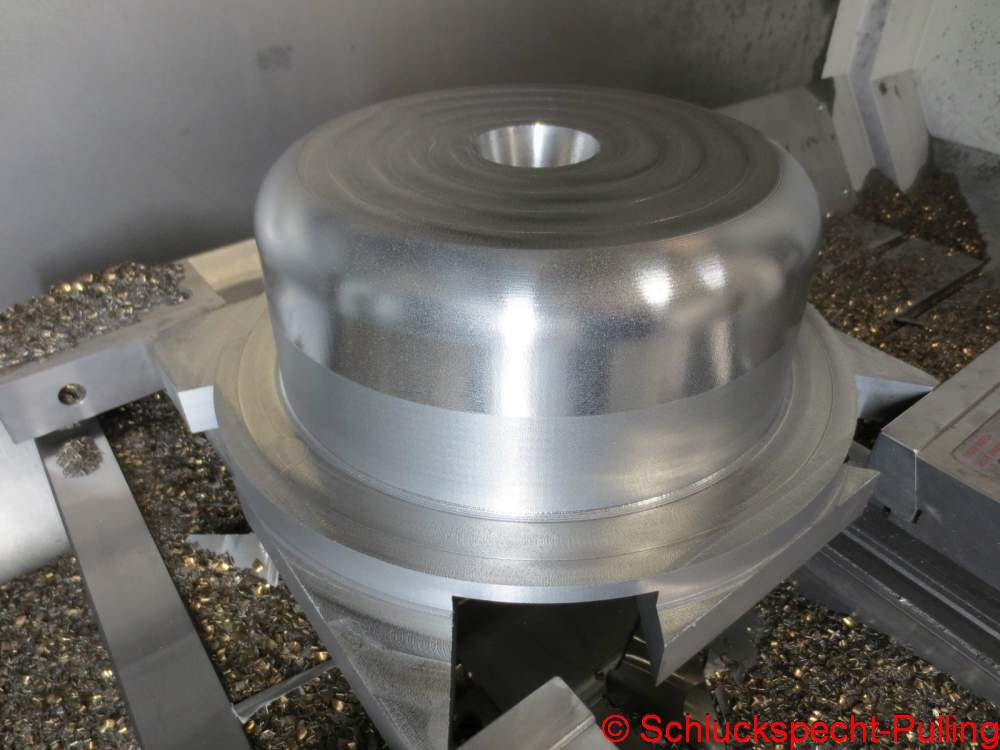
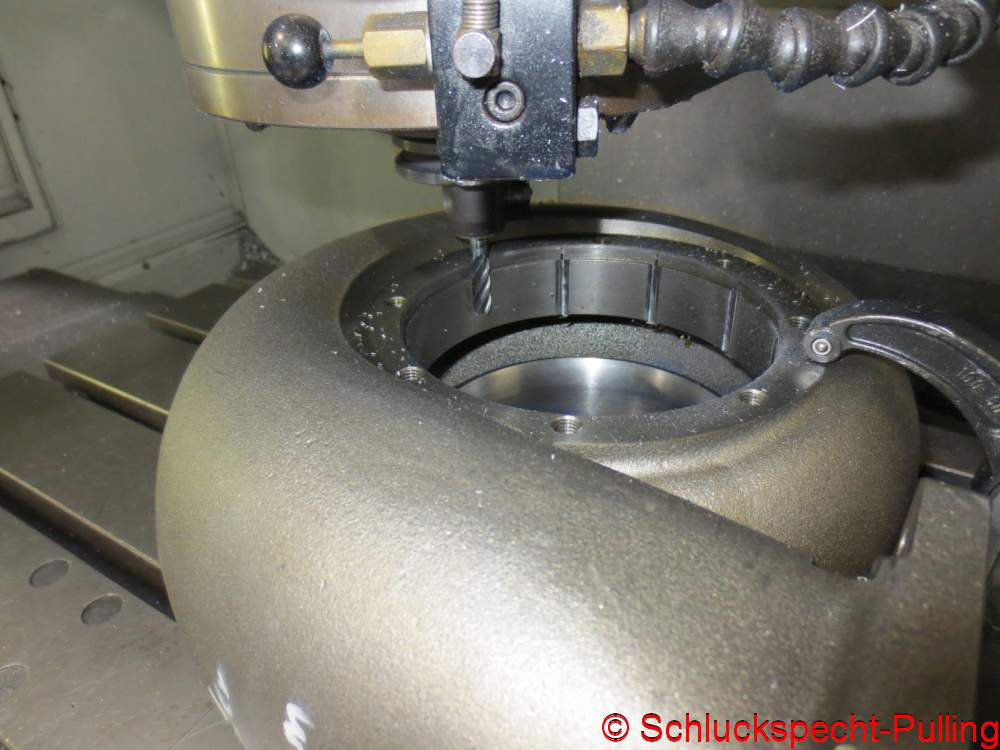
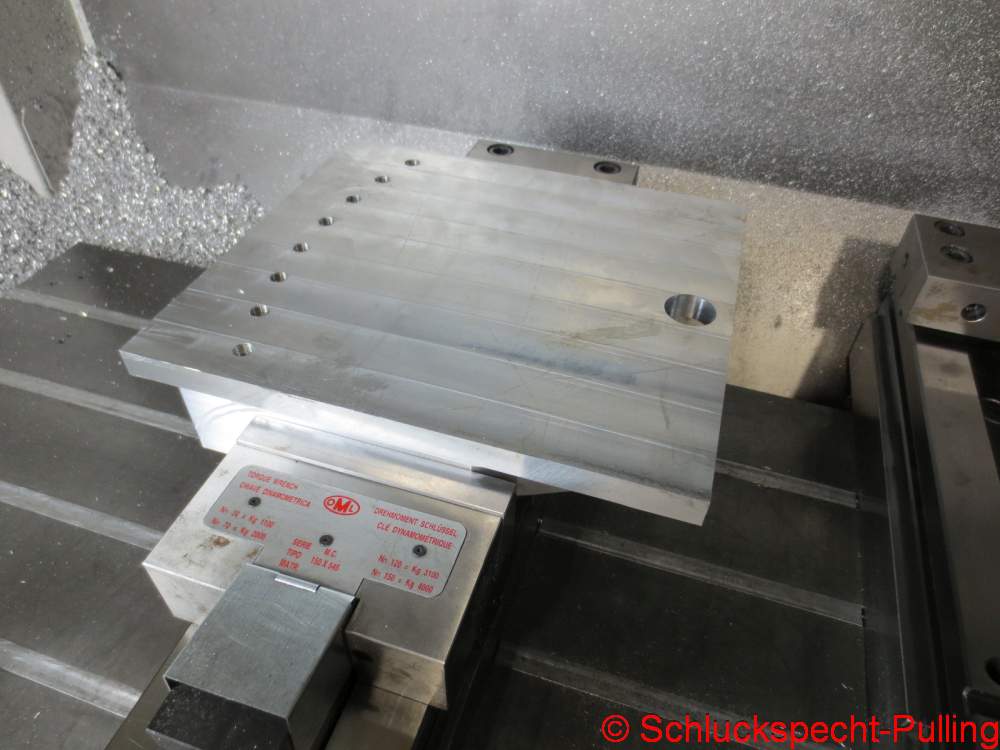
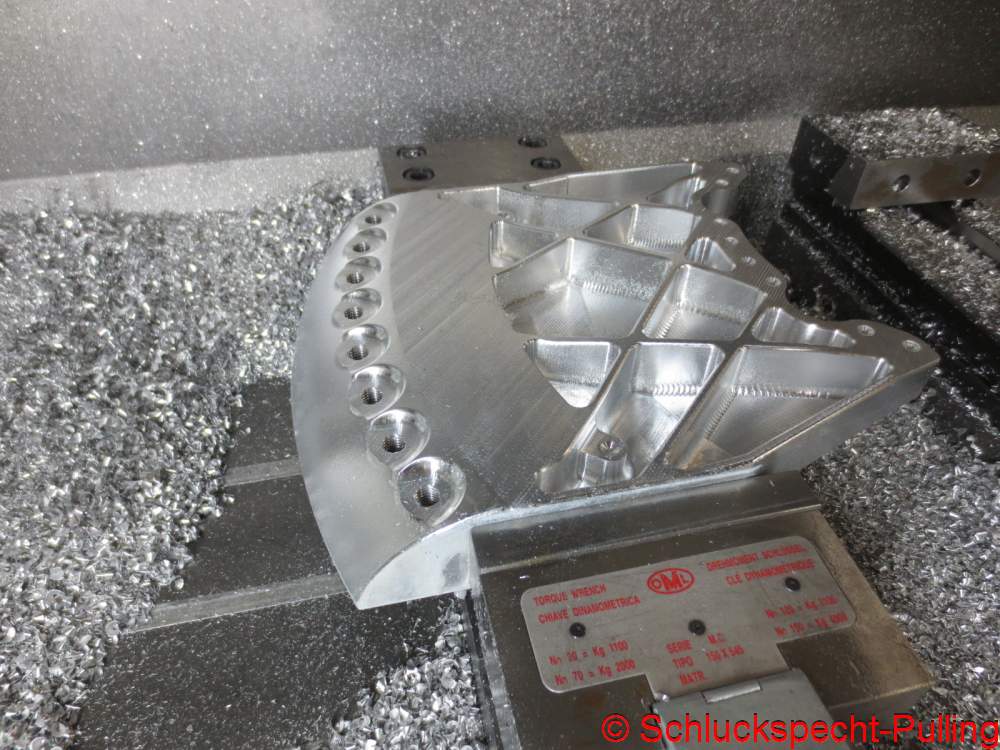
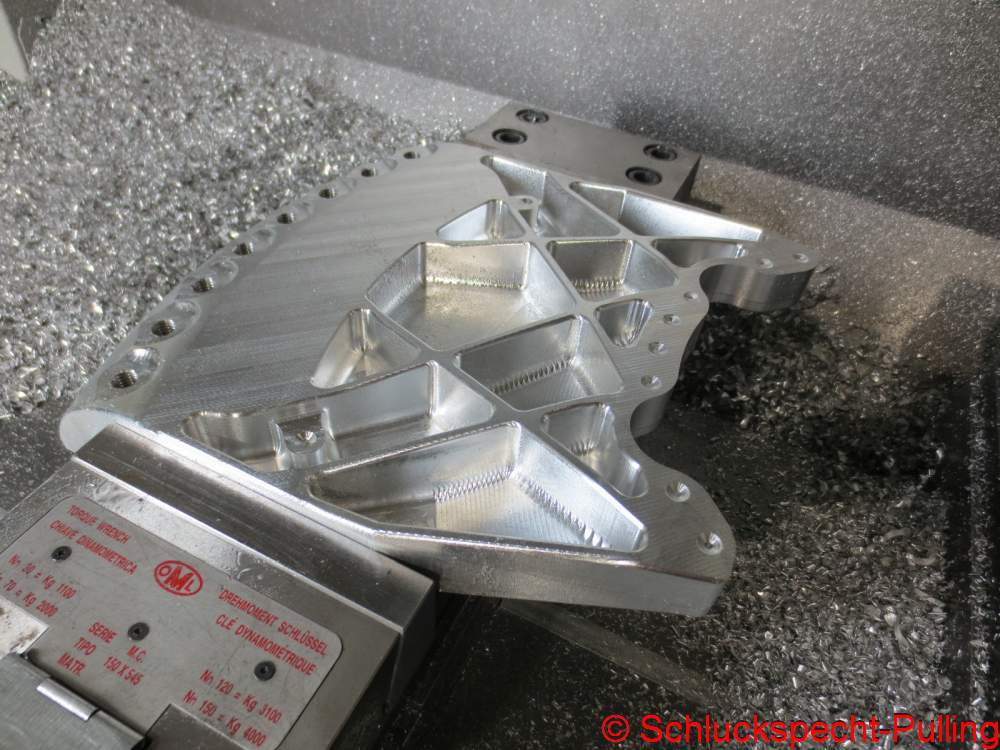
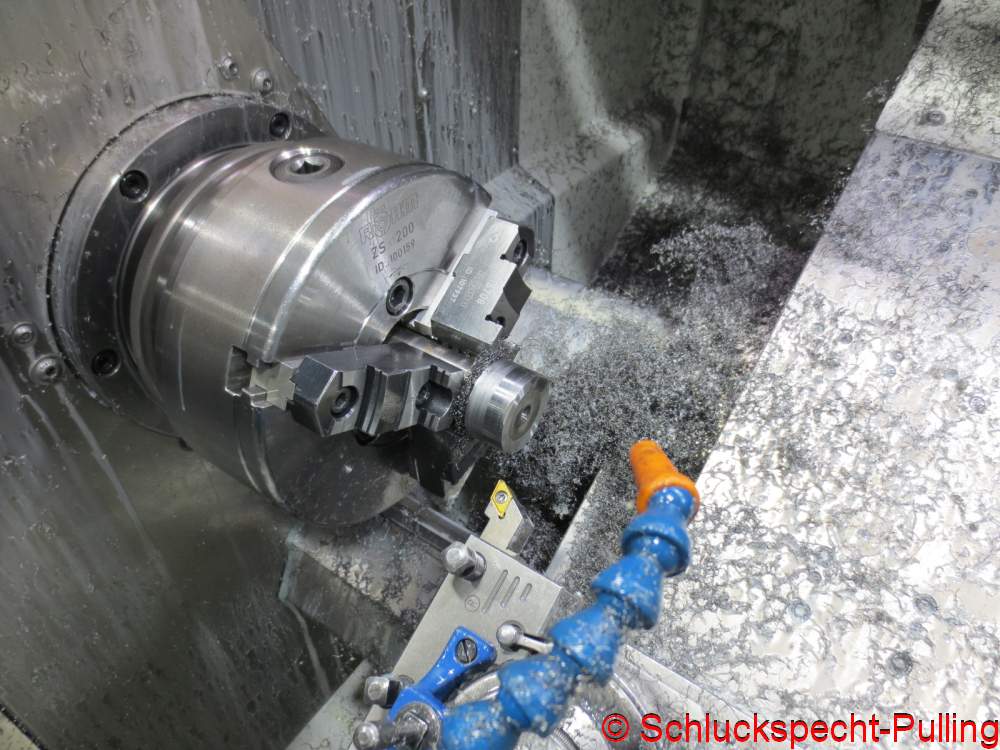
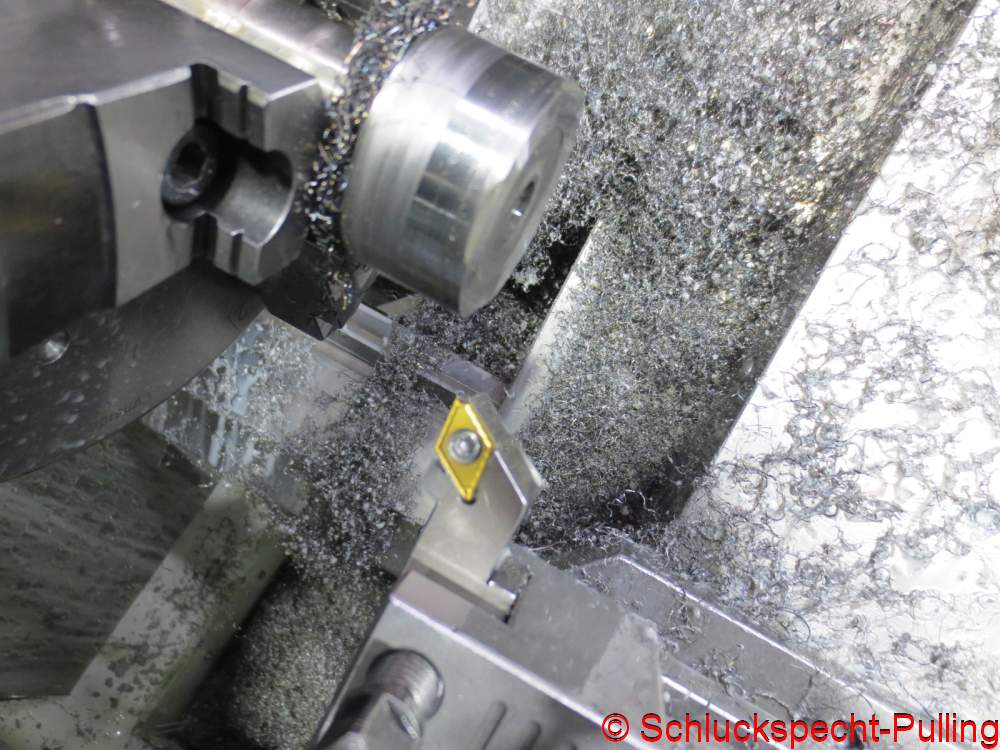
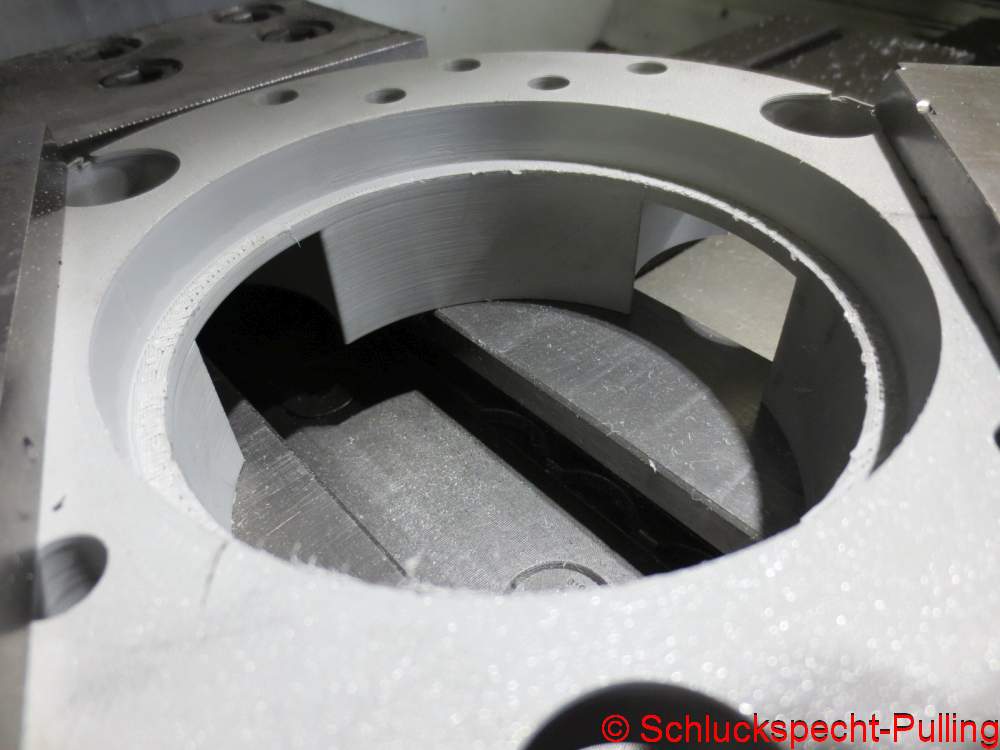
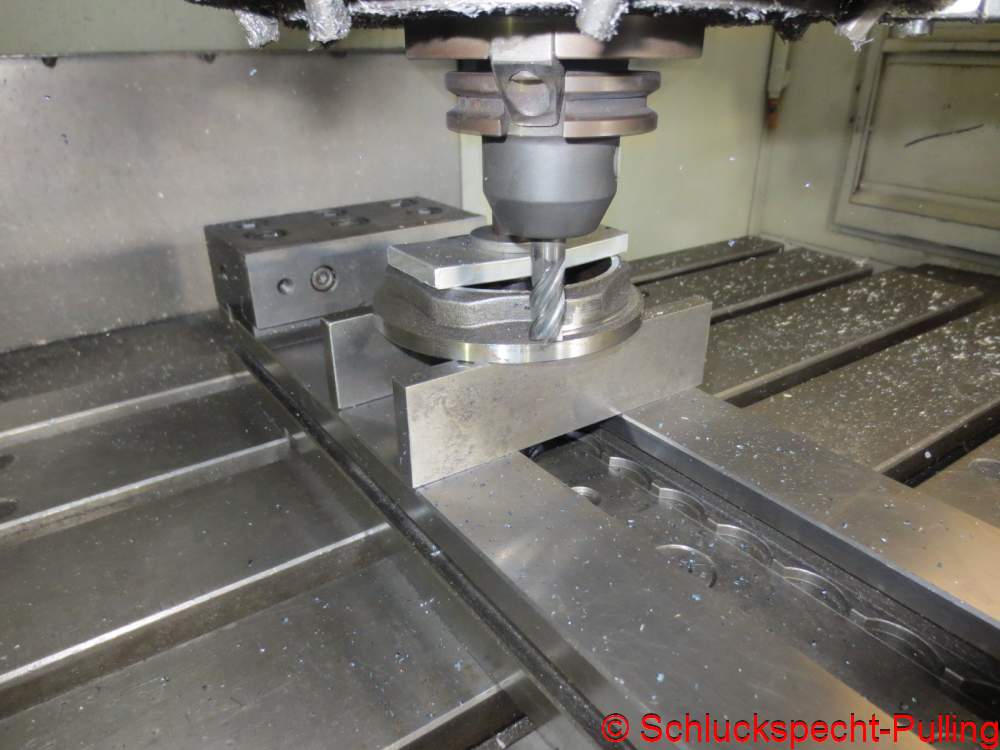
Damit maßlich wirklich alles passt, musste die Fräse noch einen kleinen Span heben…
To ensure the dimensions were absolutely spot-on, the milling machine had to take off one last thin shaving…
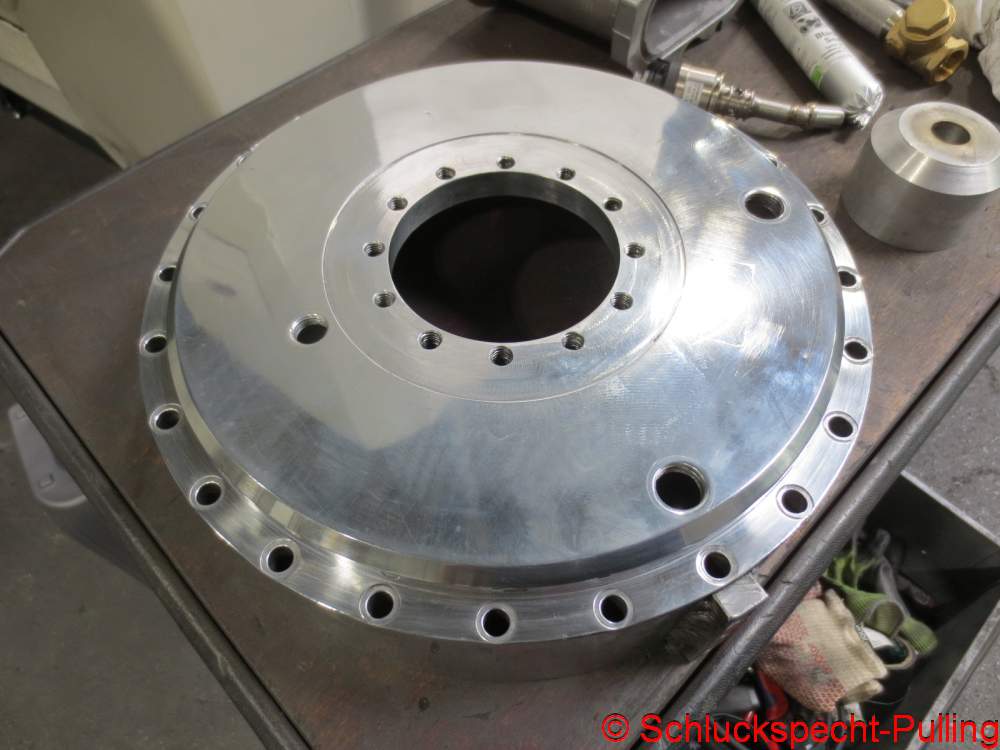
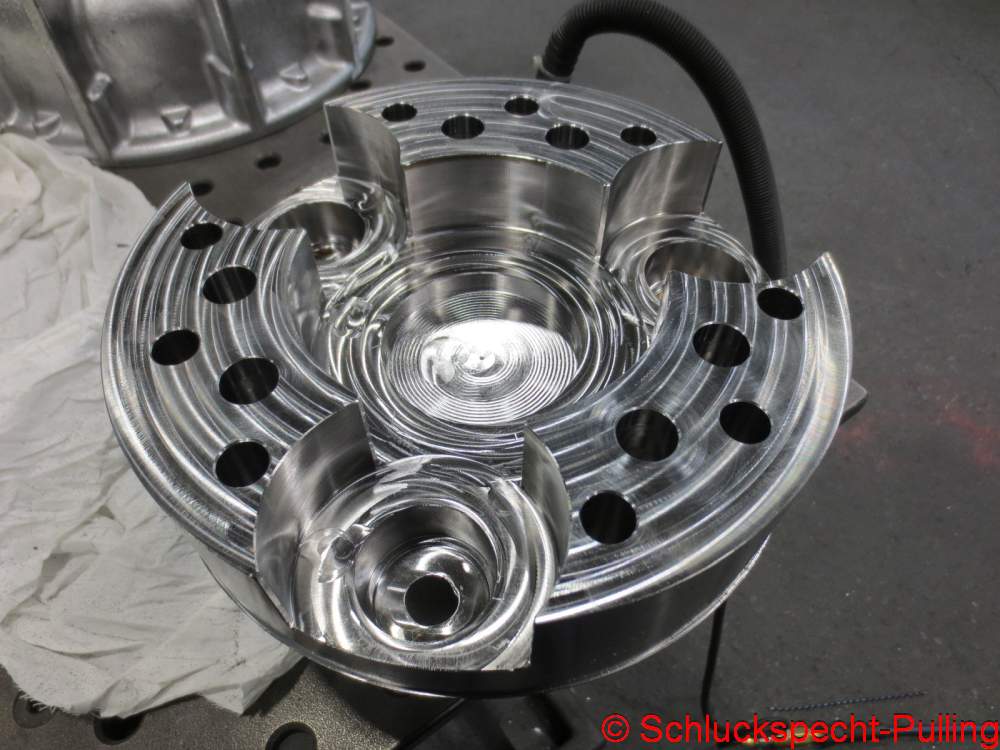
Und Hey!!!! Gestank kann man weg polieren 😉
And hey!!!! You can polish away the stench 😉
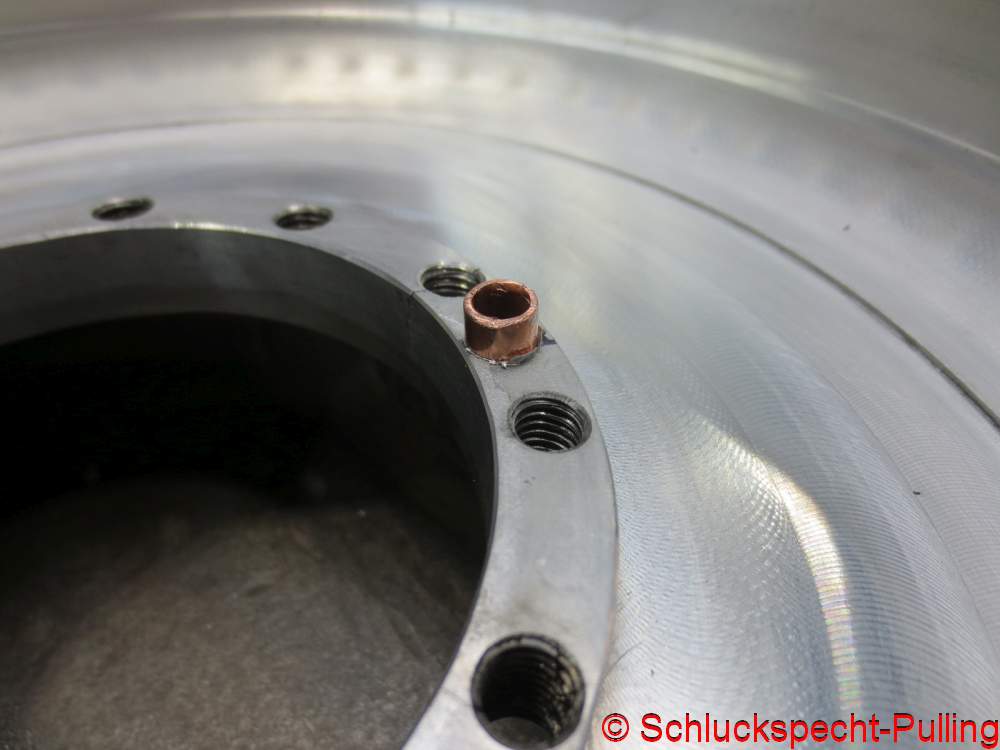

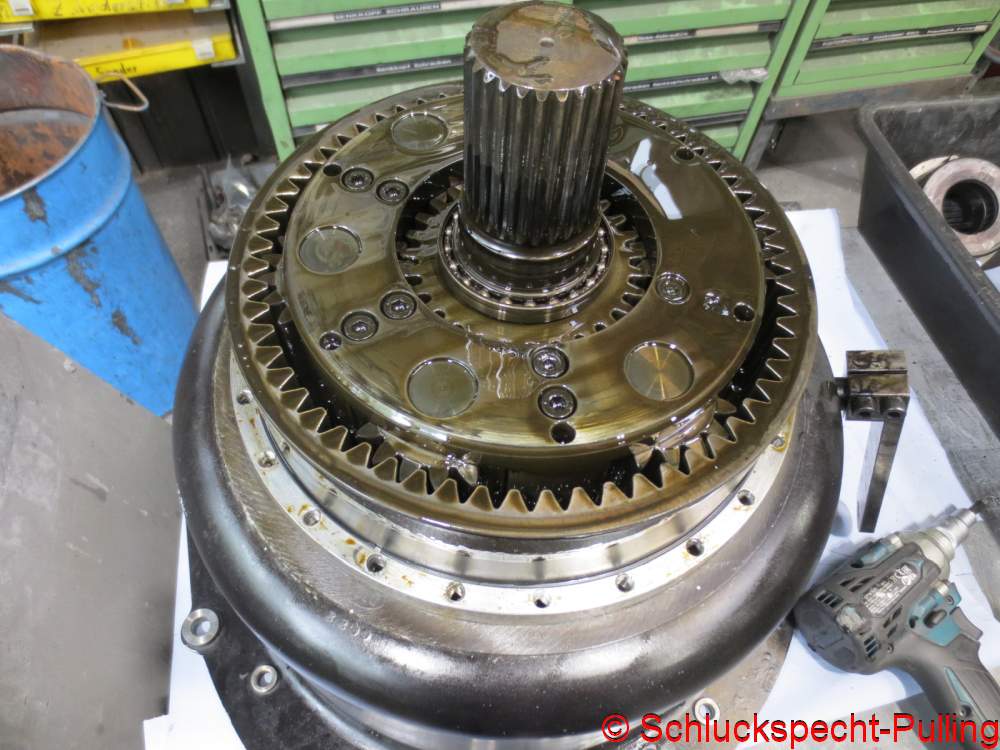
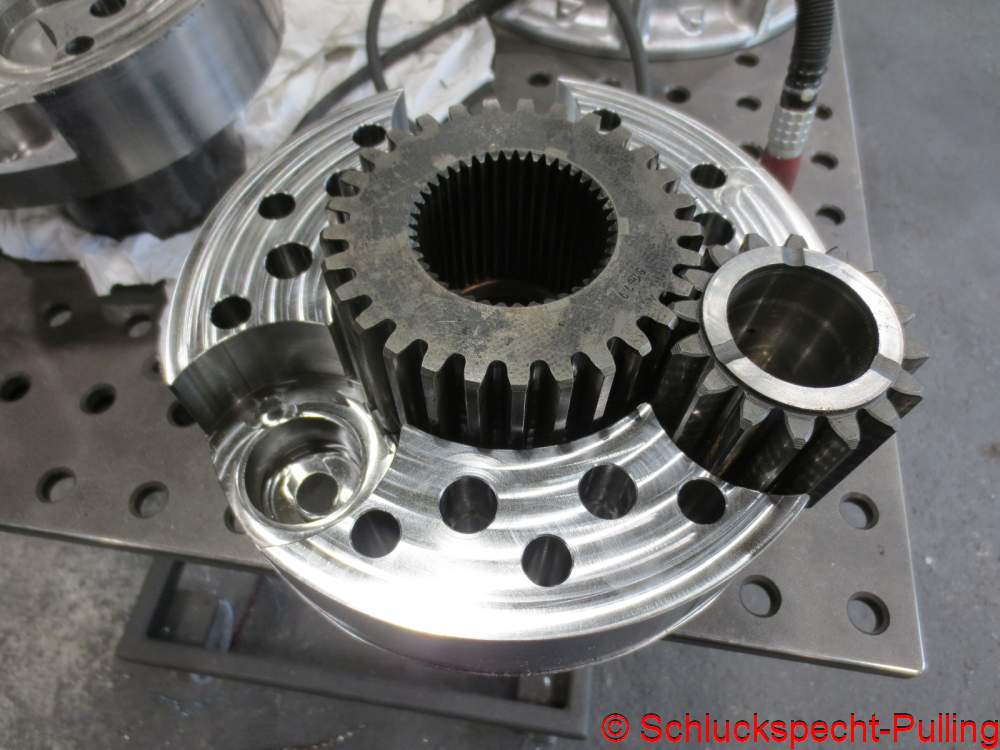
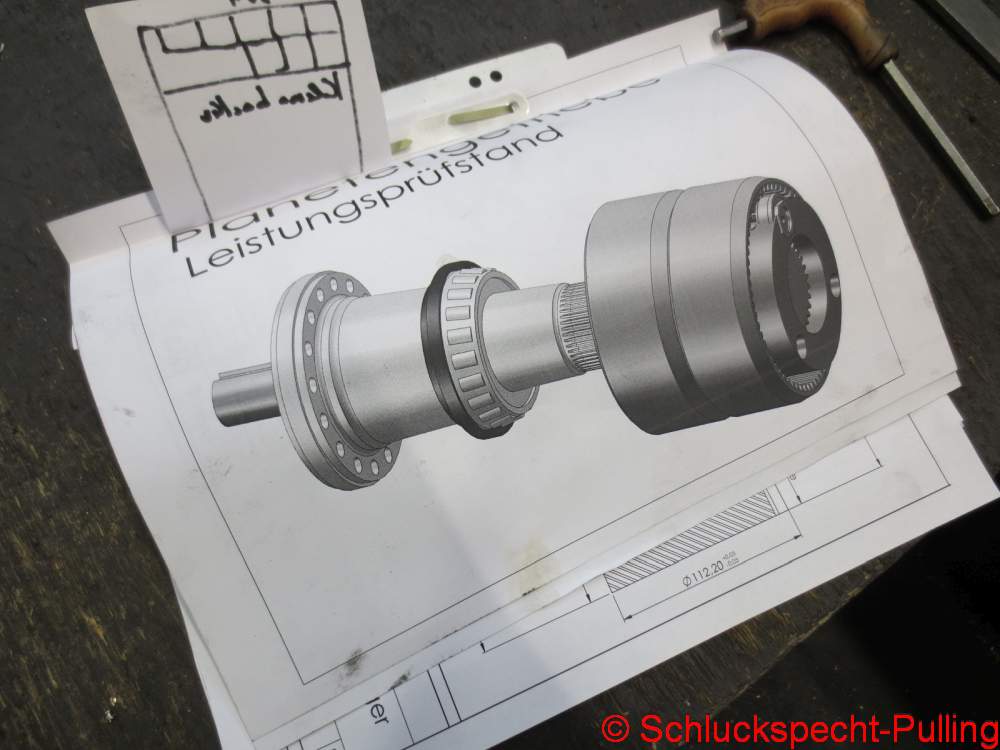
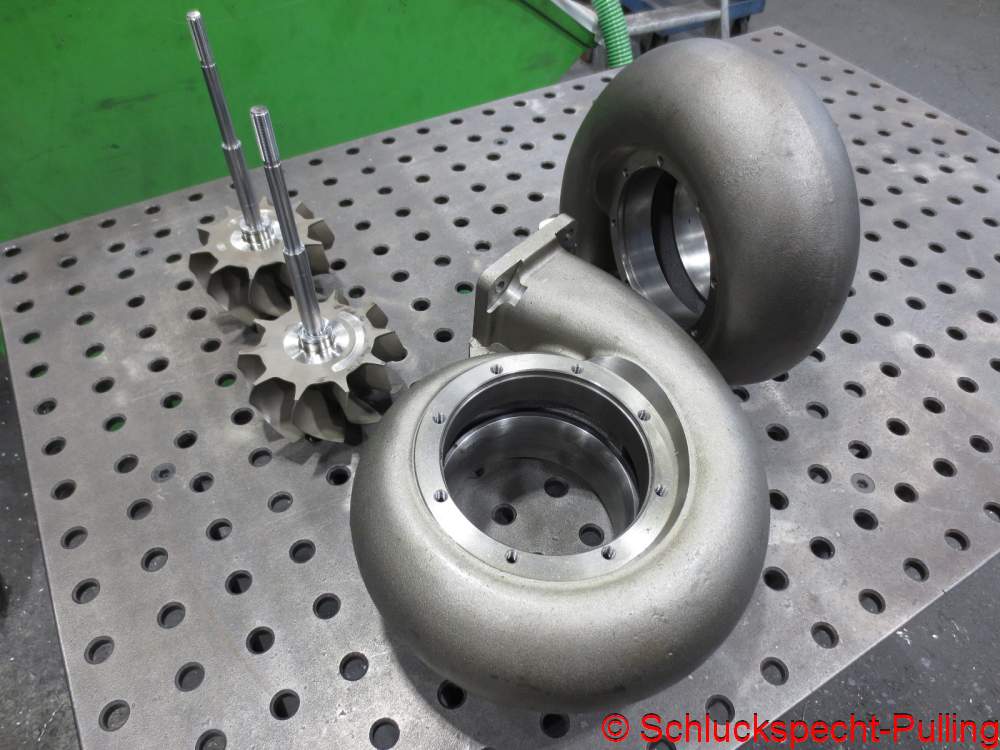
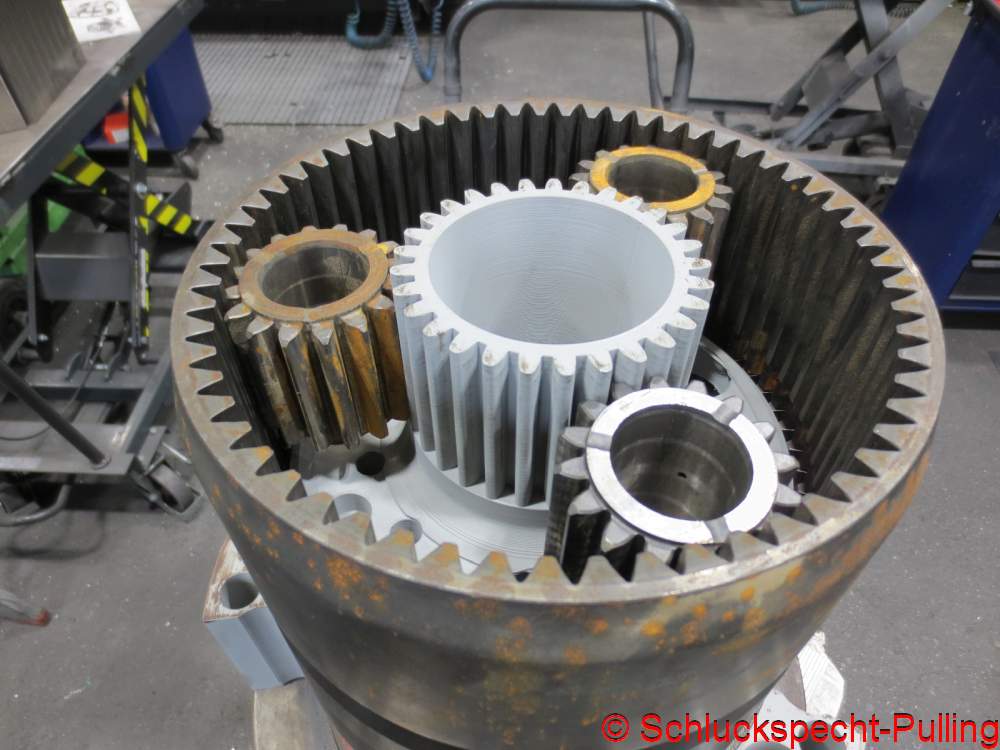
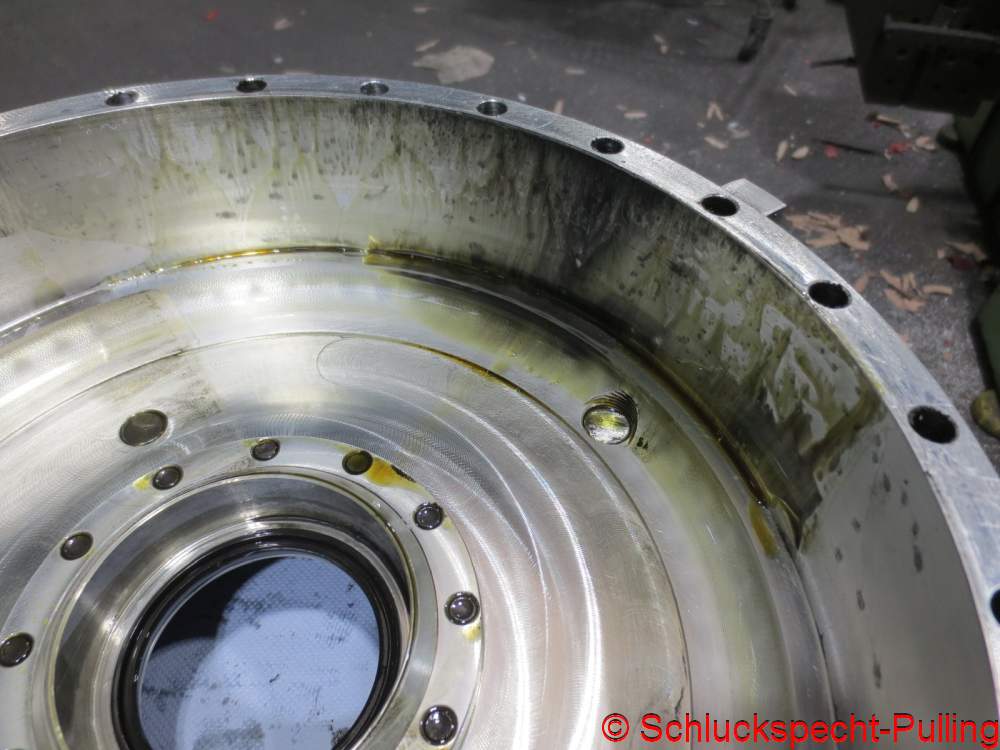
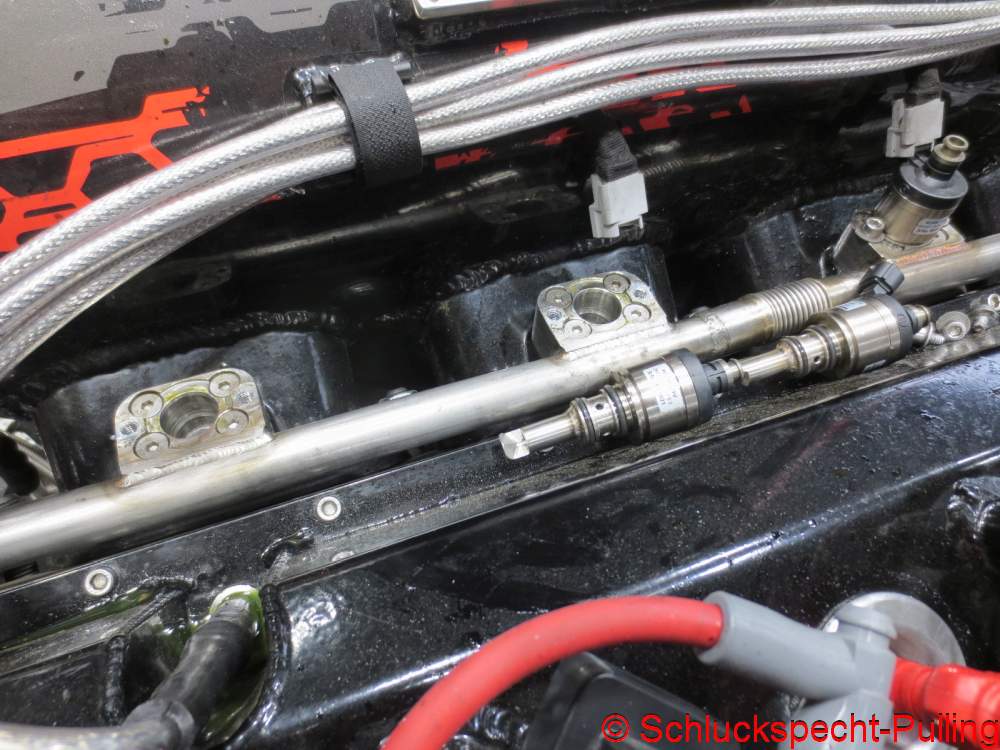
Hier mal die erste „Ölidee“. Wenn der Planetenträger mit bis zu 4.000 1/min rotiert, wird das Öl durch die Zentrifugalkraft als Ring nach außen geschleudert. Weiterhin wird in dem Ring ein Druck entstehen. Und genau diesen möchte ich nutzen um das Öl wieder in das Zentrum, sprich das Sonnenrad des Getriebes zu fördern. Ob´s klappt? Wir werden sehen.
Here is the first „oil idea.“ When the planet carrier rotates at up to 4,000 rpm, centrifugal force flings the oil outward, forming a ring. Furthermore, pressure will build up within that ring. I want to harness precisely that pressure to feed the oil back to the center—specifically, to the transmission’s sun gear. Will it work? We shall see.

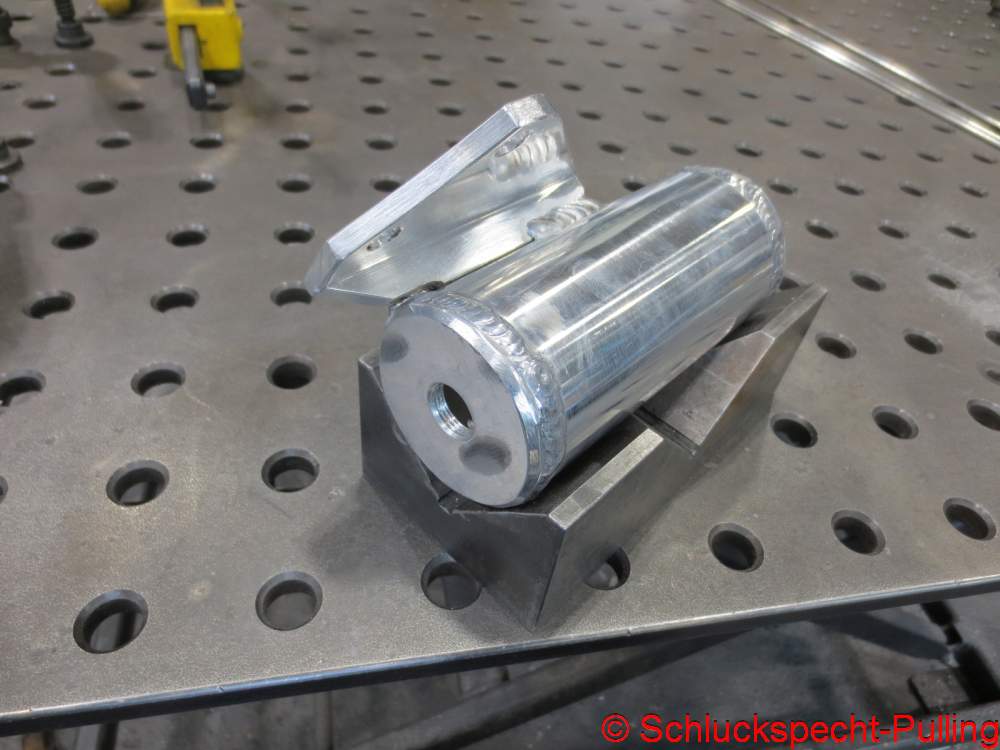
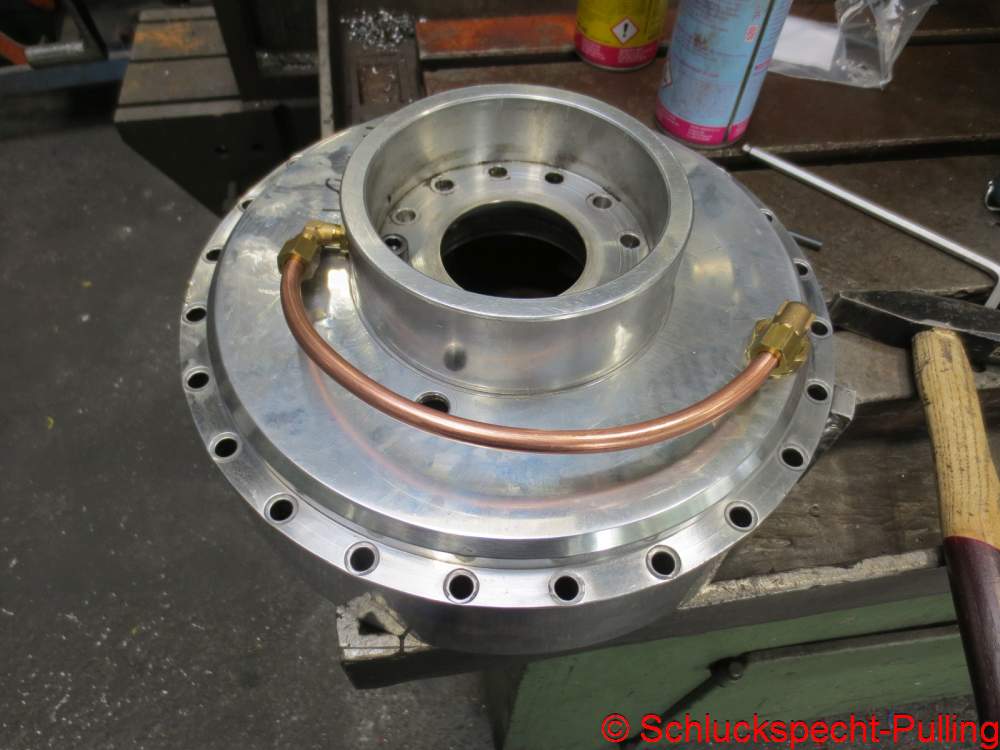
„Ölidee“ Nummer zwei bringt Alex ins Spiel. Gerade bei schnell drehenden Planetengetrieben ist schnell mal zu viel Öl im Getriebe. Wir brauchen einen kleinen Tank. Zumal es echt keine kluge Idee war, das Getriebe ohne Entlüftung zu betreiben. Der Tank ist auch eine Entlüftung 😉
„Oil idea“ number two brings Alex into the picture. Especially with high-speed planetary gearboxes, it’s easy to end up with too much oil inside. We need a small reservoir—especially since running the gearbox without a vent really wasn’t a smart move. The reservoir acts as a vent, too 😉

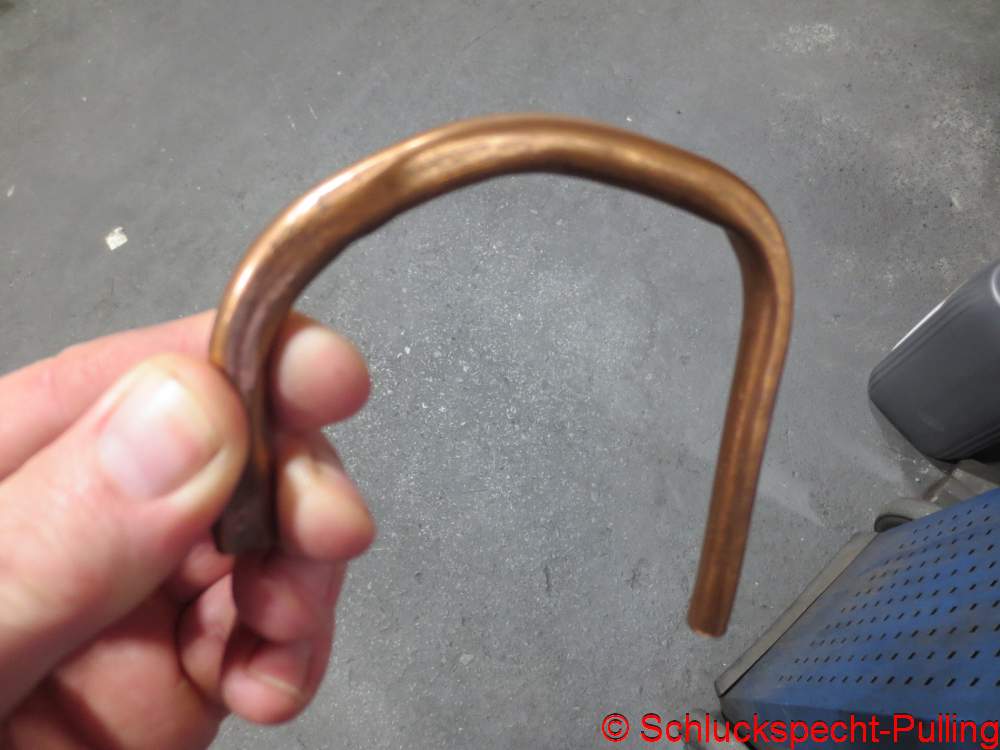
Biegen ist echt nicht mein Spezialgebiet…hier eindrucksvoll im Bild festgehalten…..
Bending really isn’t my specialty… impressively captured here in a picture…
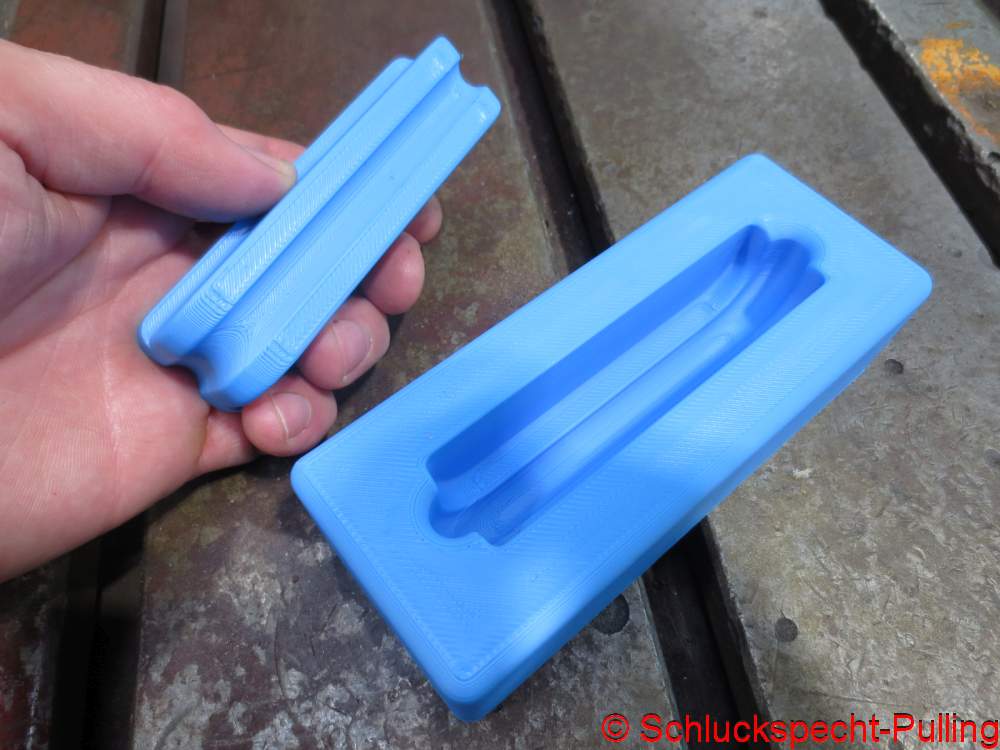
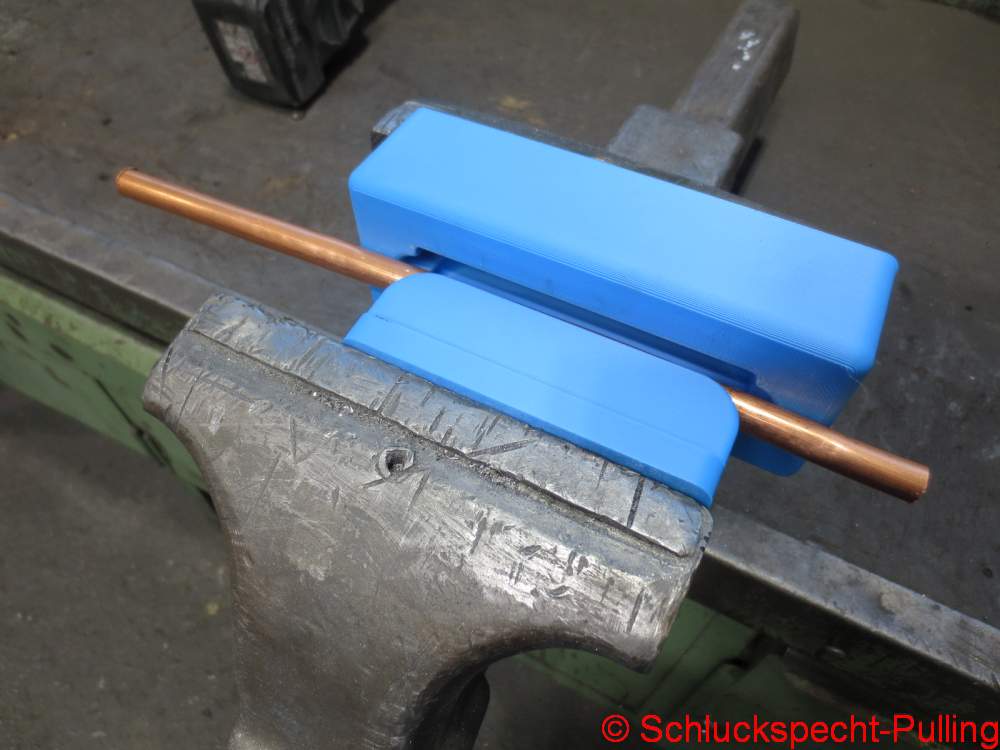
Aber heyyyy….mit dem 3D-Drucker fix ein Biegegesenk gezaubert…dann wird das doch sicherlich klappen….
But heyyyy… just quickly whip up a bending die on the 3D printer… then it’s an easy task…

Nein…..immer noch Kacke…..zu doof ein Rohr in Form zu bekommen…..aber einen mehrere tausend PS starken Trecker bauen….ist klar…..
No… still crap… too stupid to get a pipe into the right shape… but building a tractor with several thousand horsepower… yeah, right…
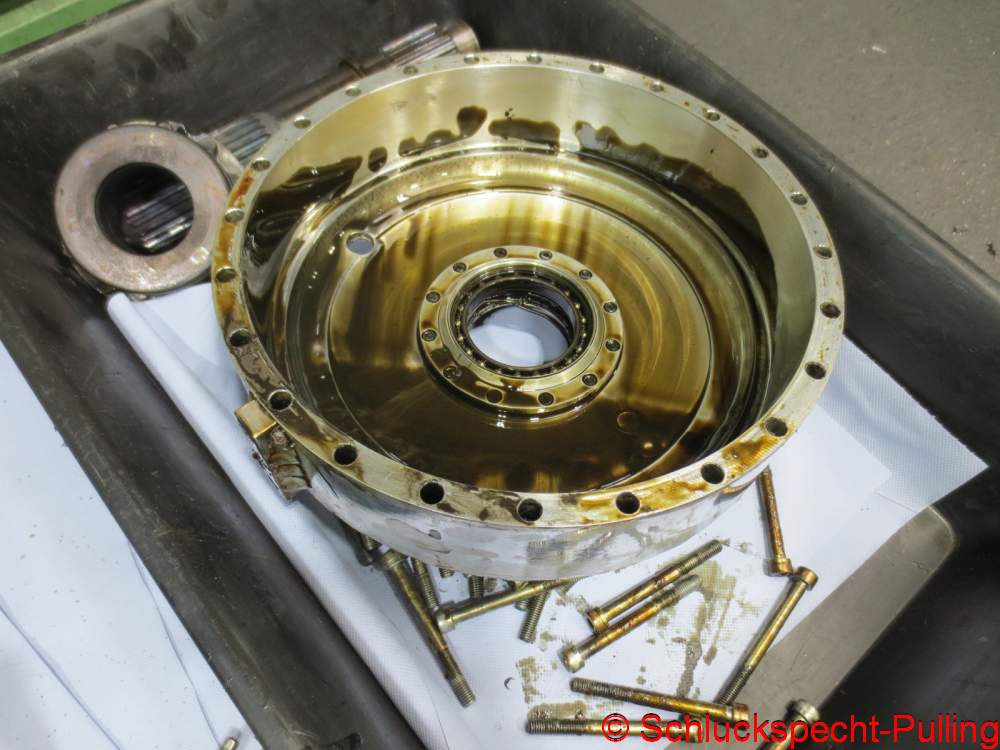
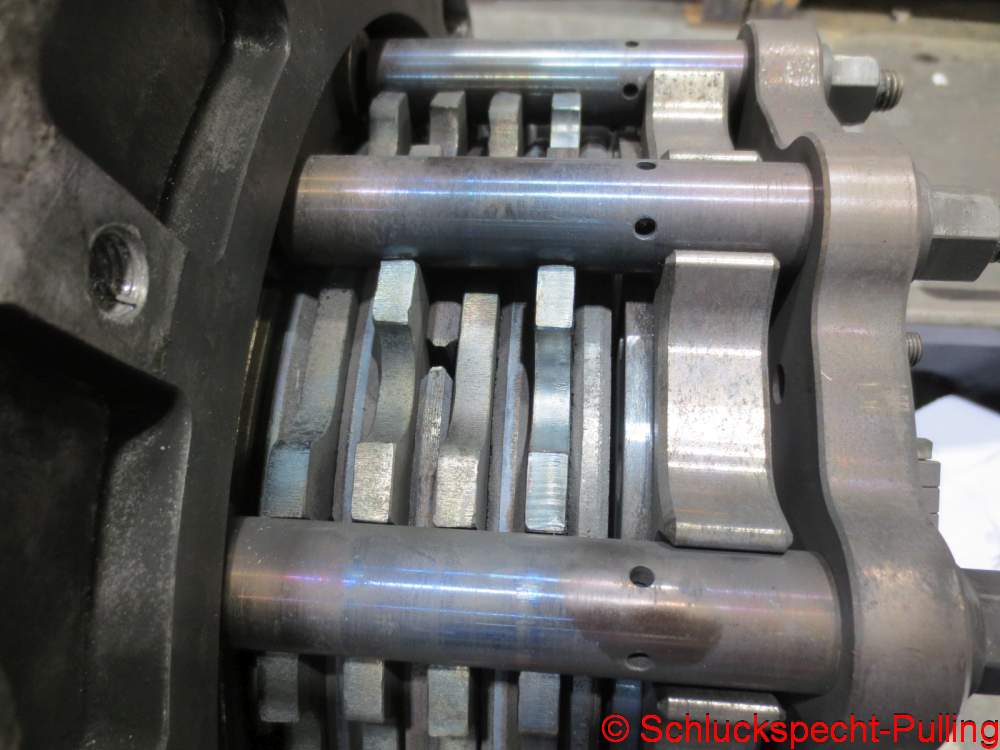
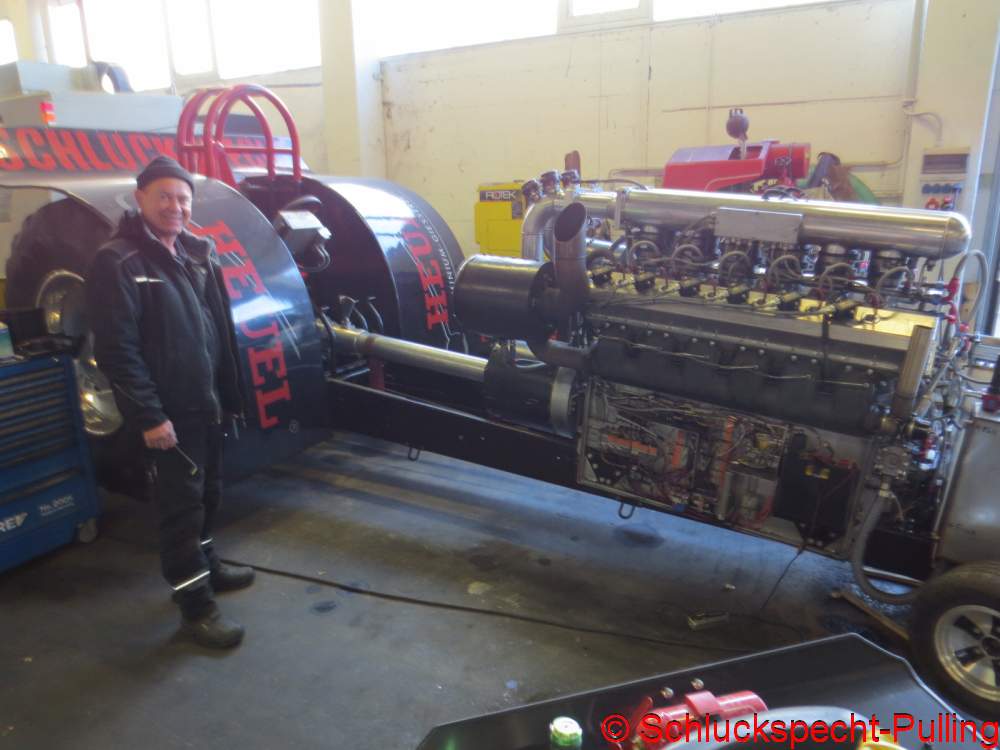
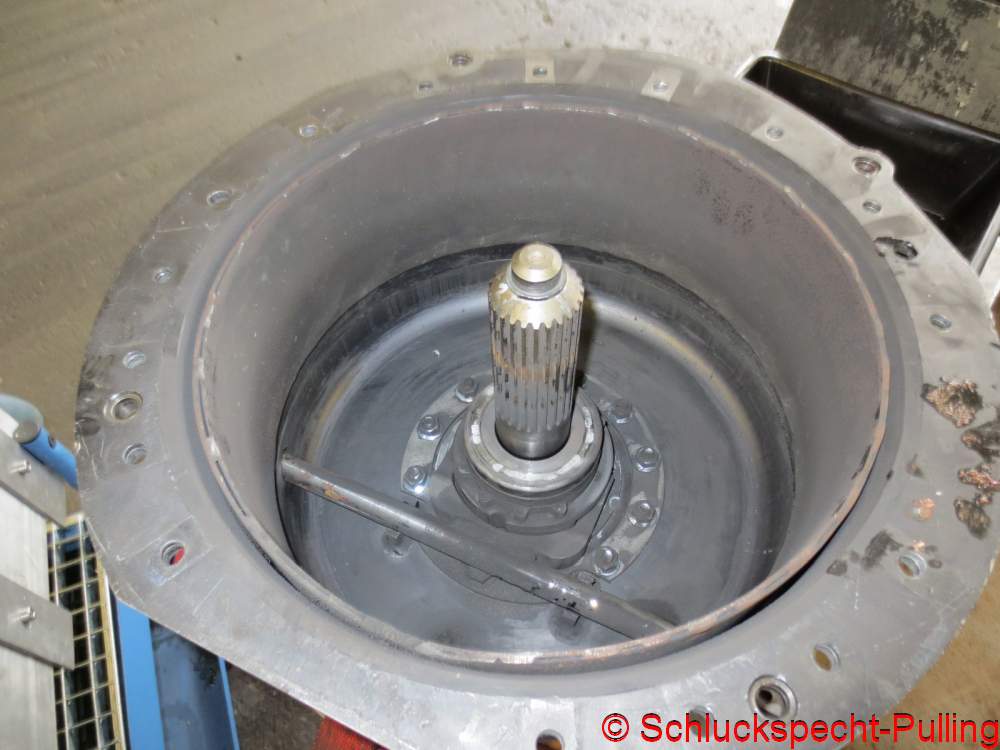
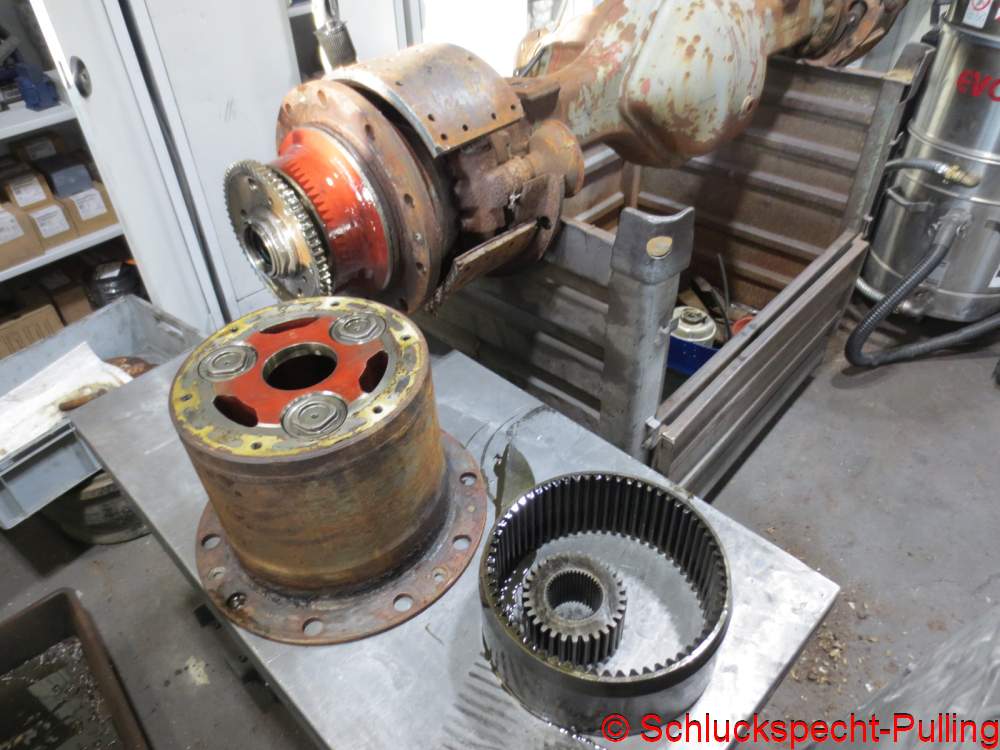
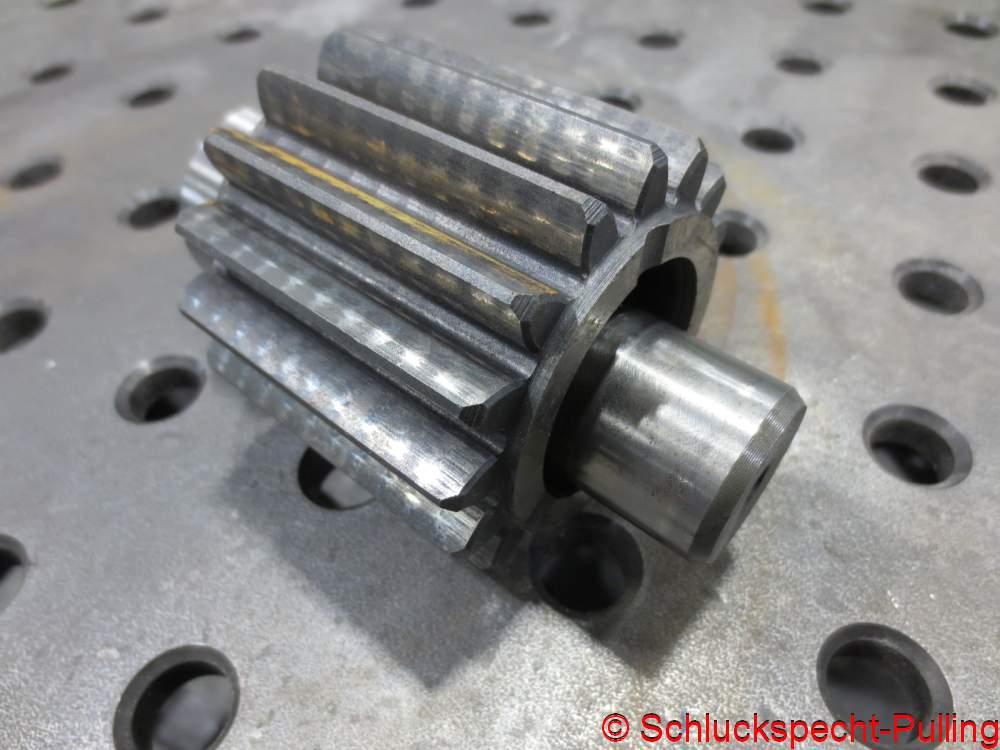
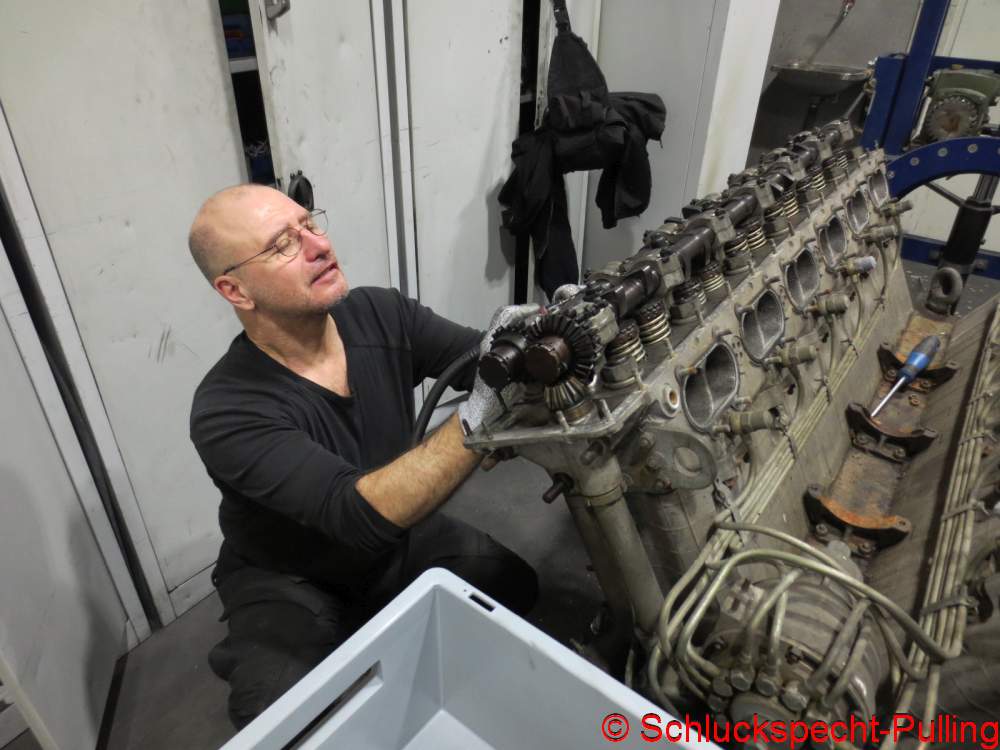
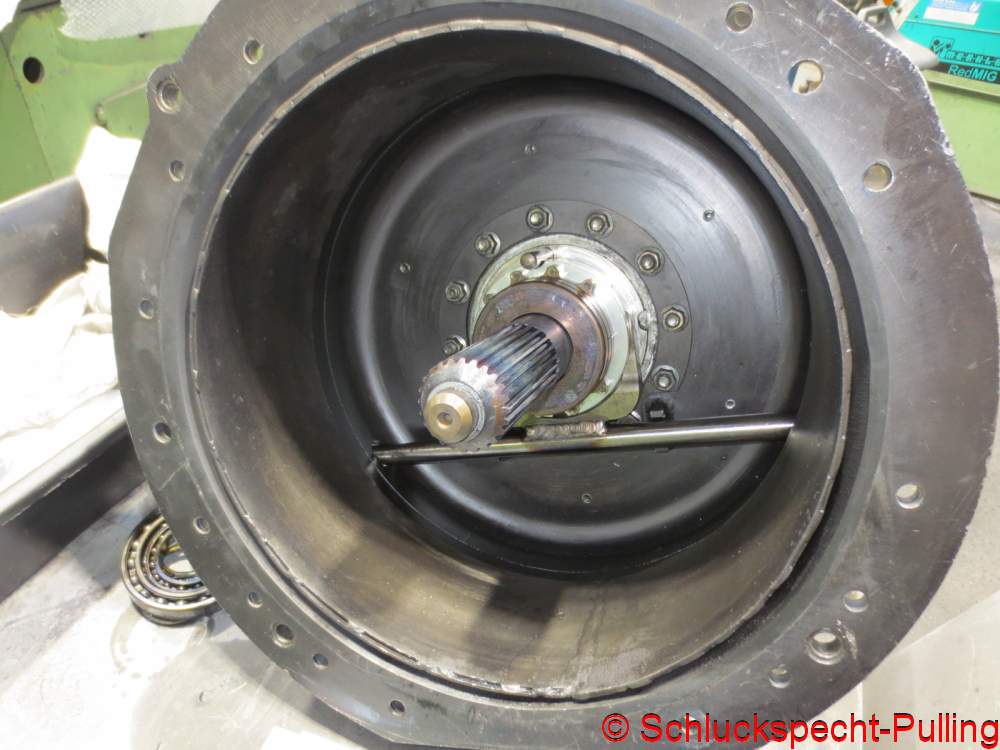
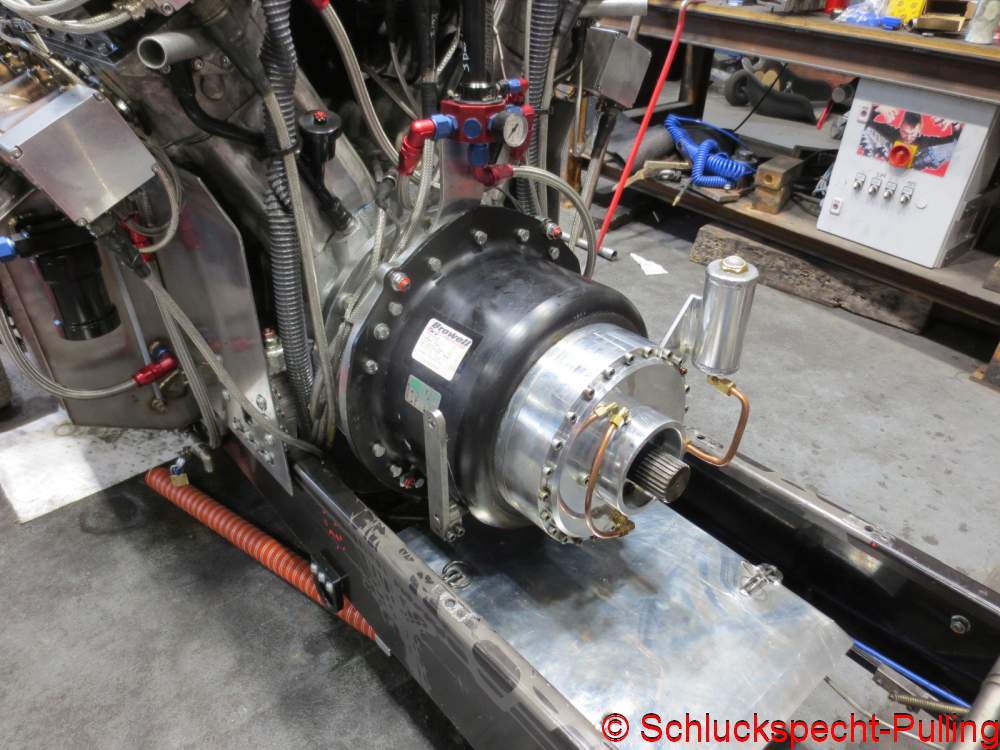
Naja, irgendwie hab ich es dann doch hinbekommen und das Getriebe konnte wieder zusammen gebaut werden.
Well, I managed to get it done somehow, and the transmission could be reassembled.
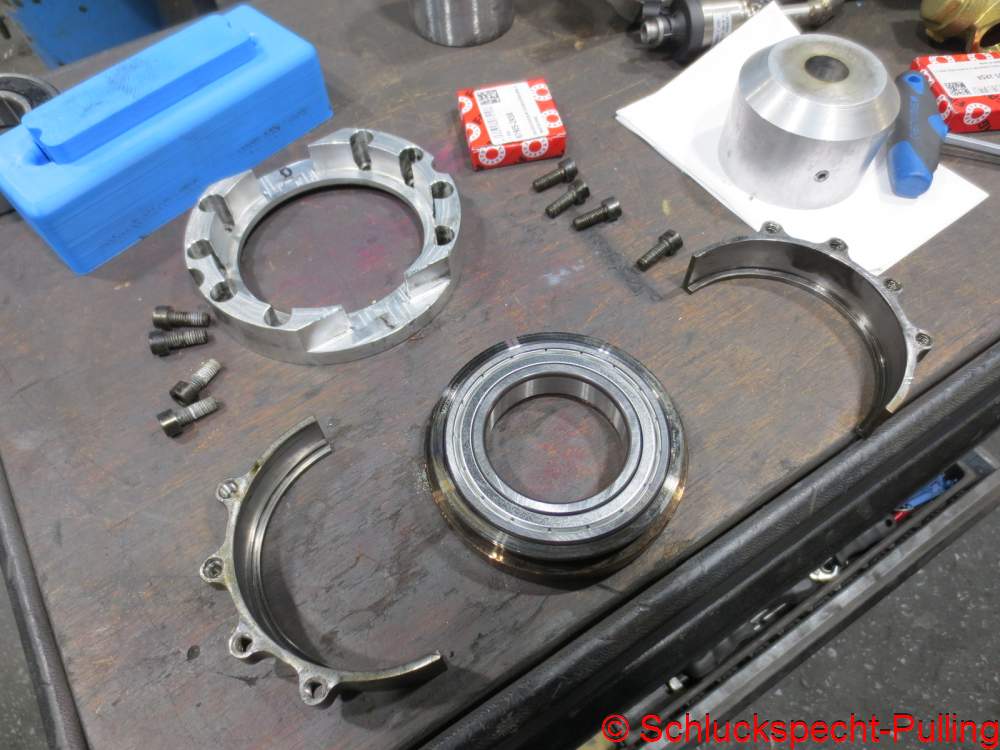
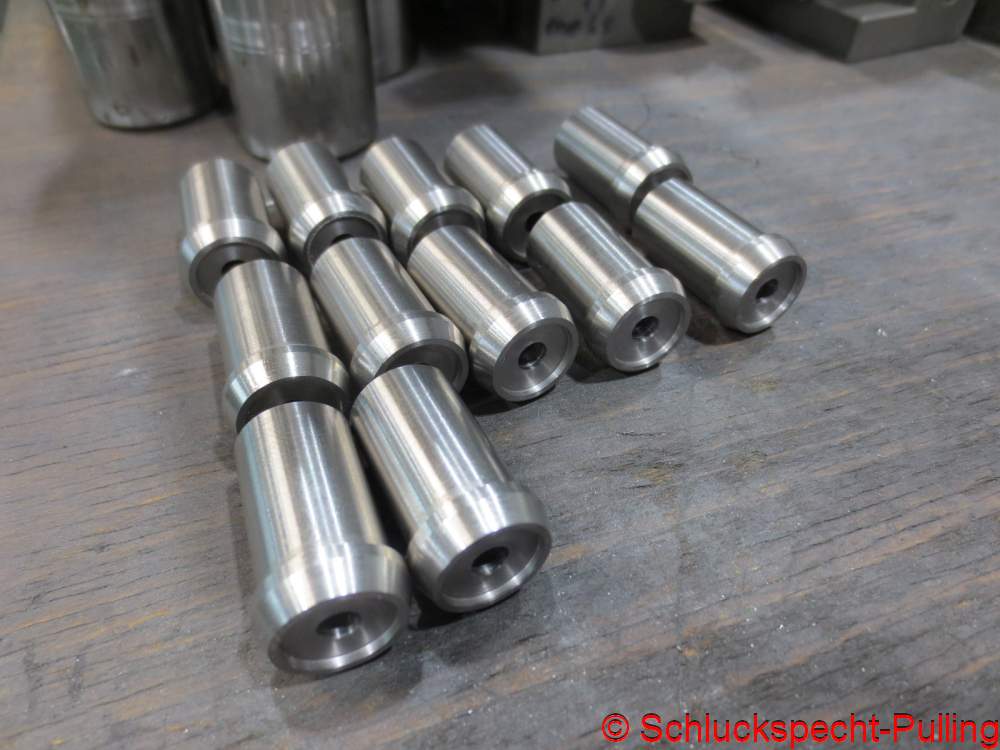
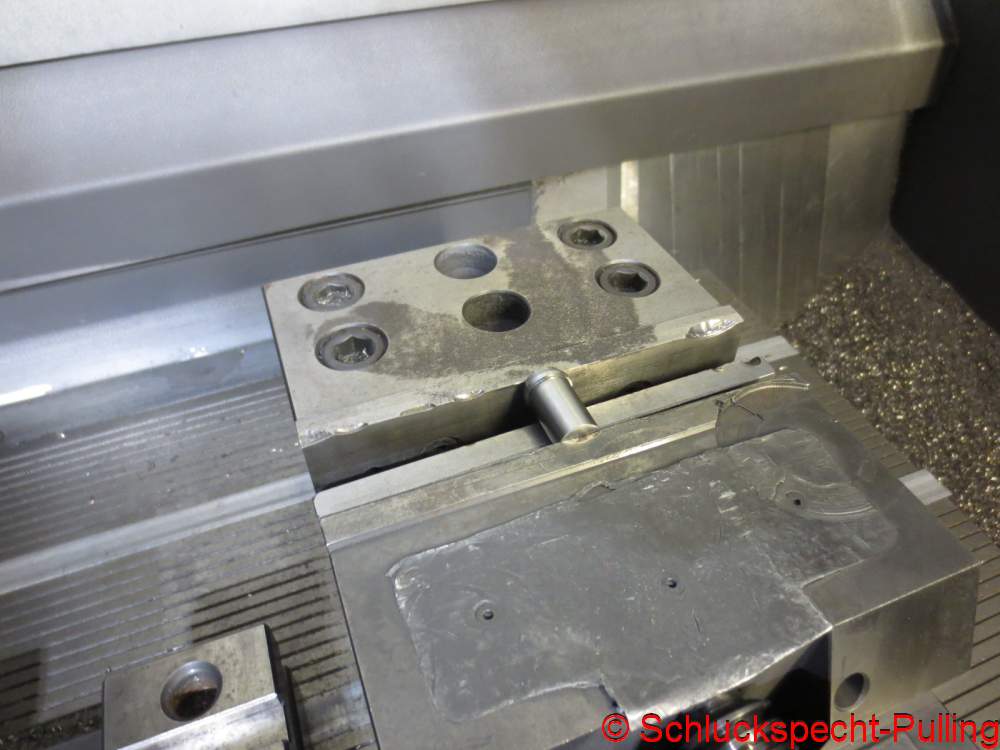
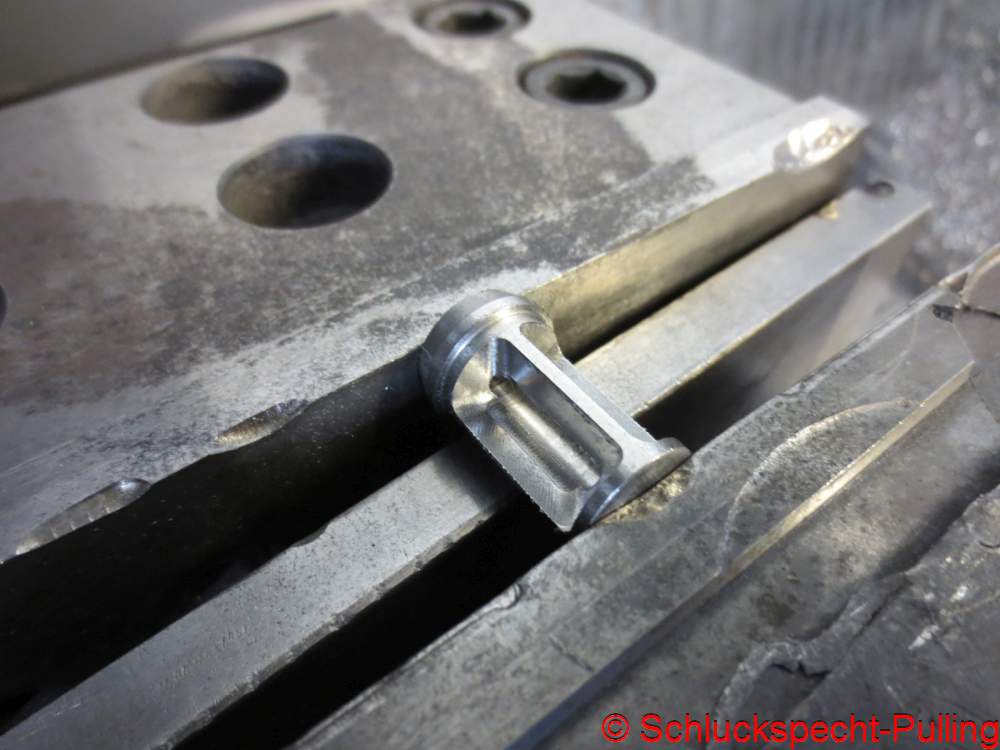
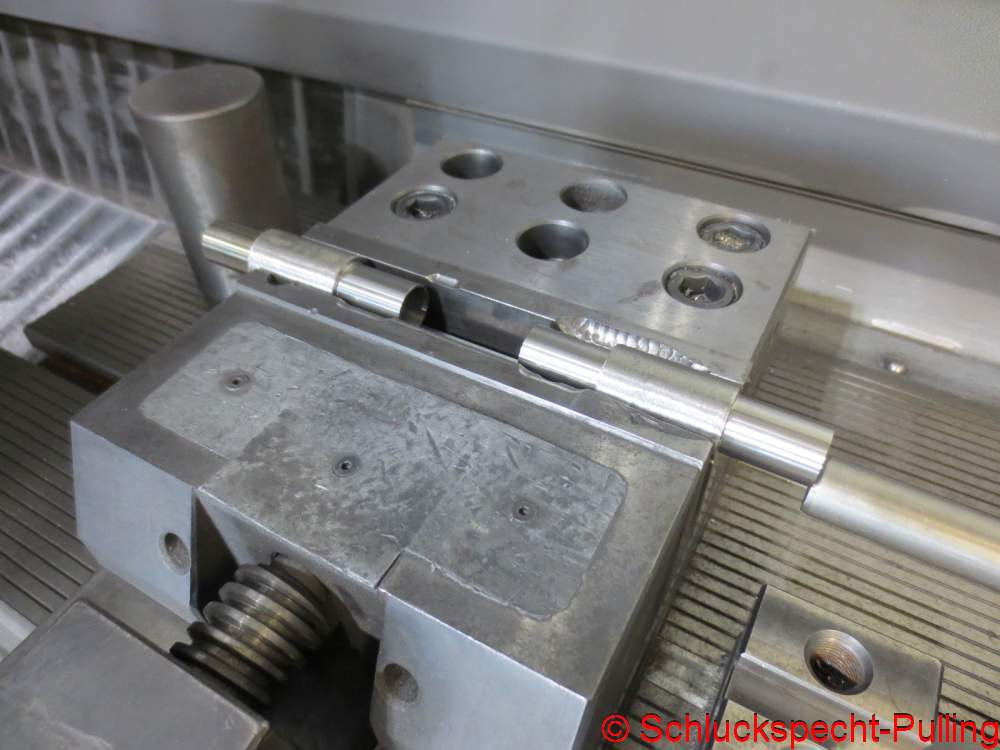
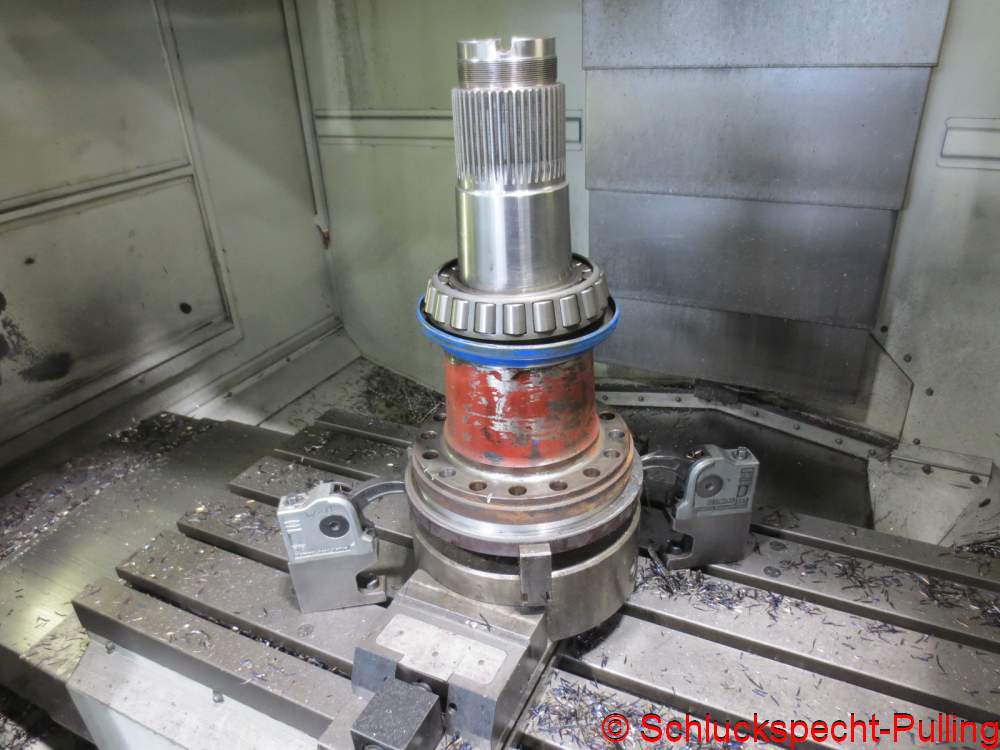
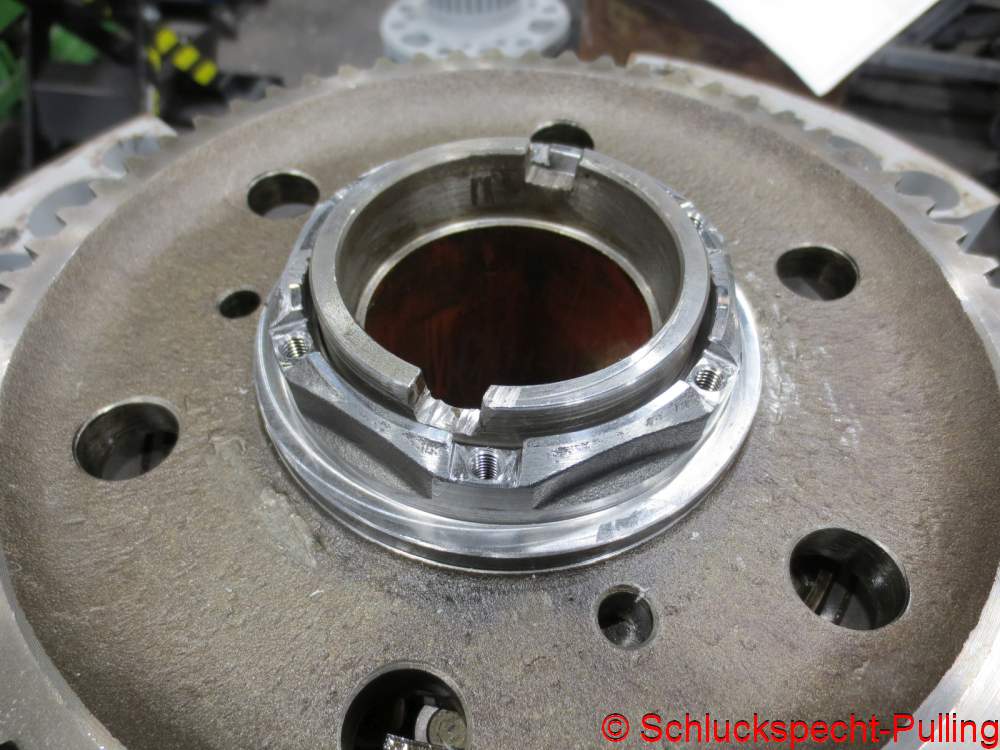
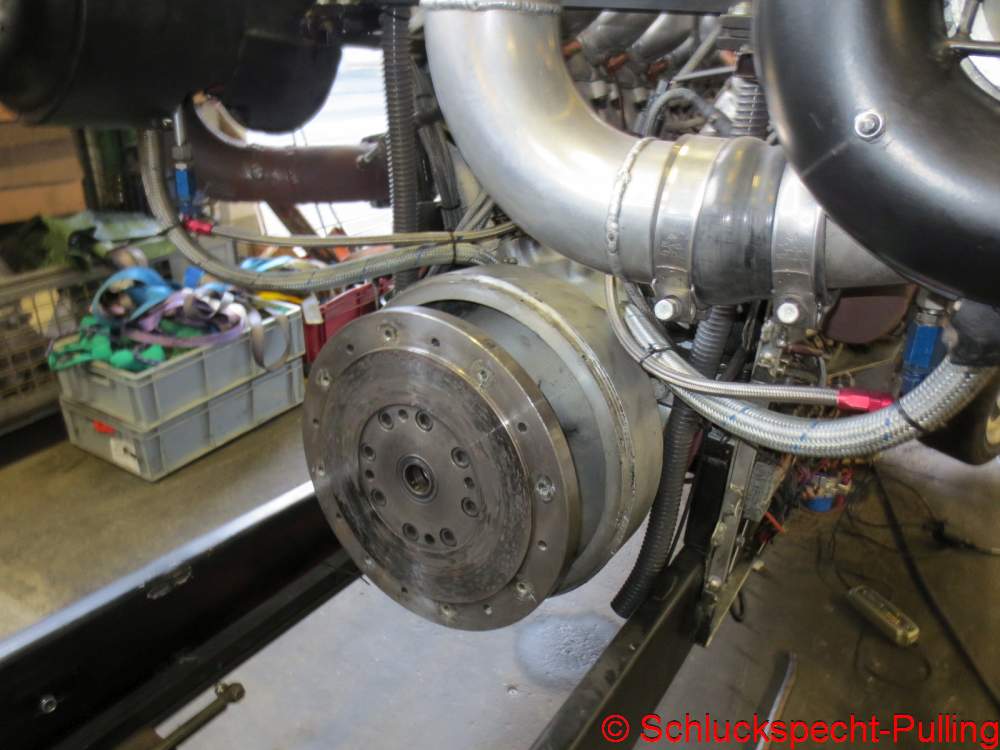
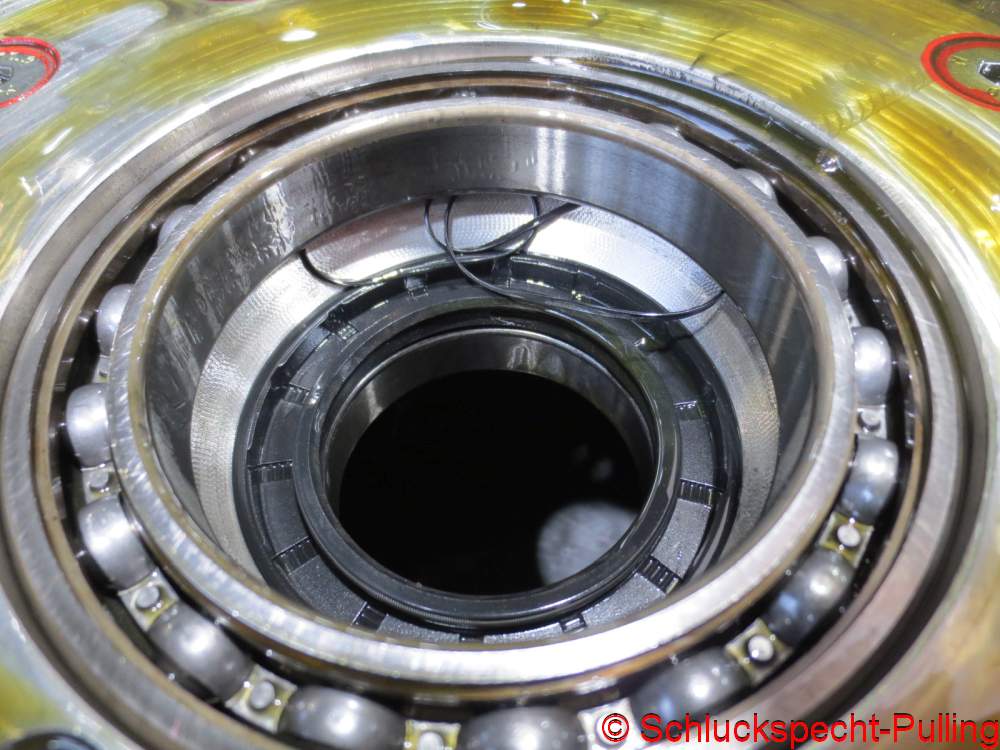
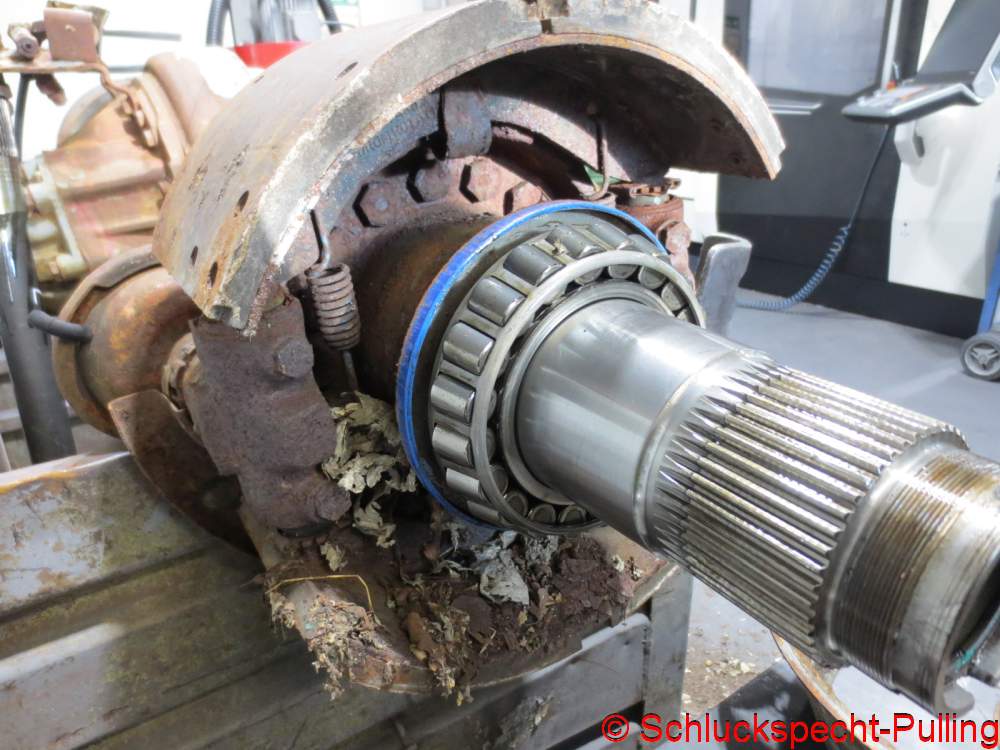
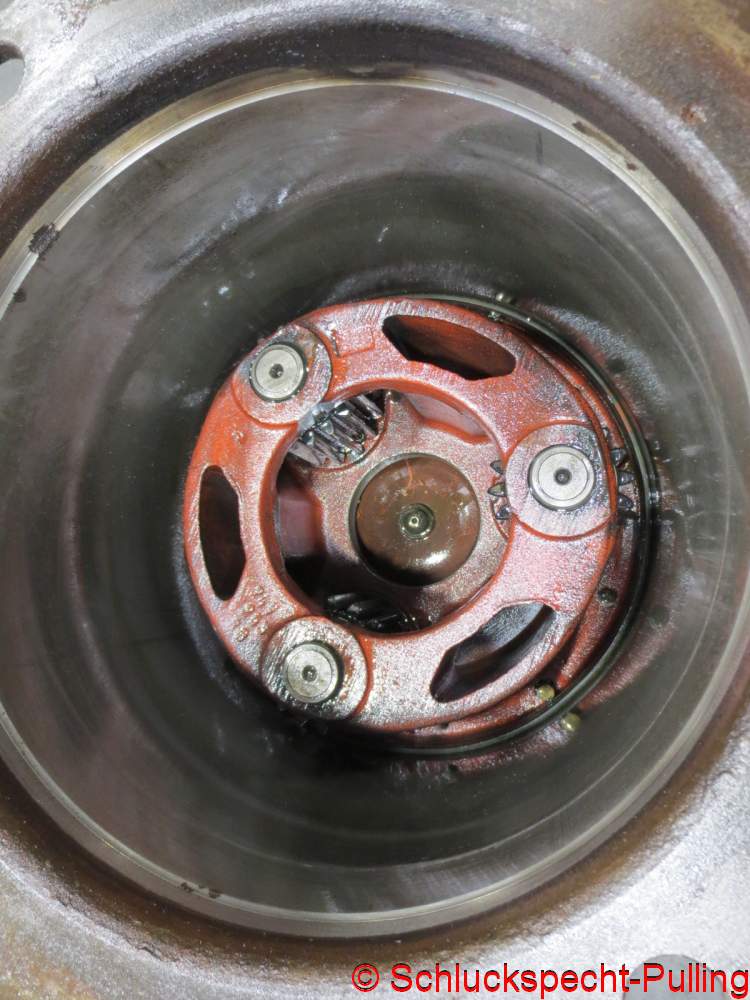
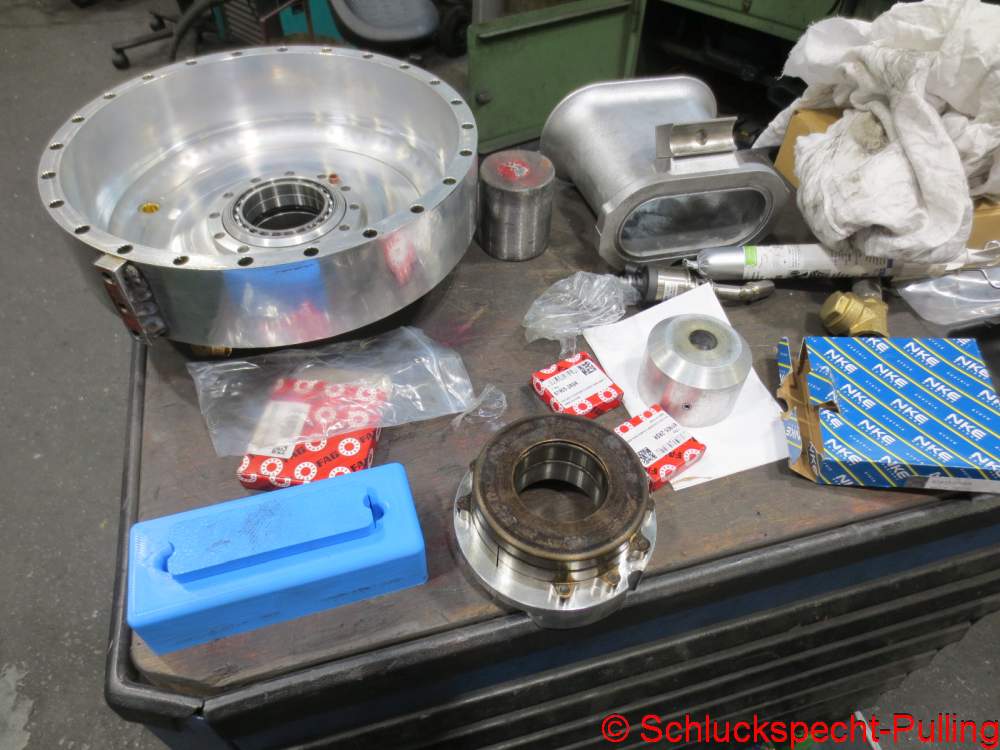
Die Kugellager im Ausrücklager waren auch etwas „frittiert“….einmal alles neu bitte. Hier sehe ich mich mal wieder bestätigt solche Sachen selbst aus Normteilen zu konstruieren. Die hat jeder Eisenkarl in der Ecke liegen. „Das eine“ Ausrücklager das man dann dringend braucht…….sicher nicht. 😉
The bearings inside the release bearing were pretty much „fried,“ too… time to replace the whole lot. This just confirms my decision to design these kinds of things myself using standard parts—the sort of thing any local hardware store has lying around. „That one“ specific release bearing you suddenly need in a hurry? Yeah, good luck finding that. 😉
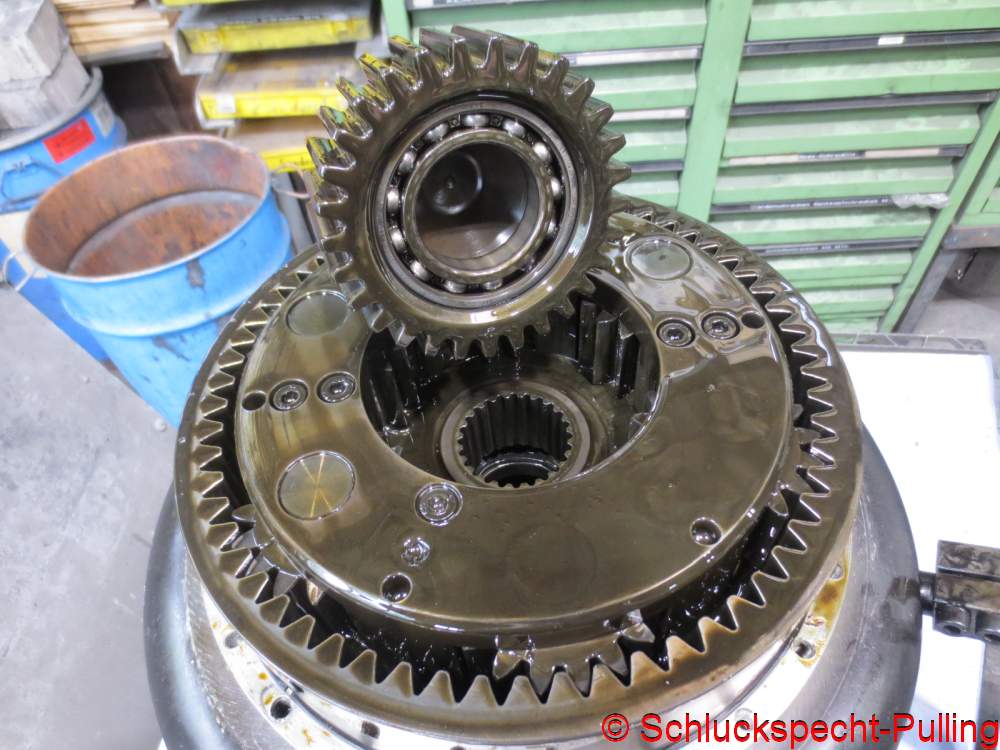
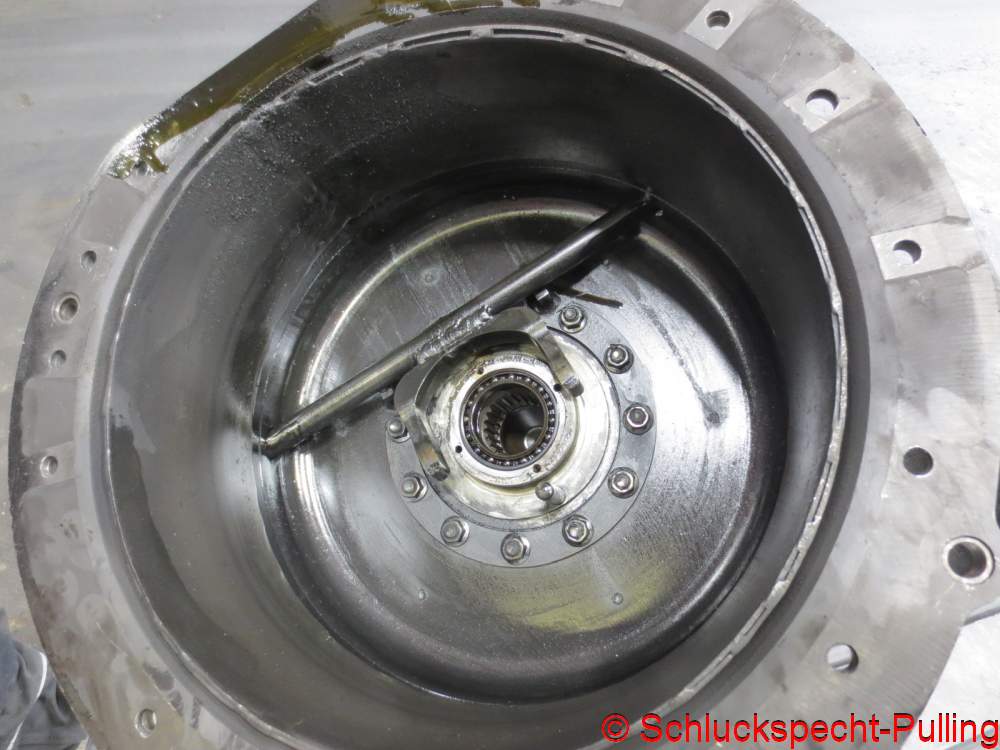
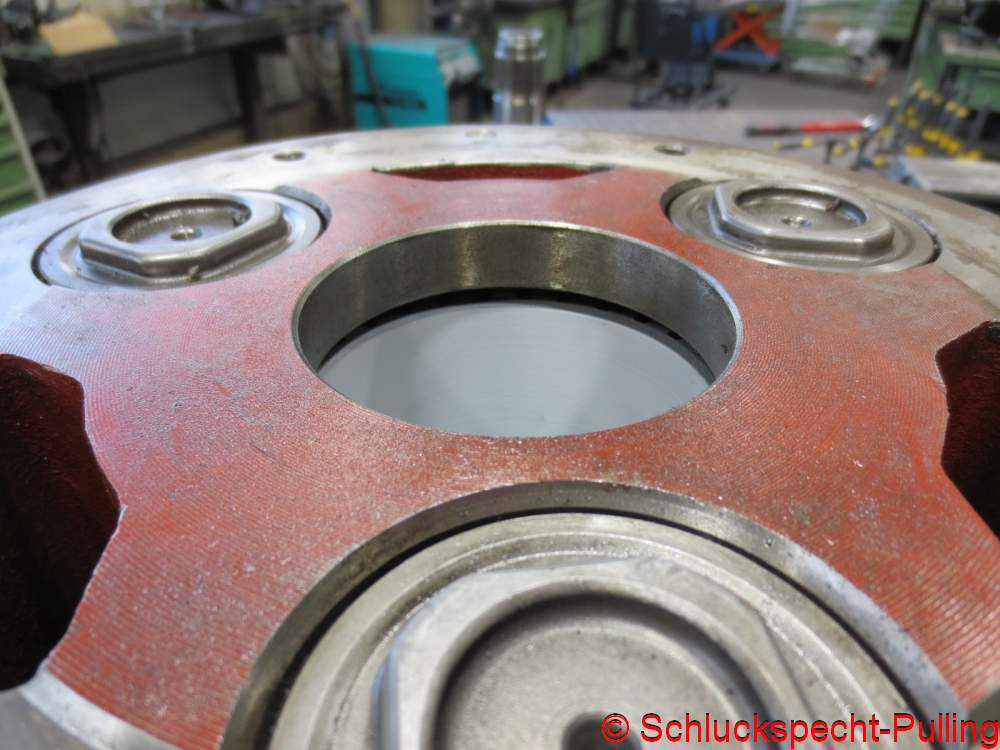
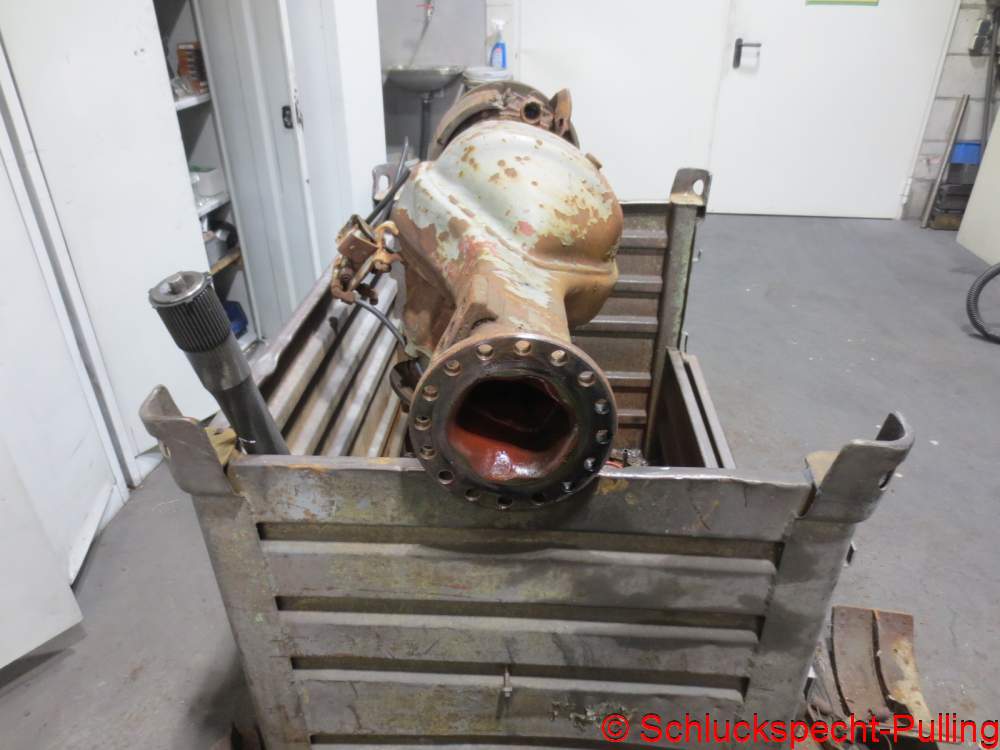
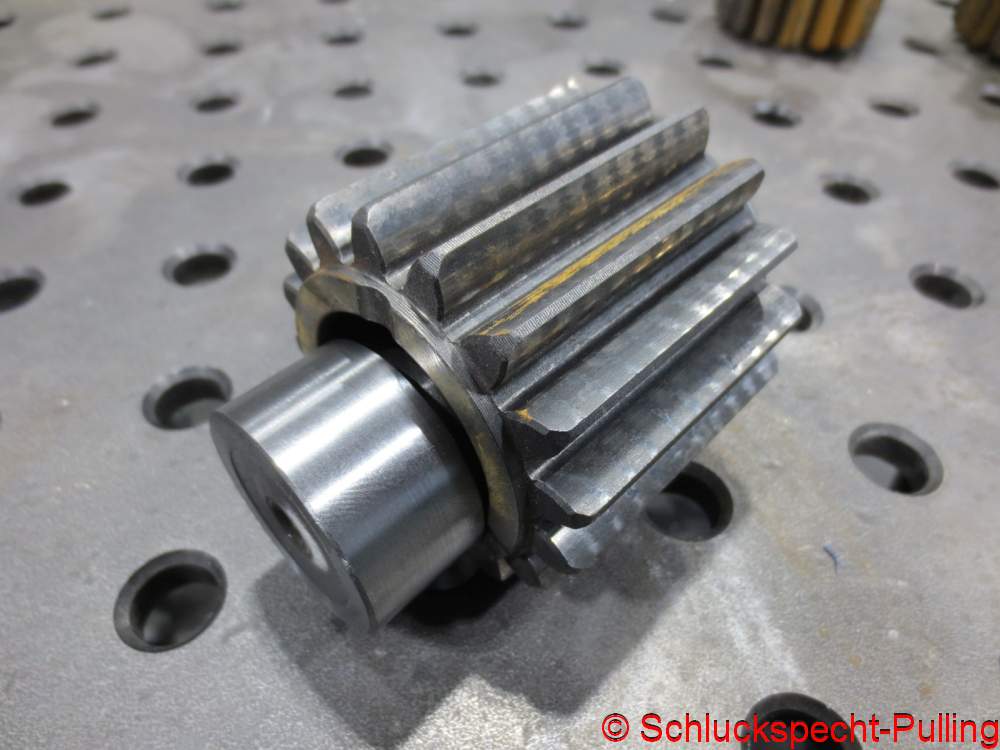
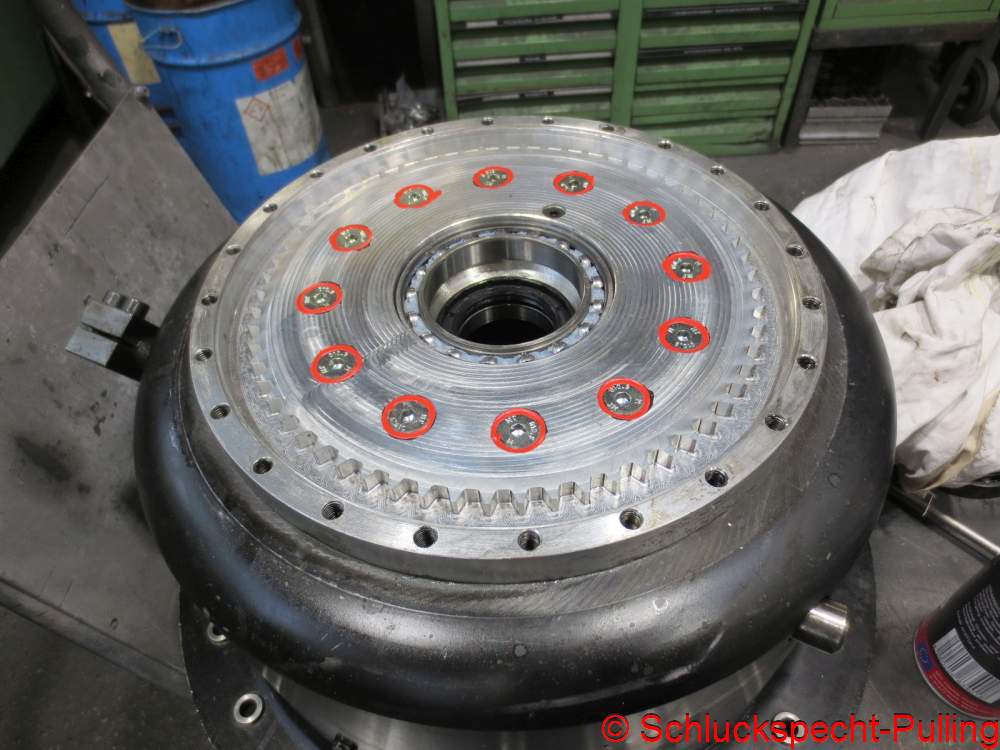
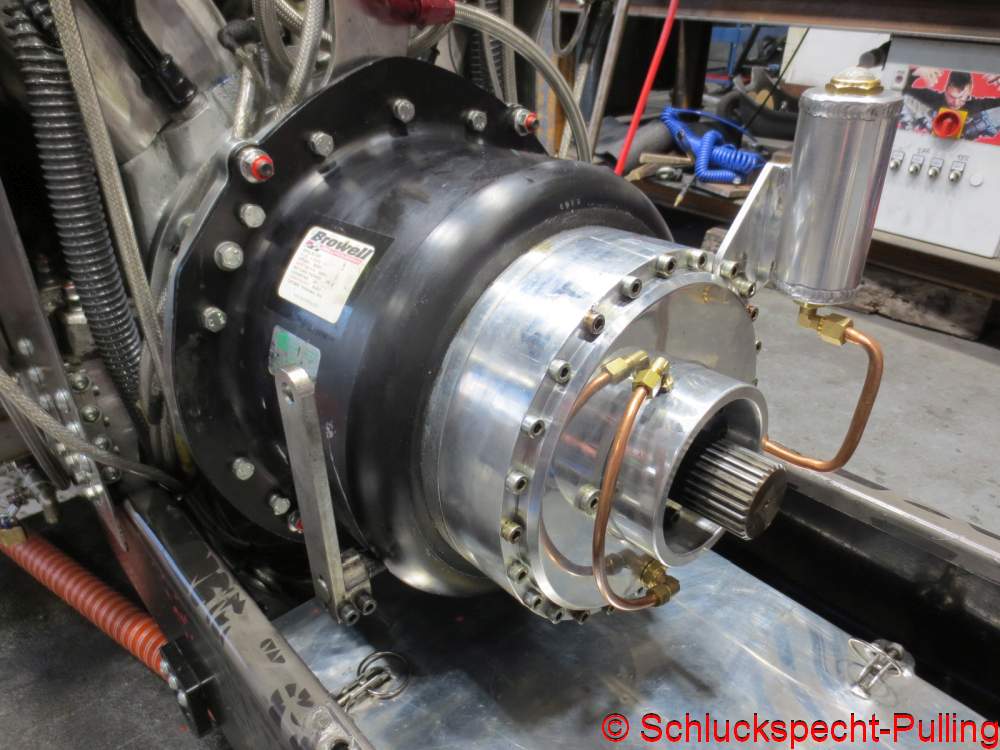
Auch von dieser Seite wieder alles sauber und ordentlich.
Everything is neat and tidy on this side as well.
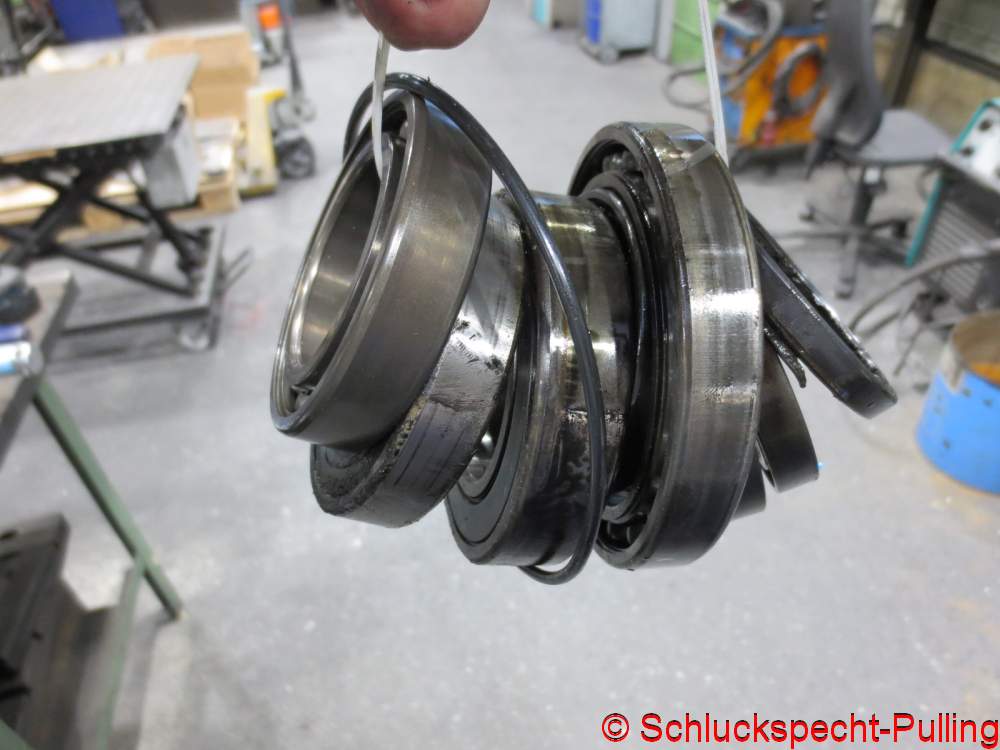
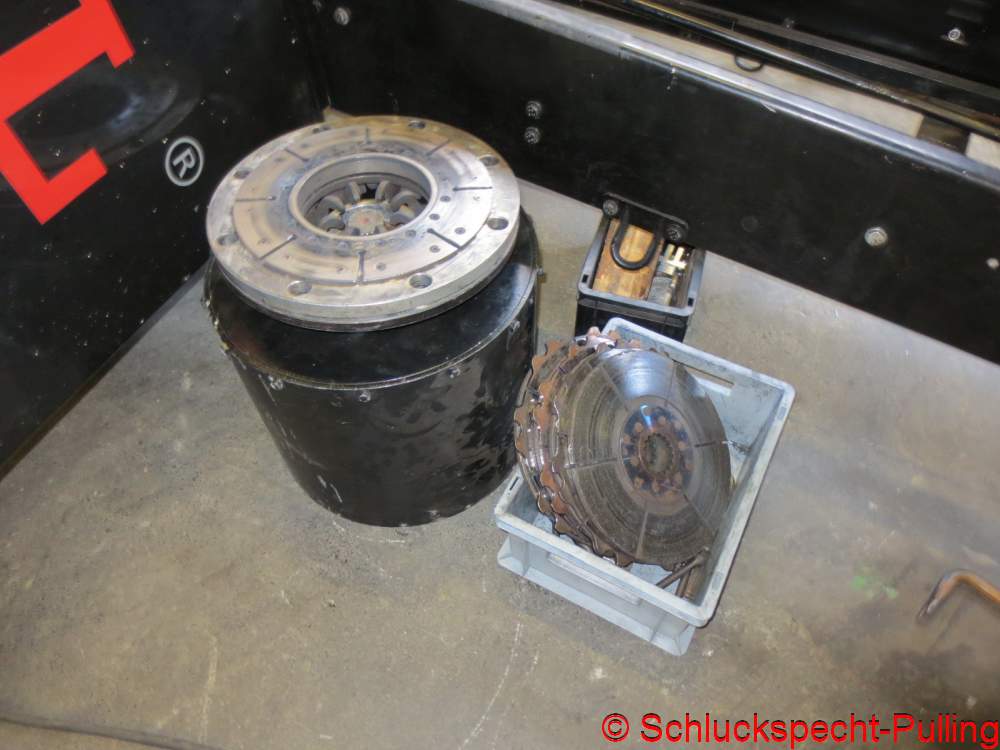
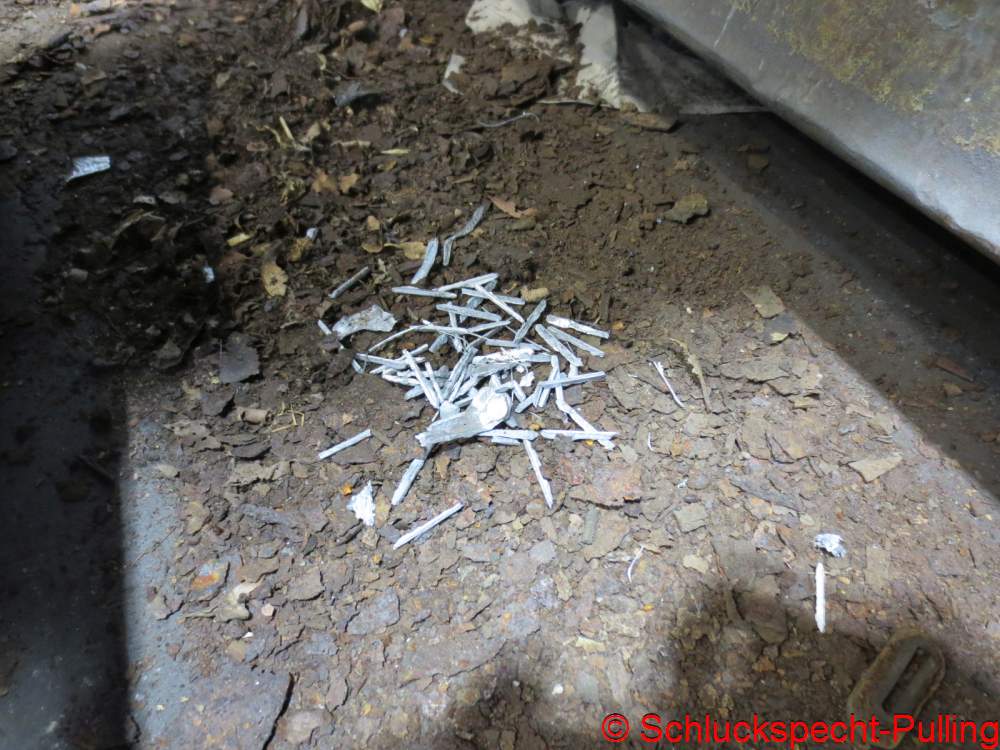
Einmal der stinkenden Lager- und Dichtungsmüll aus dem Getriebe….. Wer hat Interesse? 😉 😉
First up: the stinking pile of old bearings and seals from the gearbox… Anyone interested? 😉 😉
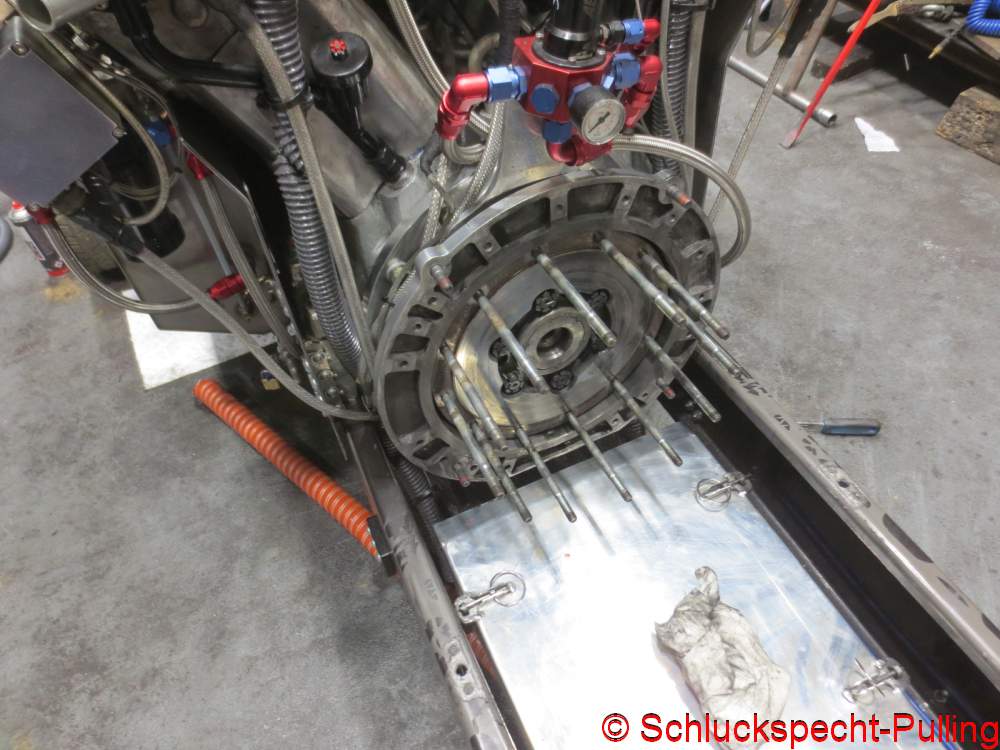
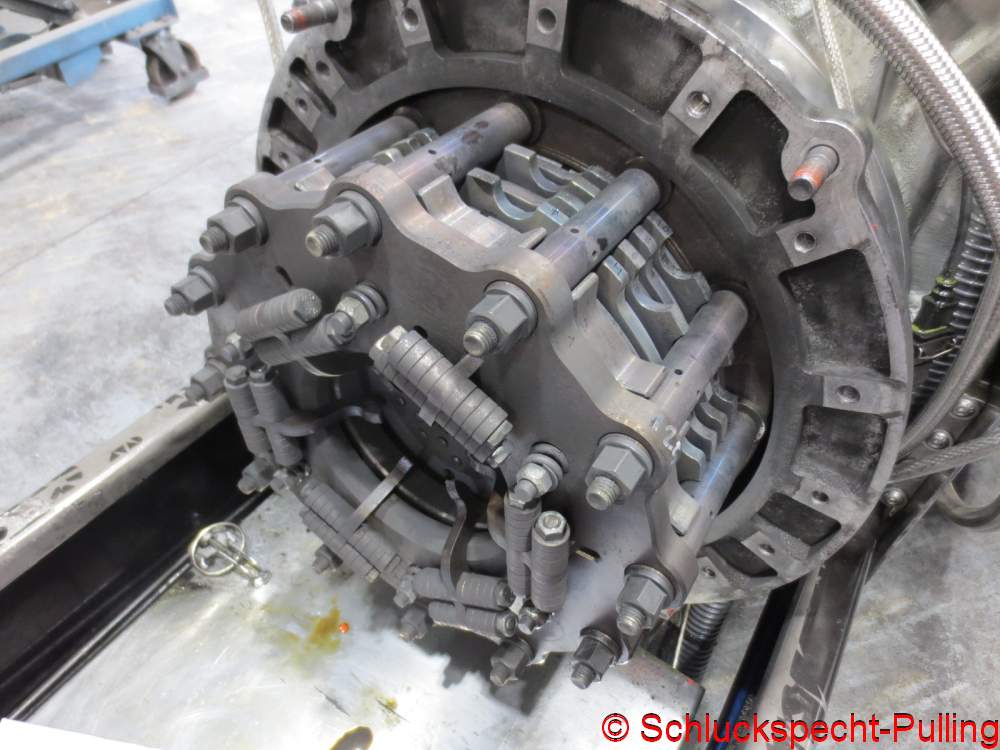
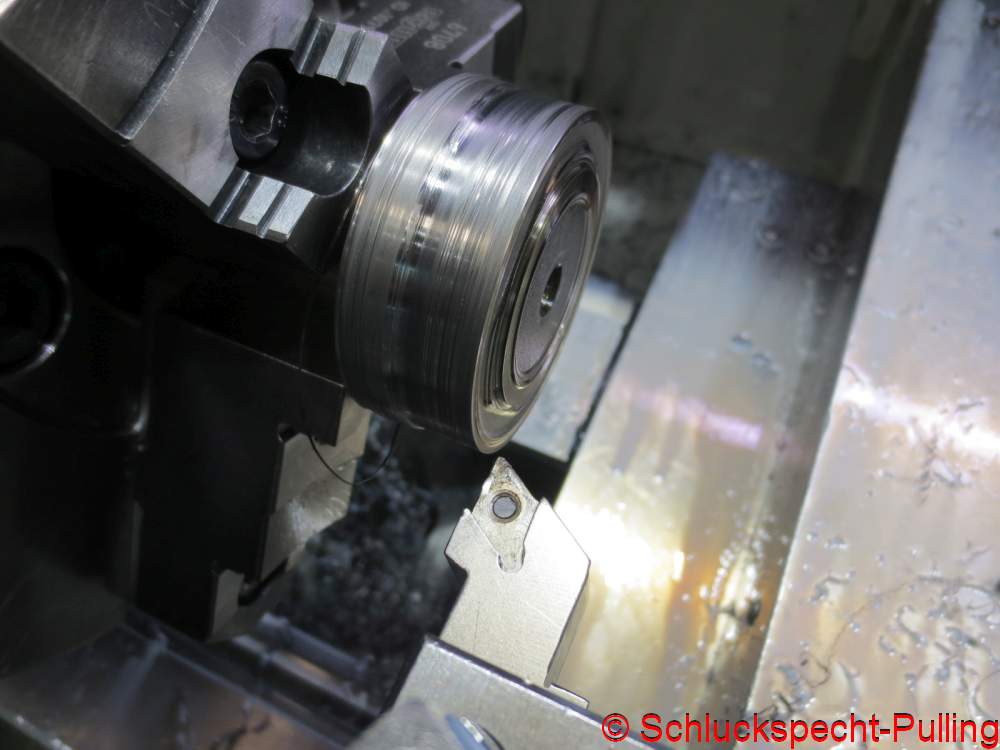
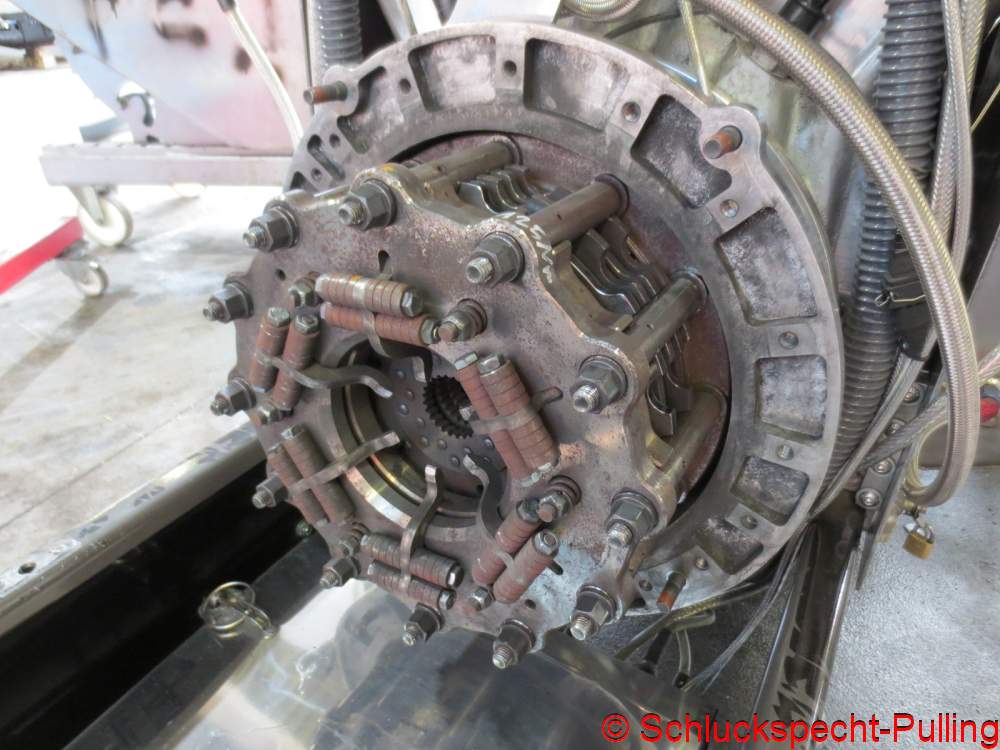
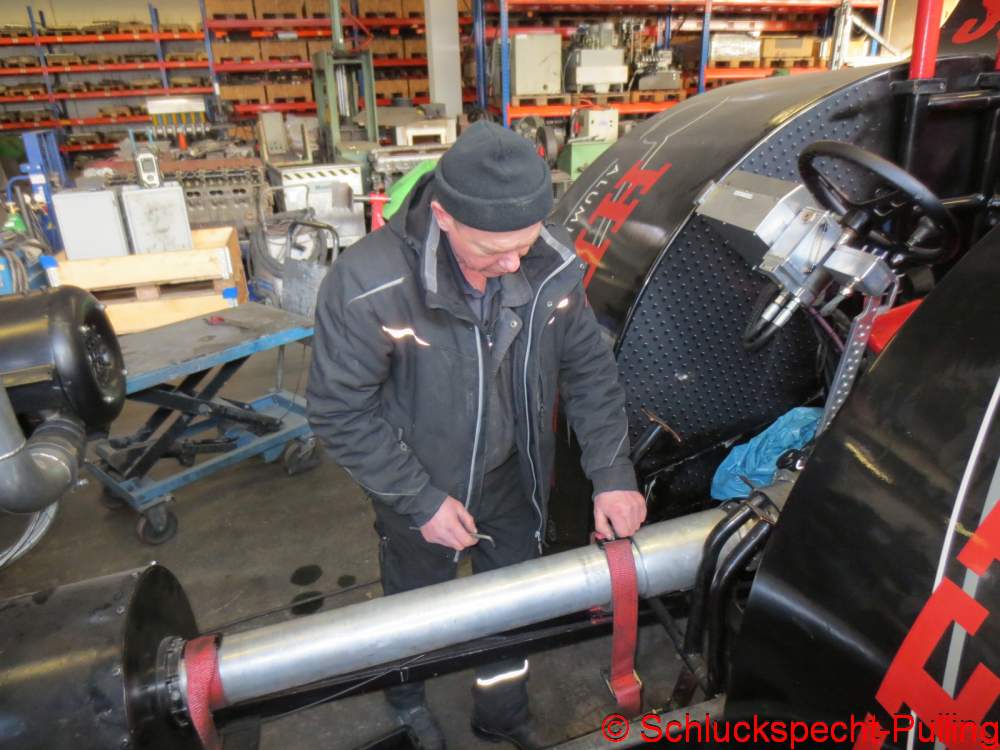
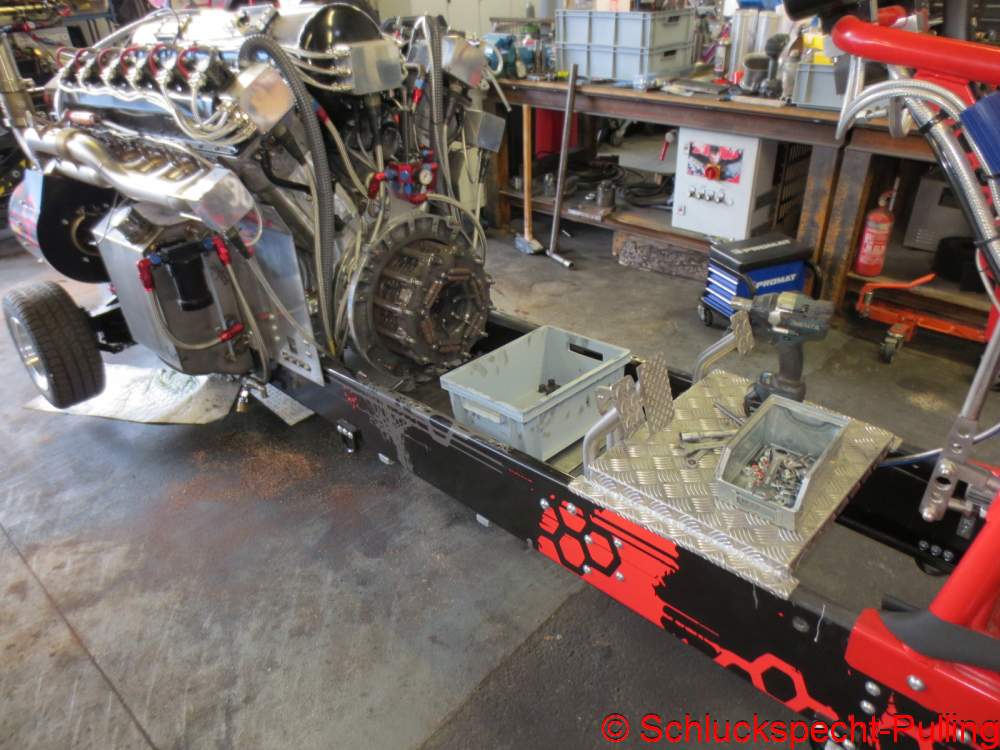
Zeit sich die Kuppung näher anzusehen und neu einzumessen.
Time to take a closer look at the clutch and recalibrate it.
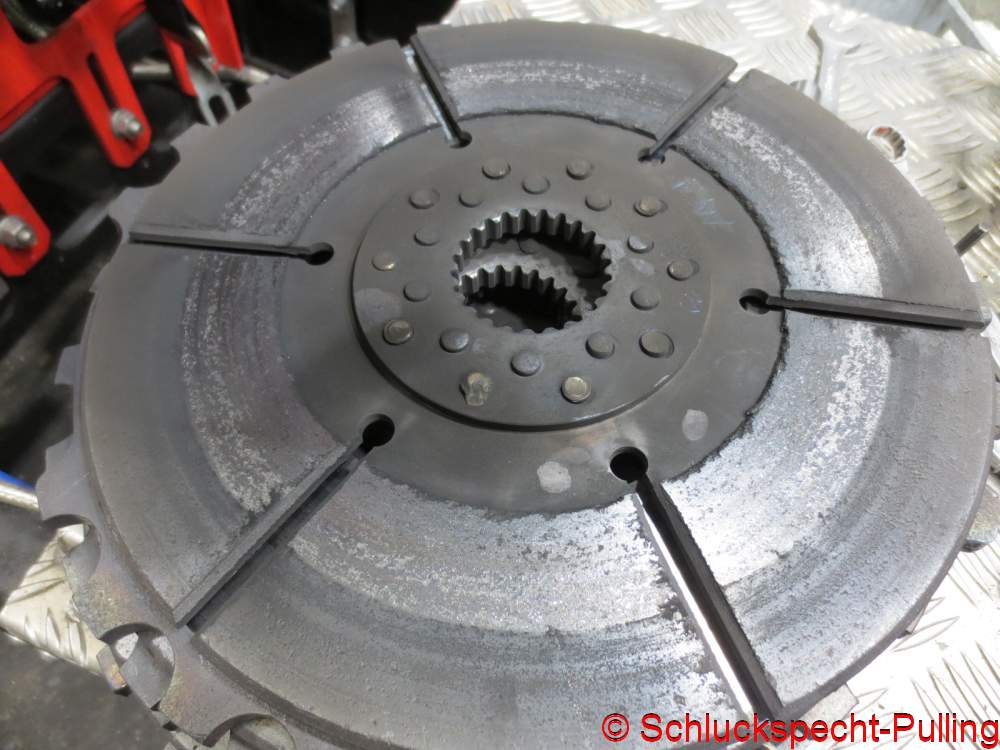
Das Tragbild der Scheibe sagt einem das da „irgendwas“ nicht stimmt 😉
The contact pattern on the disc tells you that „something“ isn’t right there 😉
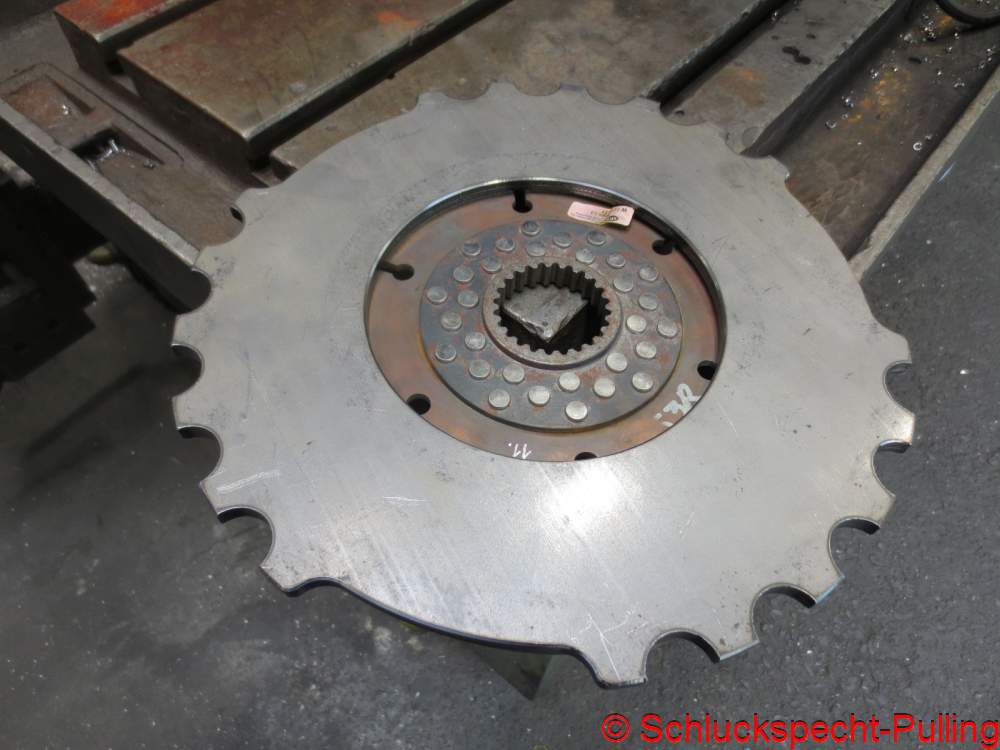
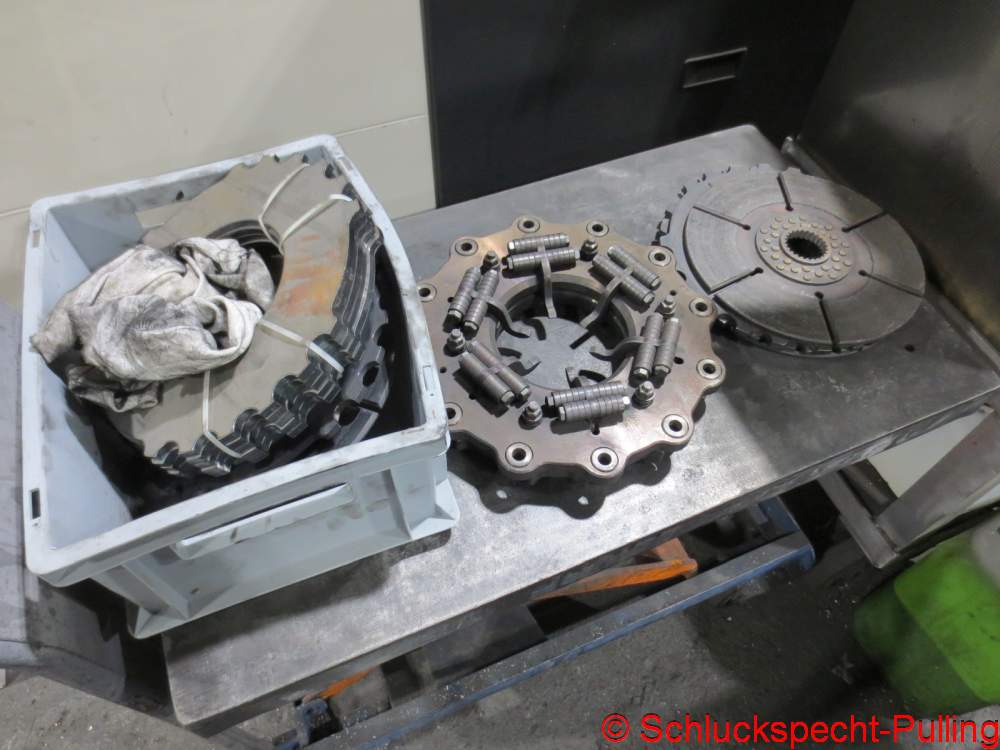
In Summe sind 3 neue Floater und eine neue Reibscheibe reingekommen. Die haben ganz schon getellert.
All in all, three new floaters and a new friction disc were installed. They were wobbling quite a bit.
Sinnreiche Rechnungen bestätigt durch die Kupplungsspiel-Katana-Schwerter 😉 Wenn bei 3 neuen Floatern und einer neuen Reibscheibe die Stands um 2mm kürzer(!) werden, liegt der Verdacht nahe, dass wir am Saisonbeginn getellerte Scheiben eingebaut haben. Schande über mein Haupt 😉
Ingenious calculations confirmed by the „clutch-clearance Katana swords“ 😉 If the stack height decreases by 2mm(!) with three new floaters and one new friction plate, it strongly suggests that we installed dished plates at the start of the season. Shame on me 😉
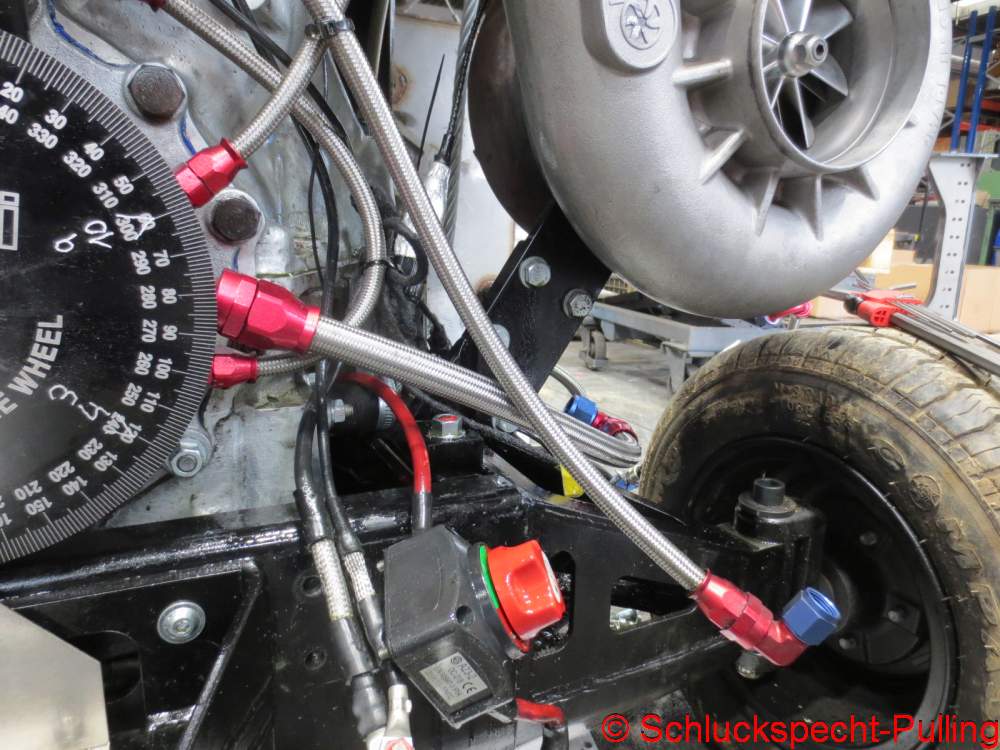
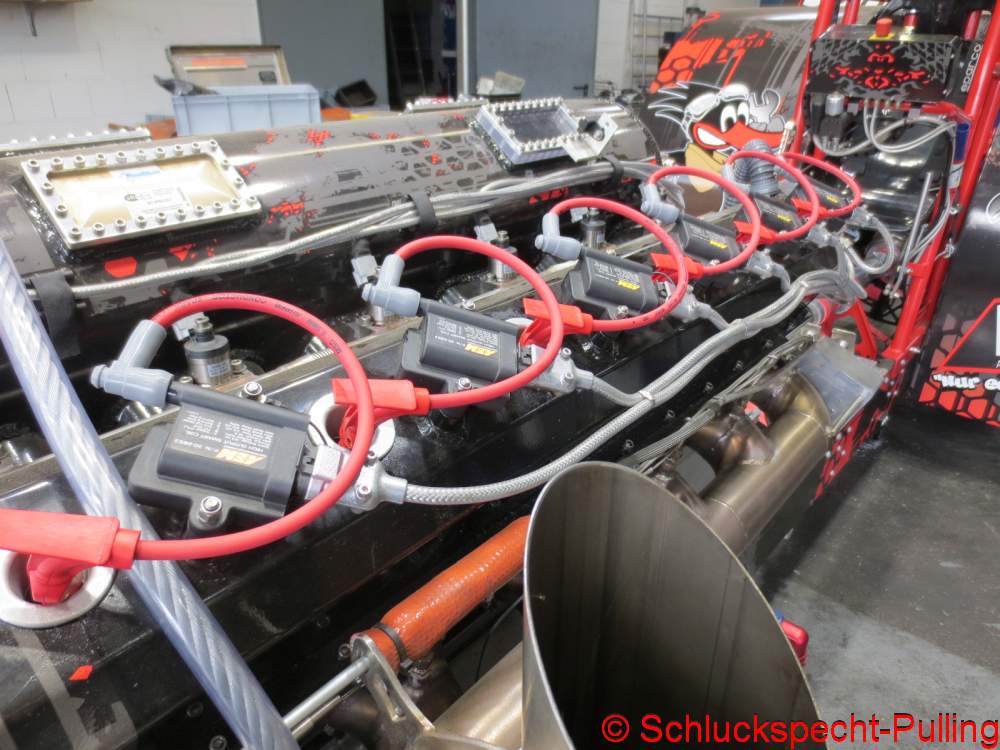
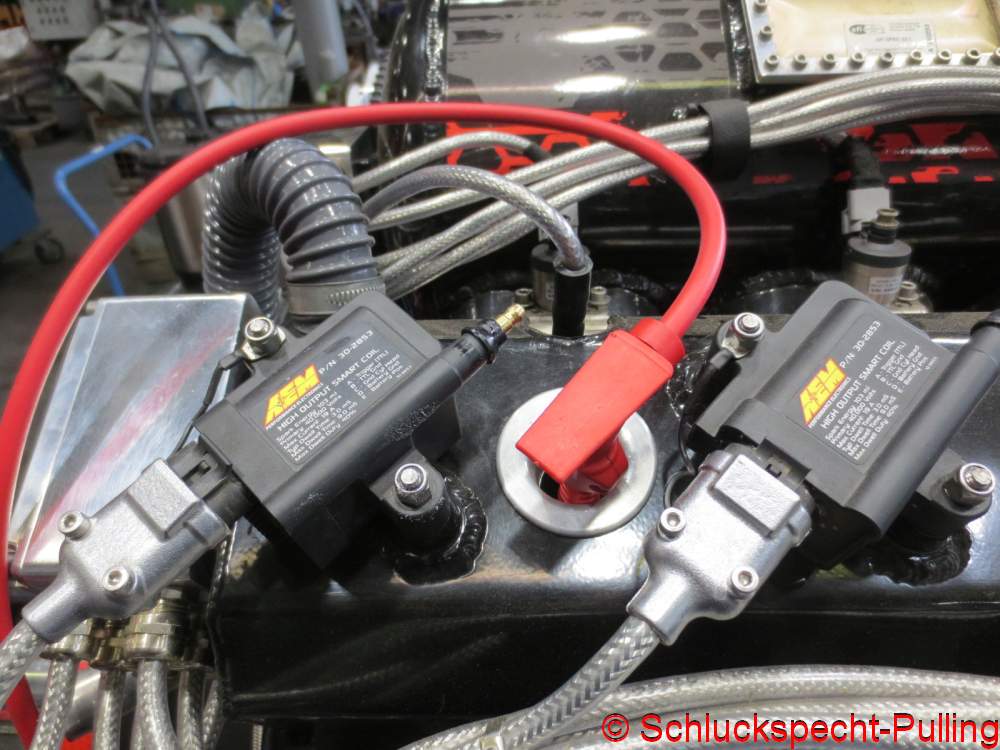
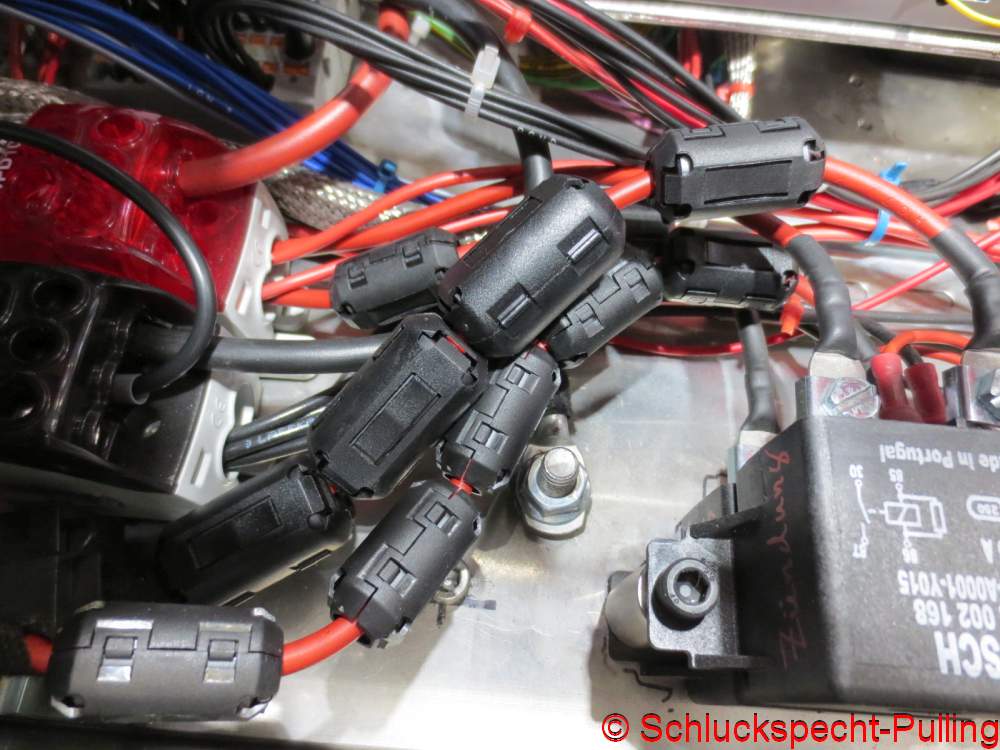
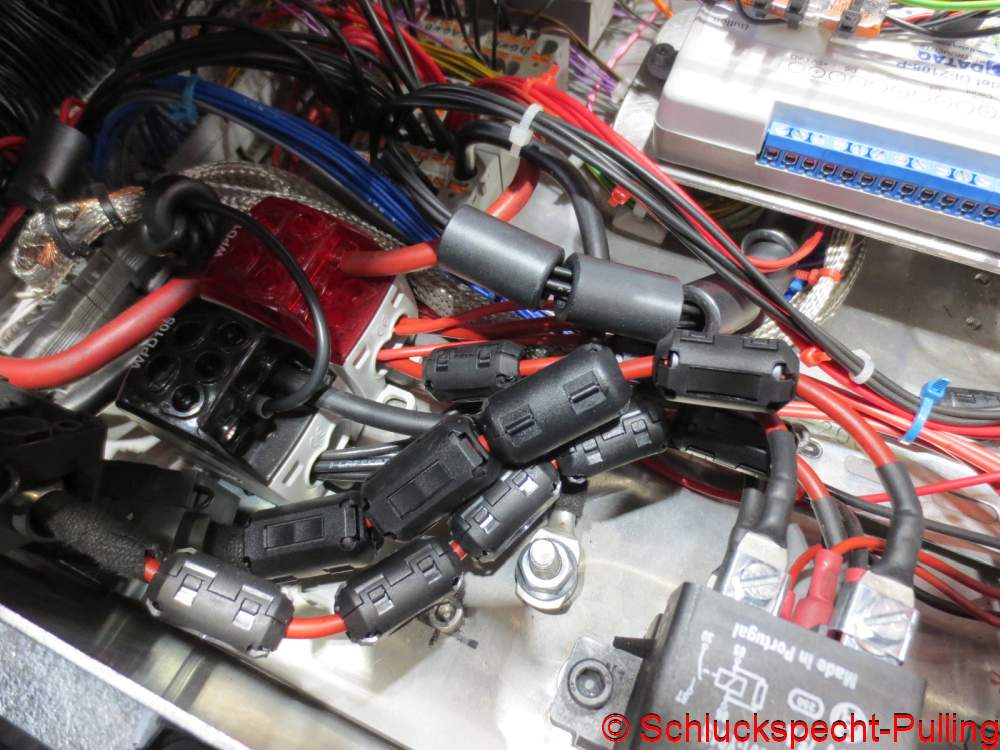
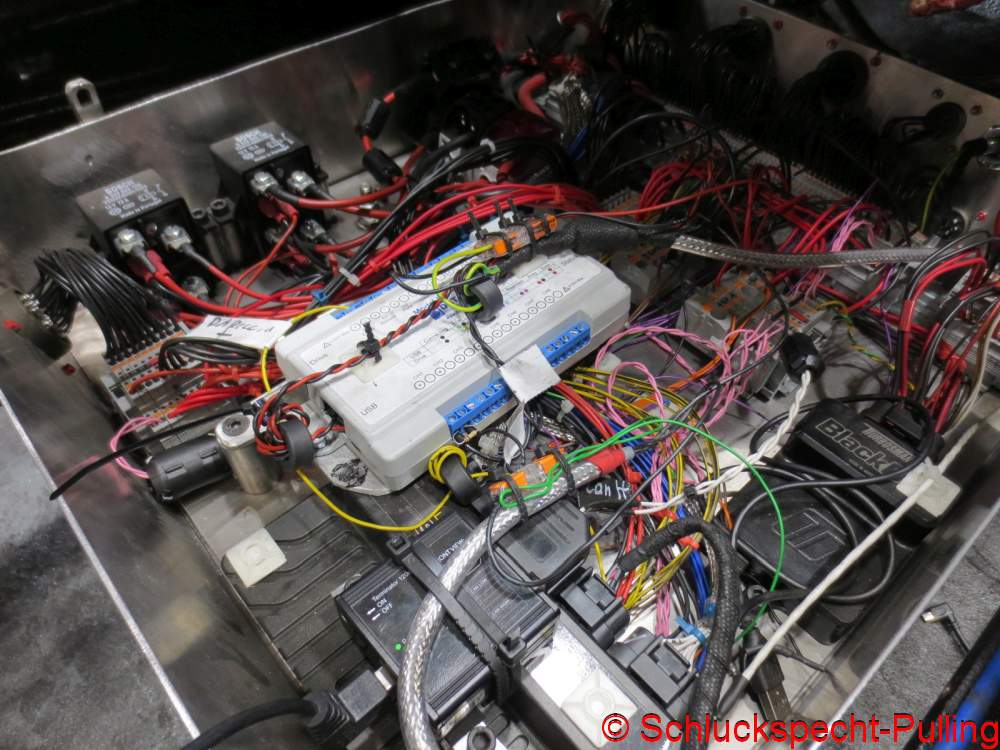
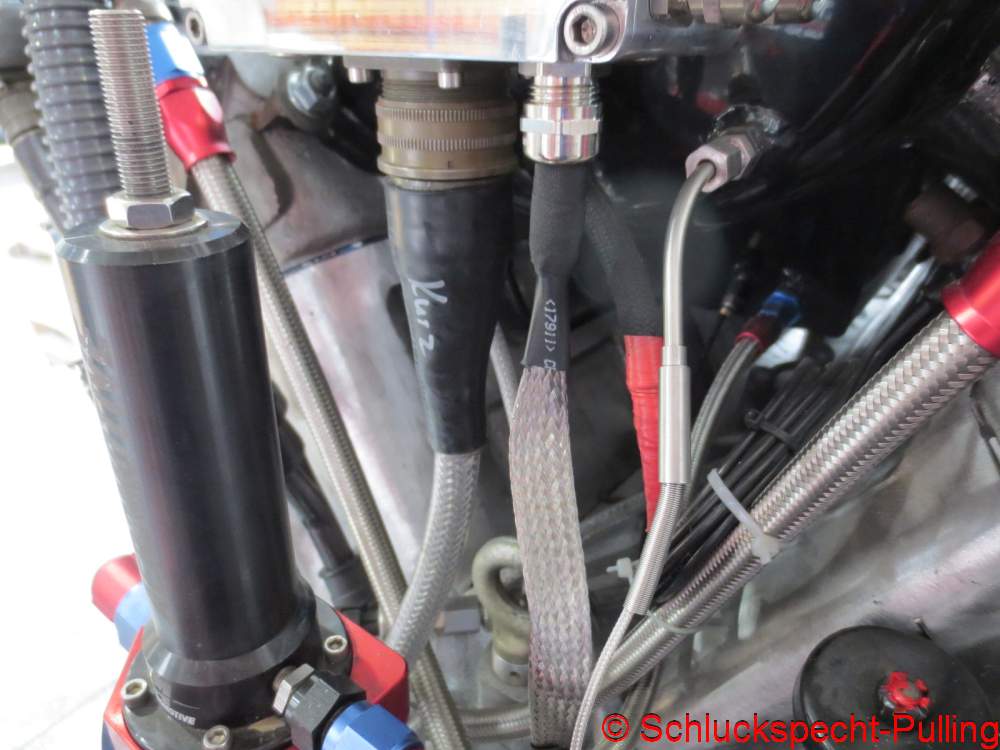
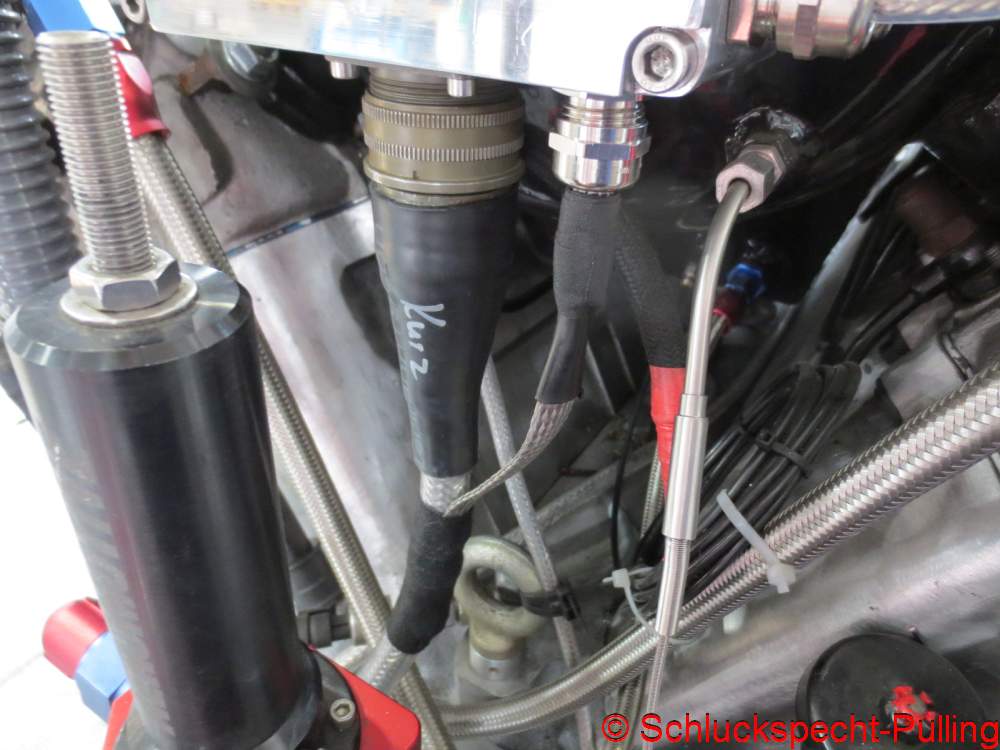
Mit der zusätzlichen Verrohrung hat das Teil jetzt einen leichten MadMax-Style bekommen 😉
With the additional piping, the thing has taken on a bit of a Mad Max style now 😉

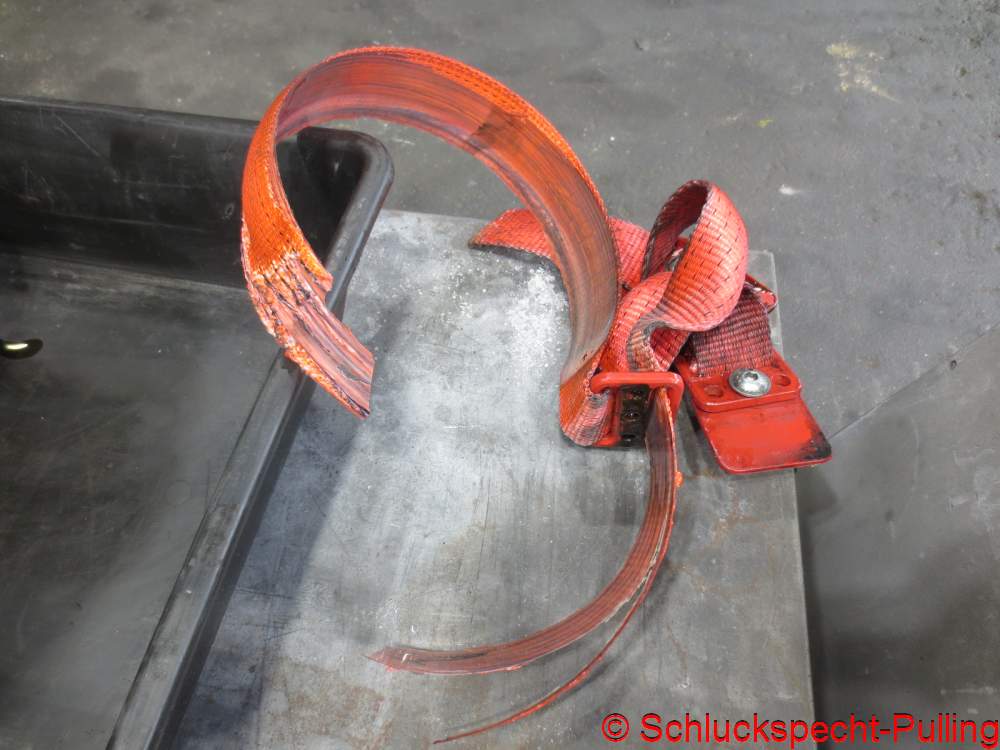
Noch einen neuen Gurt drum…..(der alte war etwas knusprig geworden 😉 )
Just need to put a new belt on it… (the old one had gotten a bit crispy 😉 )
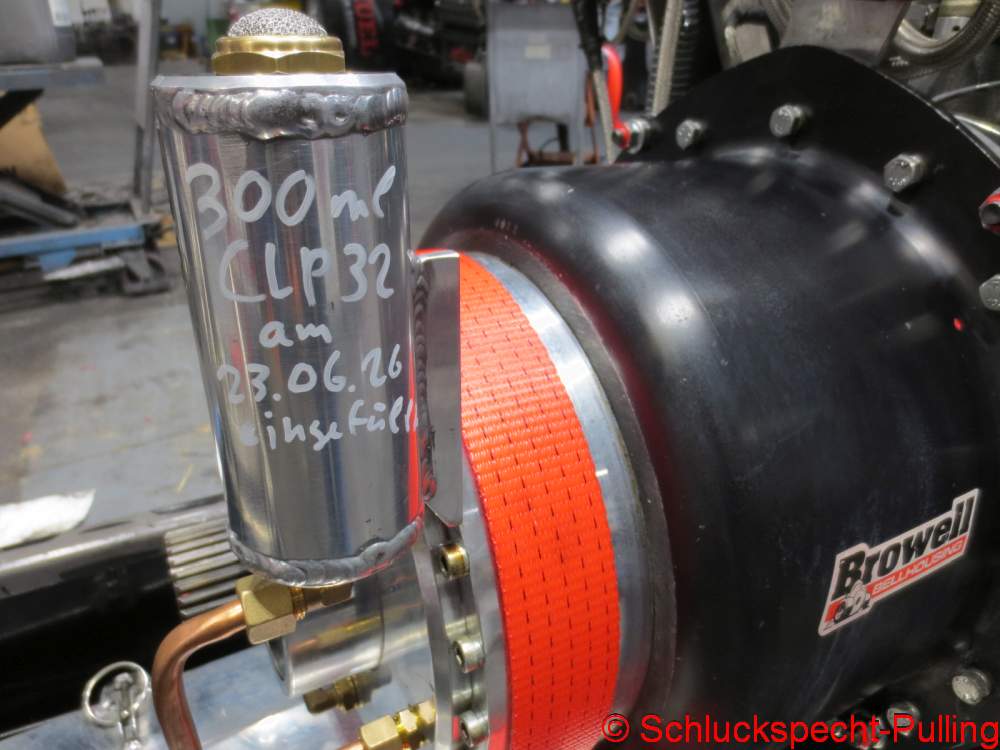
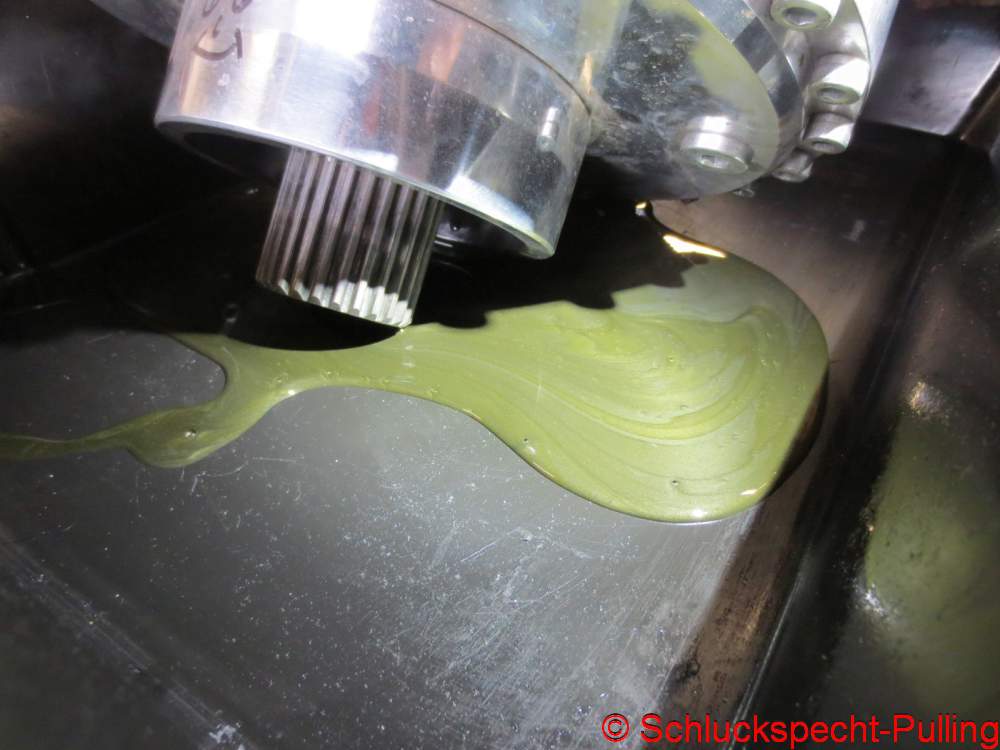
…und eine deutlich geringere Menge, deutlich dünnflüssigeres Öl eingefüllt.
…and a significantly smaller amount of much thinner oil was filled in.
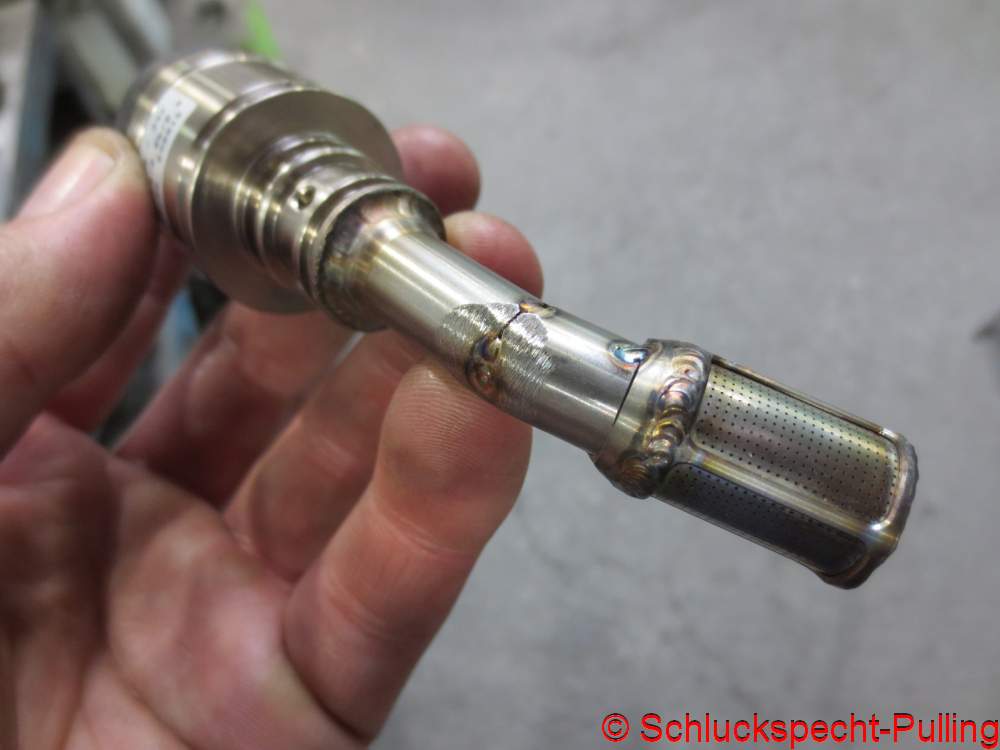
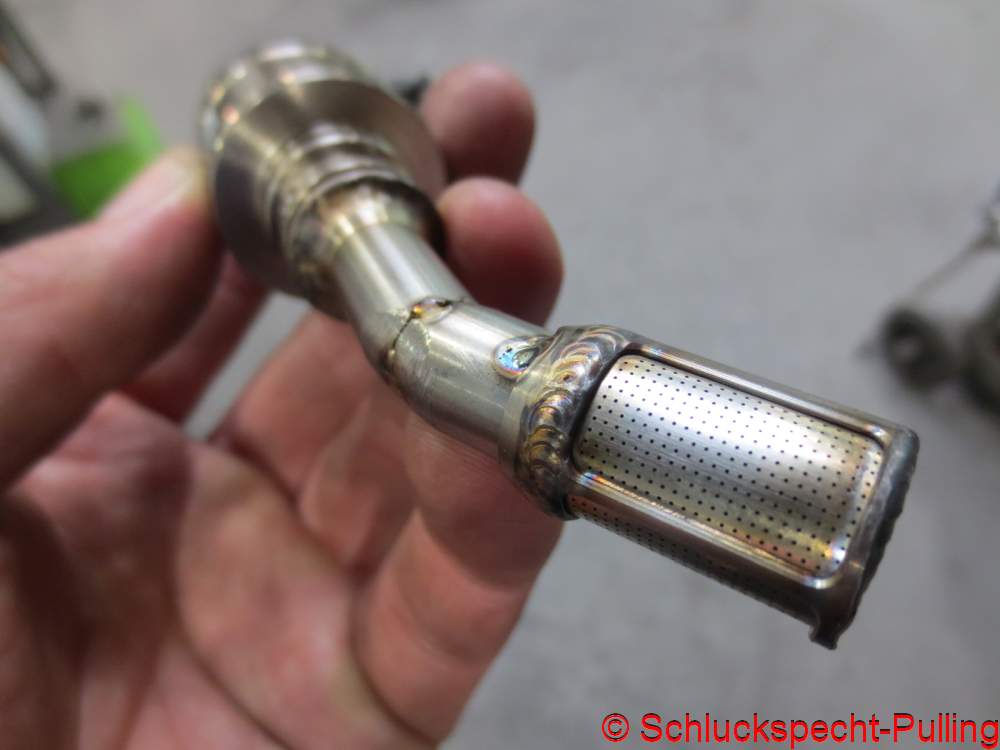
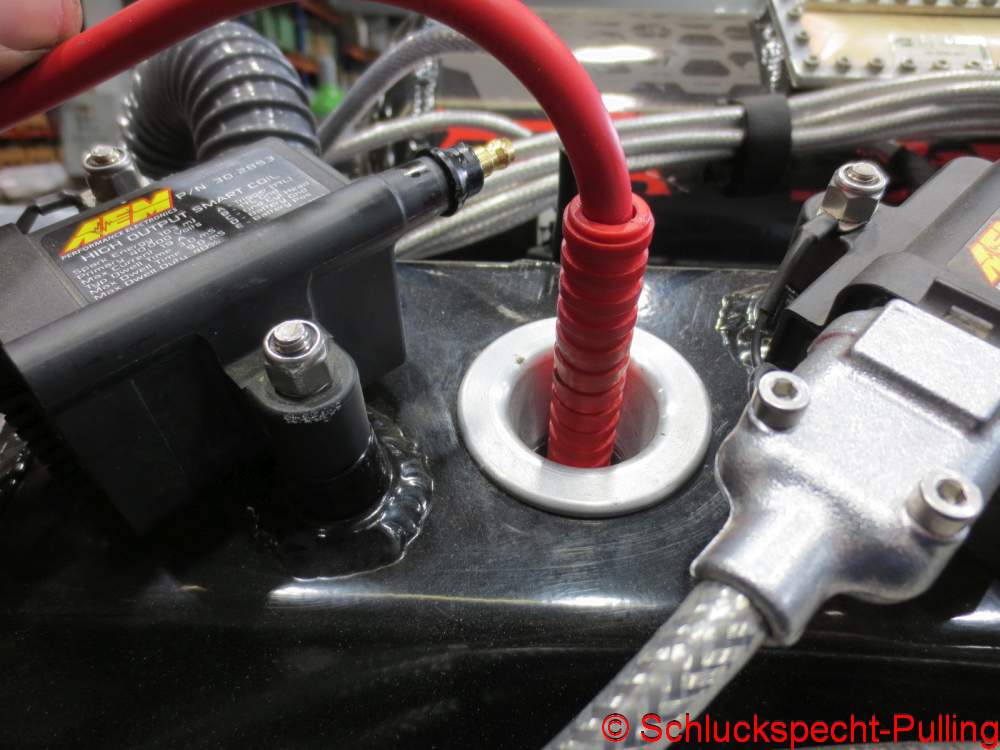
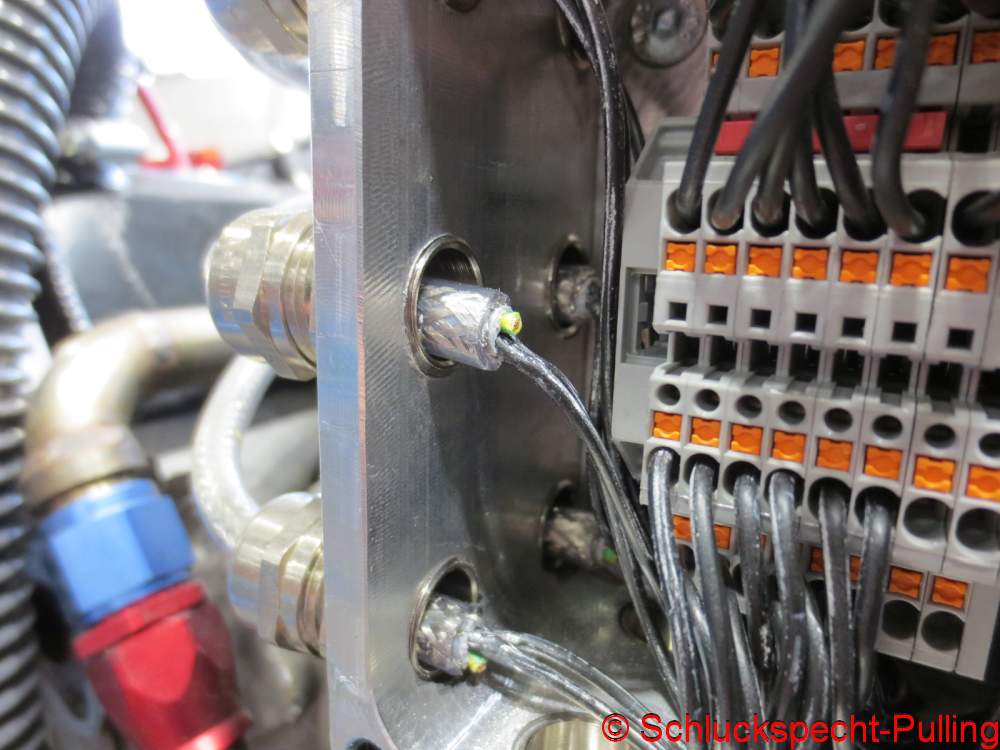
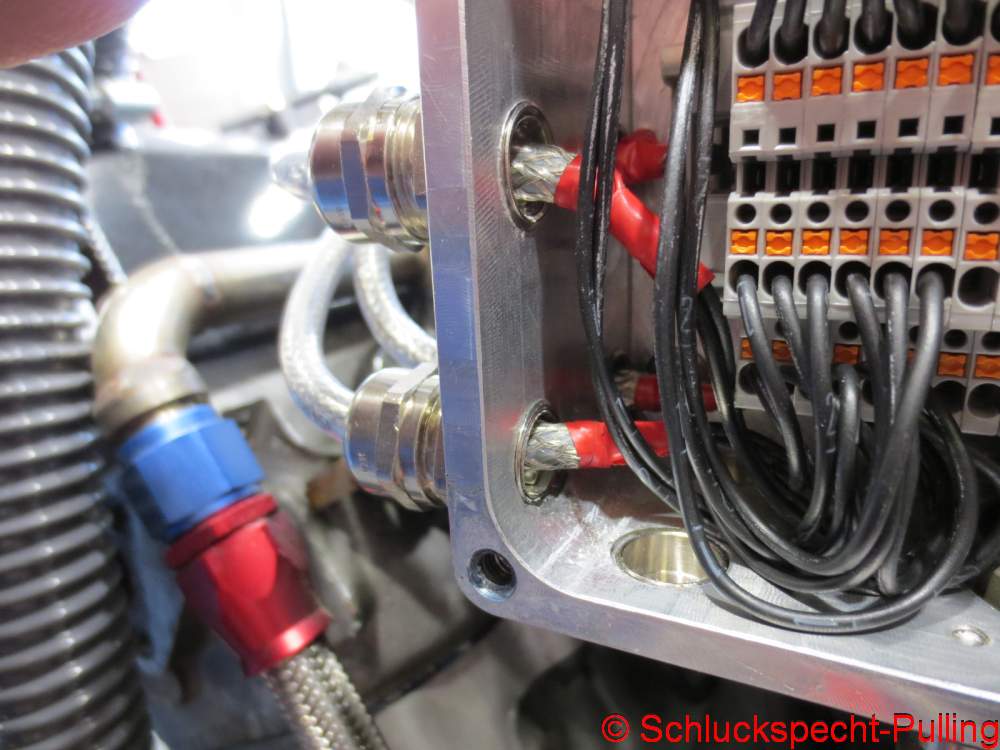
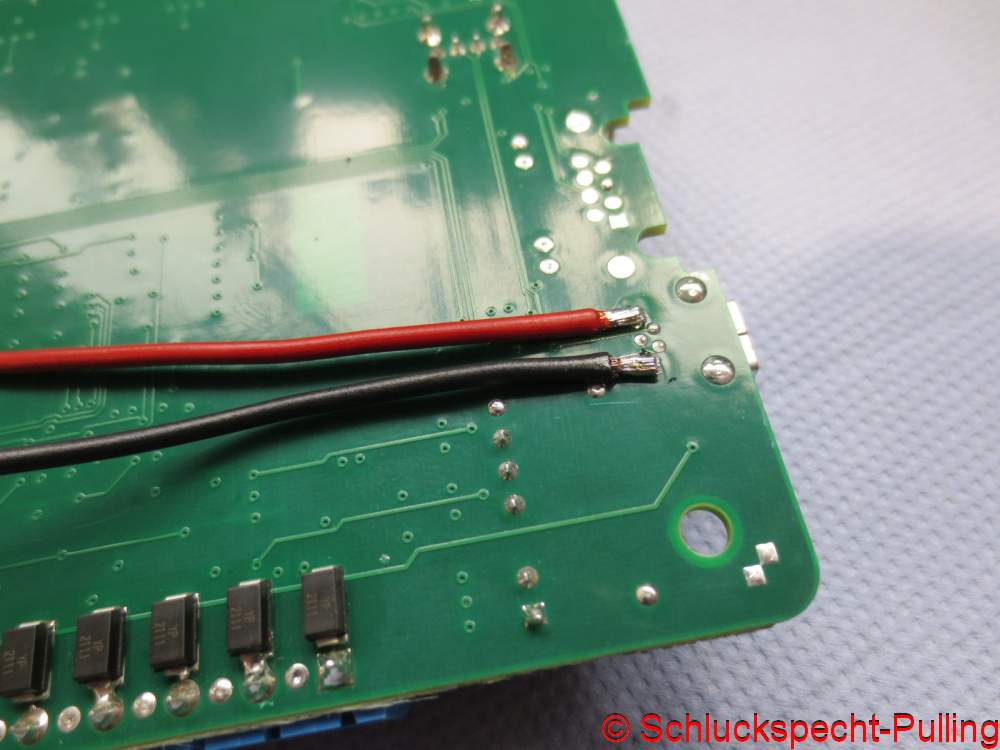
Öl ist auch die perfekte Überleitung zur Kurbelgehäuseentlüftung.
Oil also serves as the perfect segue to the crankcase ventilation system.
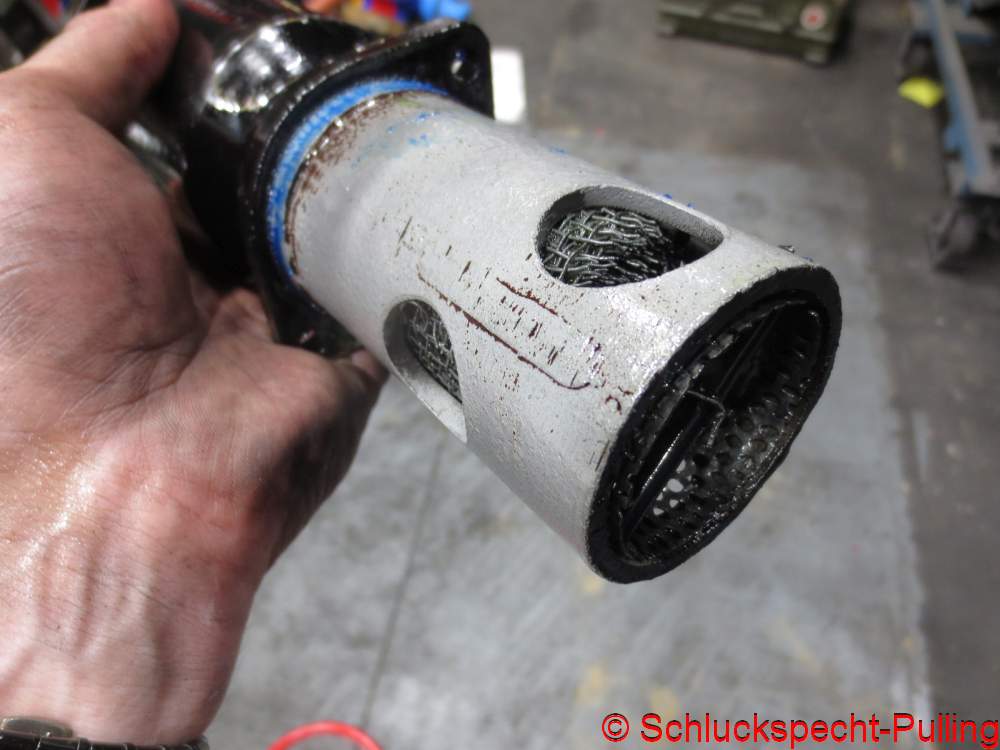
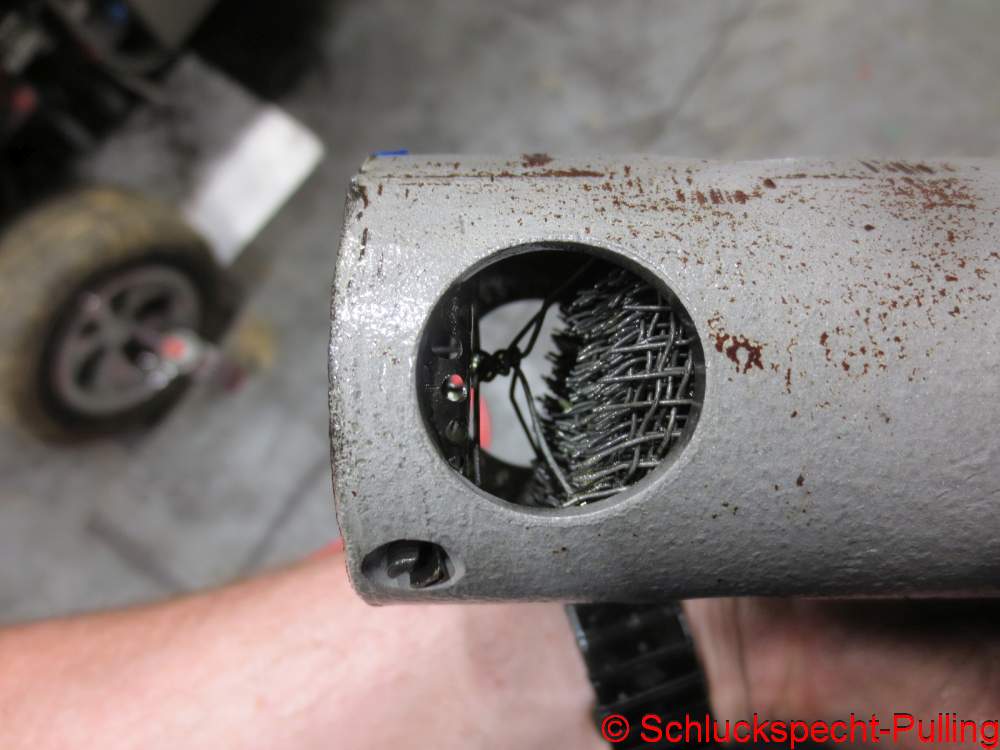
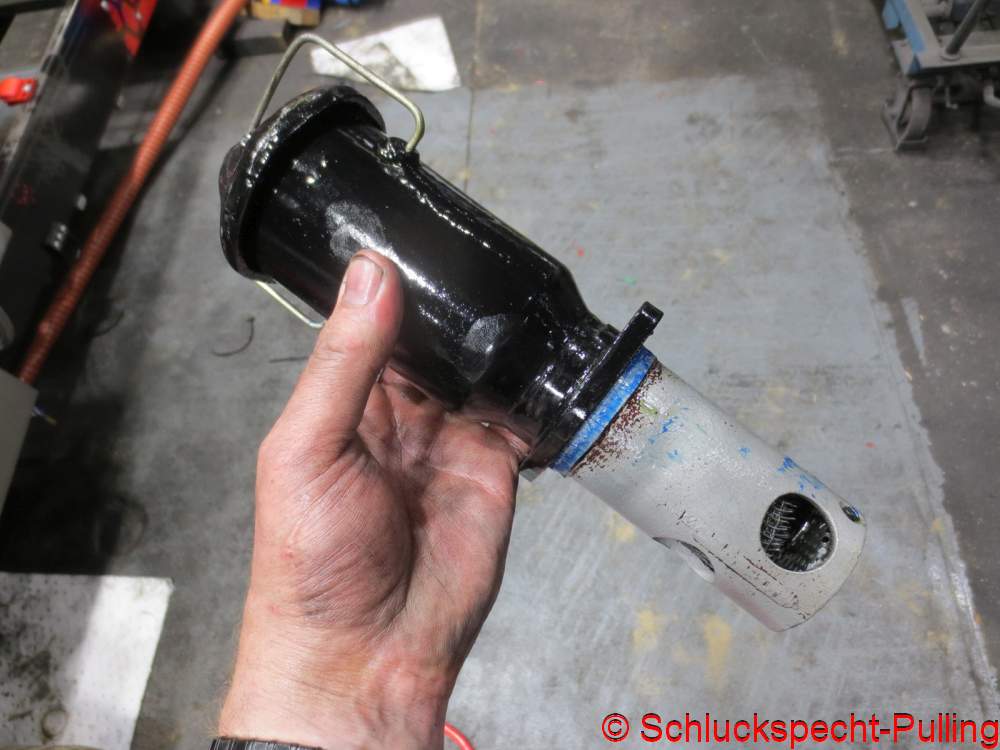
Ich denke mit dem ganzen Drahtgewirr ist die einfach viel zu klein. Auch wenn es auf dem Foto etwas schwerer zu erkennen ist. Dieser als Ölnebelabscheider fungierende Drahteinsatz wird ebenfalls durch einen Draht daran gehindert, der Konstrukt nach oben zu verlassen. Schaut euch die Dräht mal genauer an. Die hatten ordentlich zu tuen das Drahtgewirr im Gehäuse zu halten 😉
I think it’s simply far too small, given that whole tangle of wire—even if it’s a bit hard to make out in the photo. A wire also prevents this wire insert—which acts as an oil mist separator—from going its way up and out of the assembly. Take a closer look at the wires; they clearly had their work cut out for them keeping that tangle inside the housing. 😉

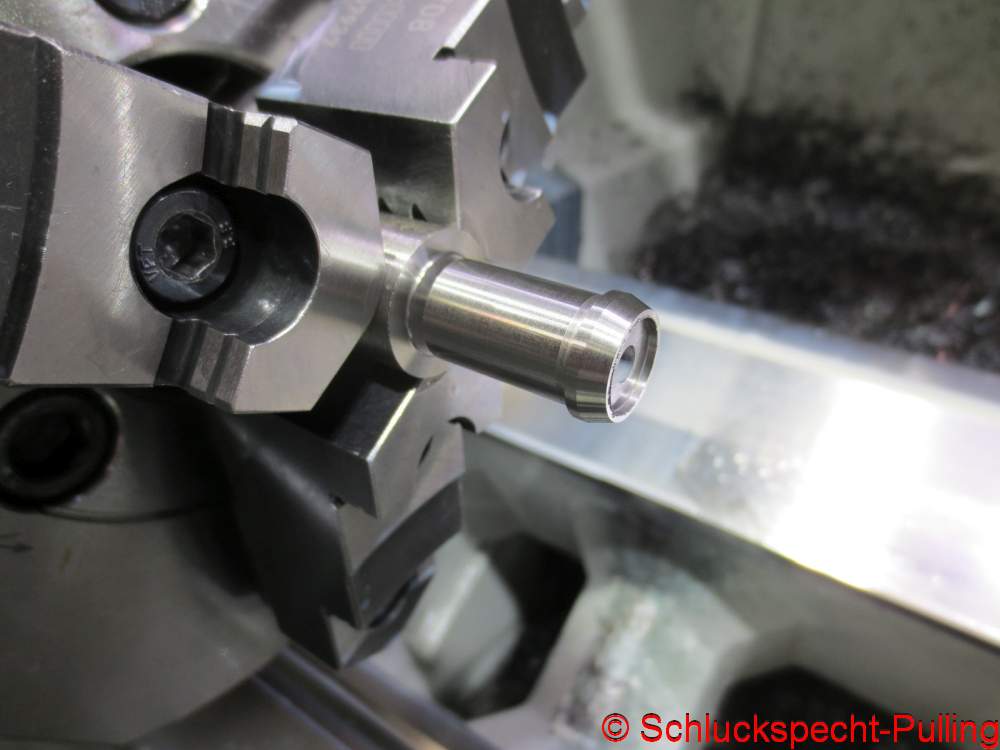
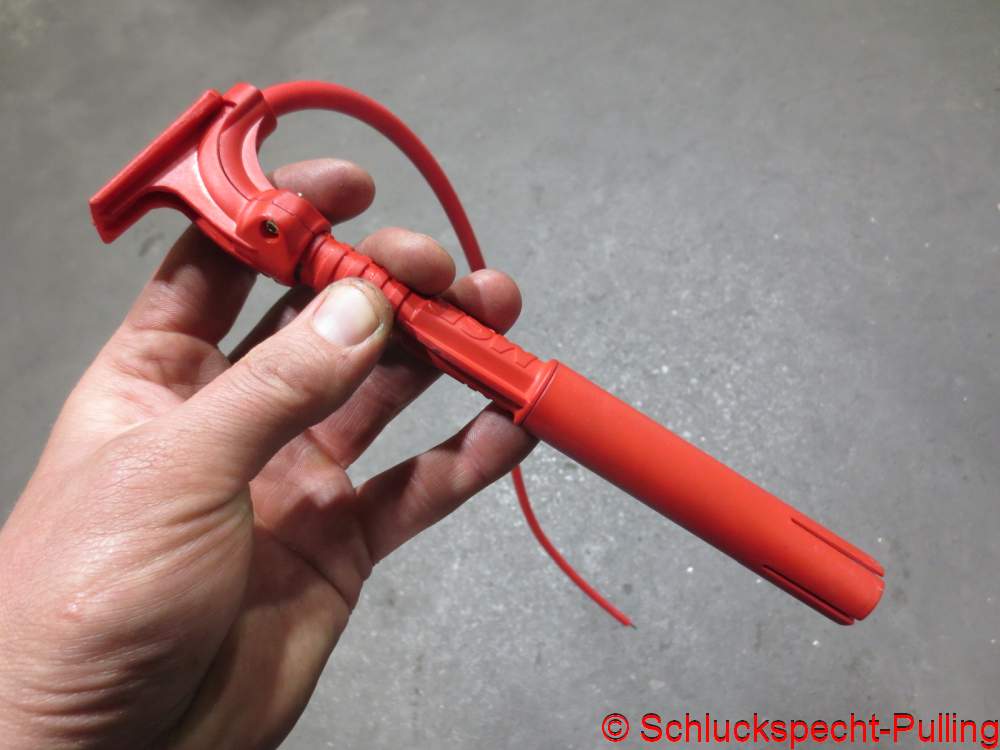
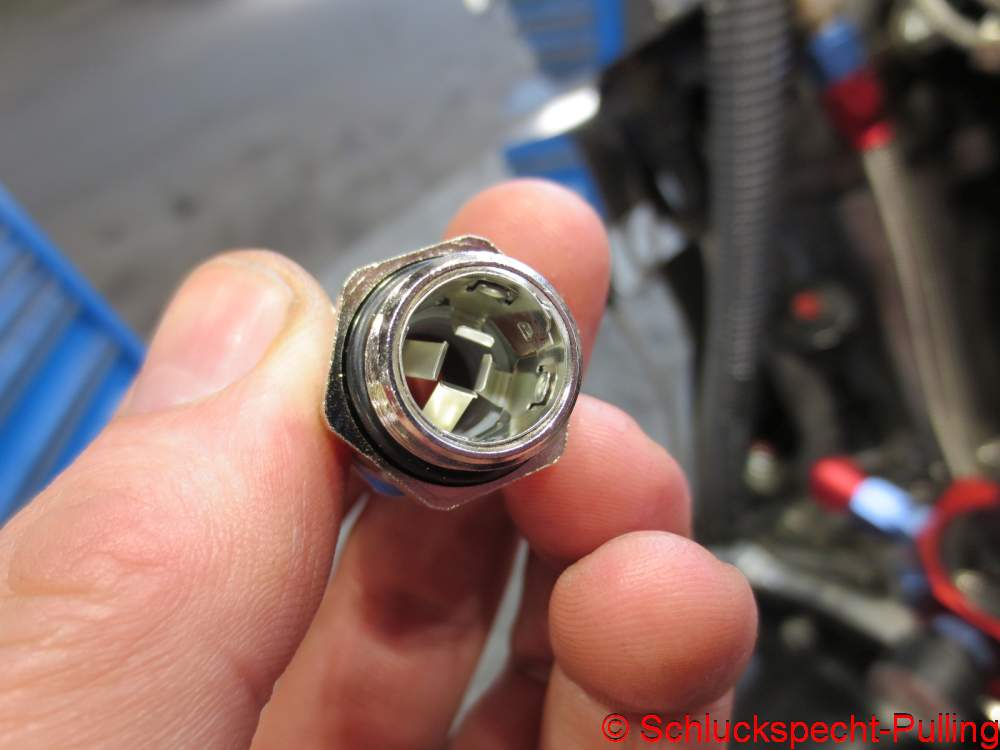
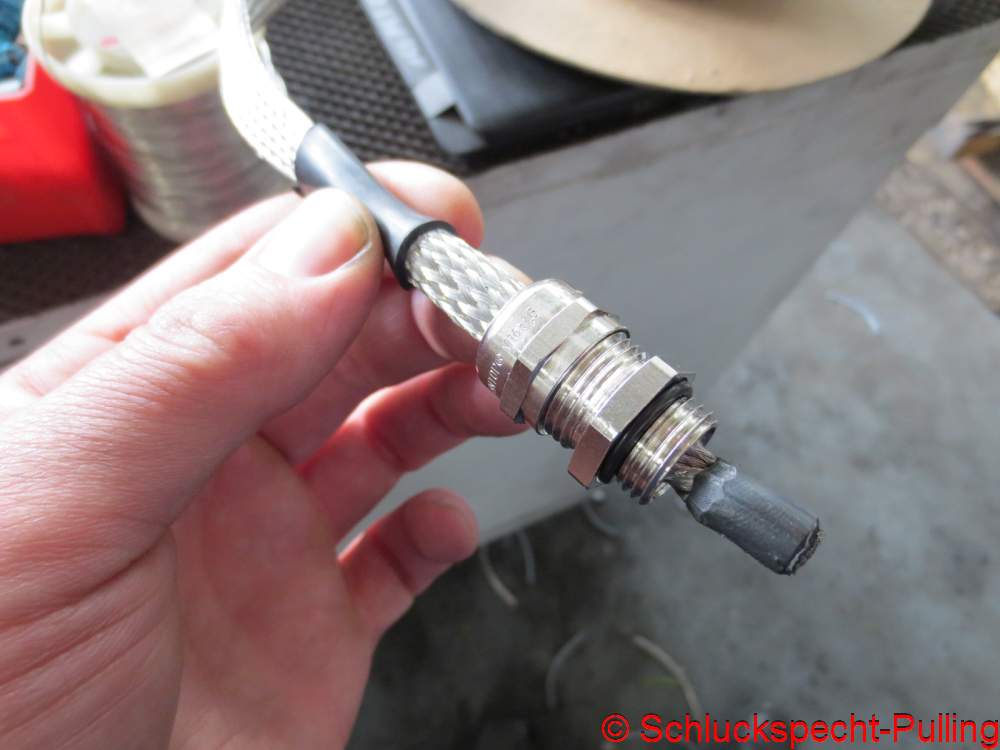
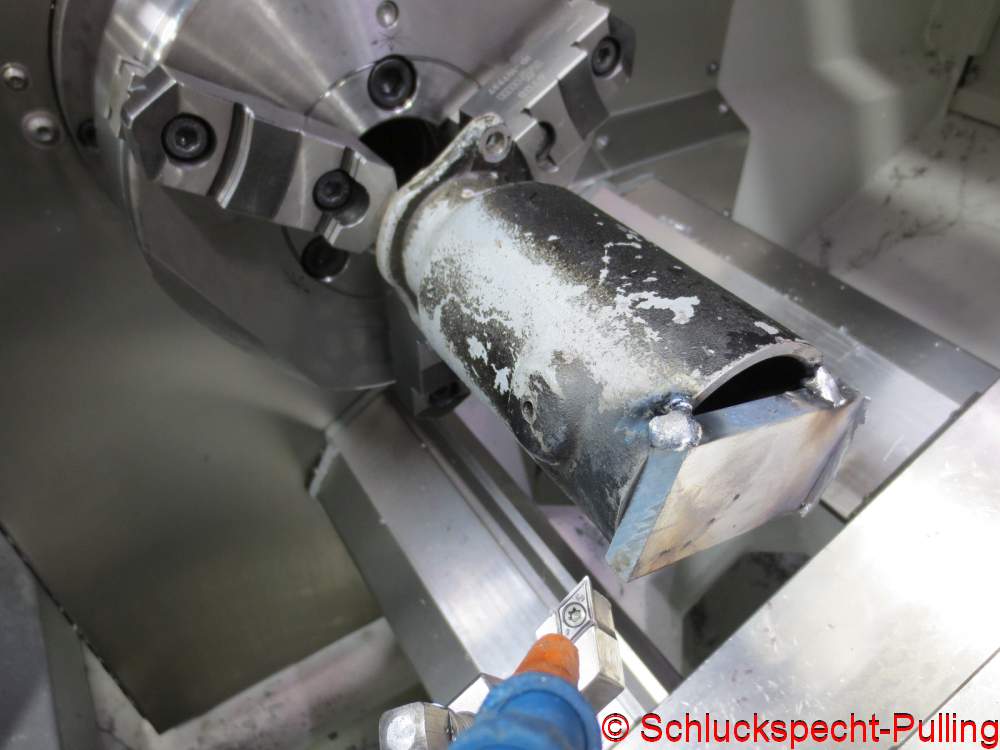
Das muss anders! Also aus dem Fundus eine alte Kurbelgehäuseentlüftung geholt…..
That’s got to be done differently! So, I dug an old crankcase ventilation unit out of my stash…

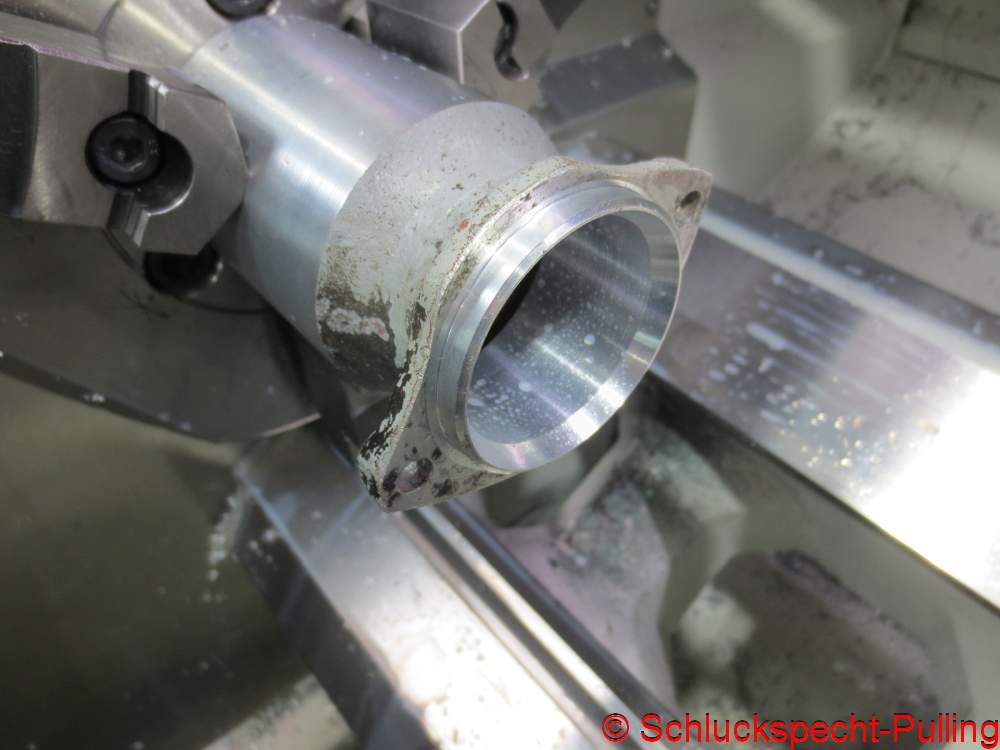
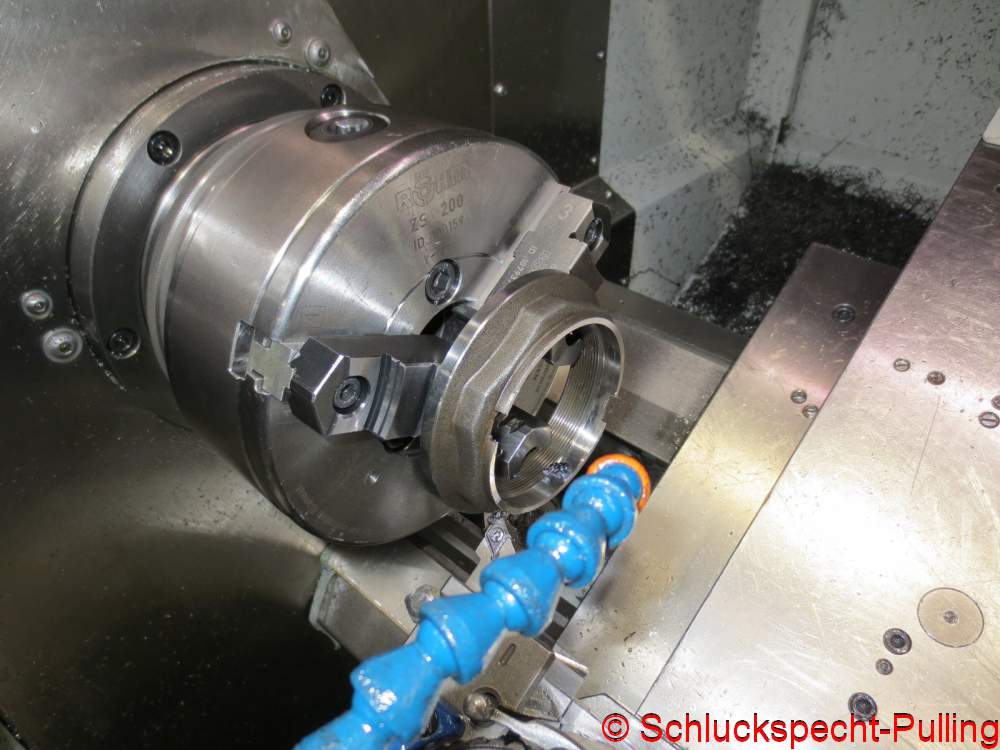
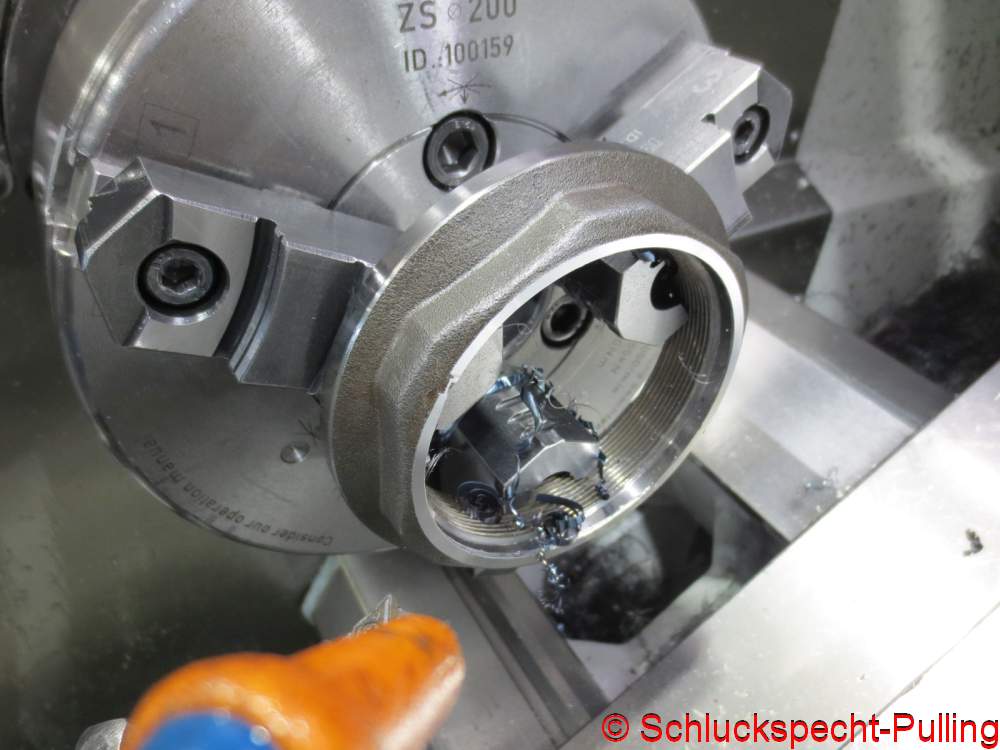
….um auf der Drehbank mit sinnreichen Bearbeitungsschritten….
….to use ingenious machining steps on the lathe….
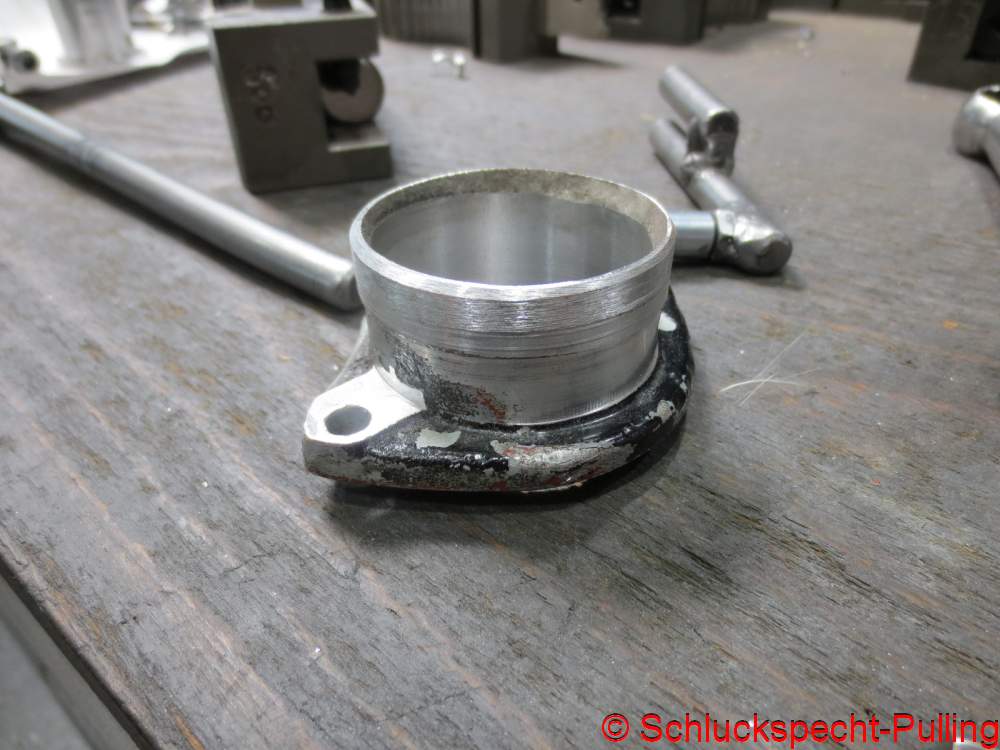
….einen Flansch zu drehen.
….to turn a flange.
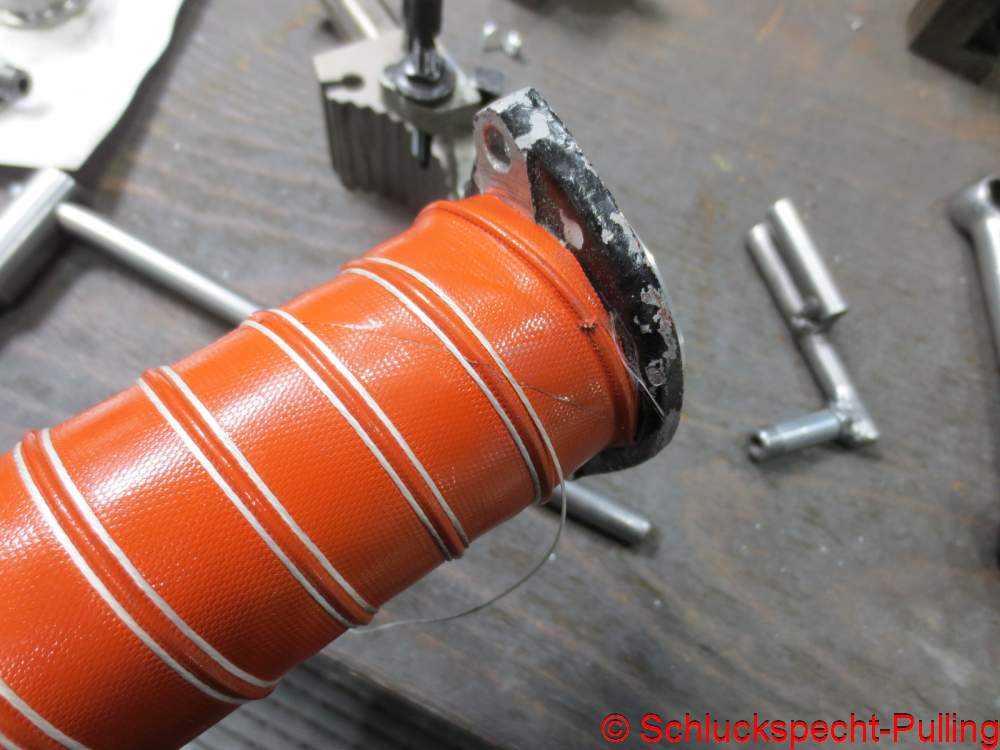
Das Ganze dann um einen Heißgas-Silikonschlauch ergänzt, sieht doch gar nicht so schlecht aus.
Once you add a hot-gas silicone hose to the whole setup, it actually doesn’t look too bad.
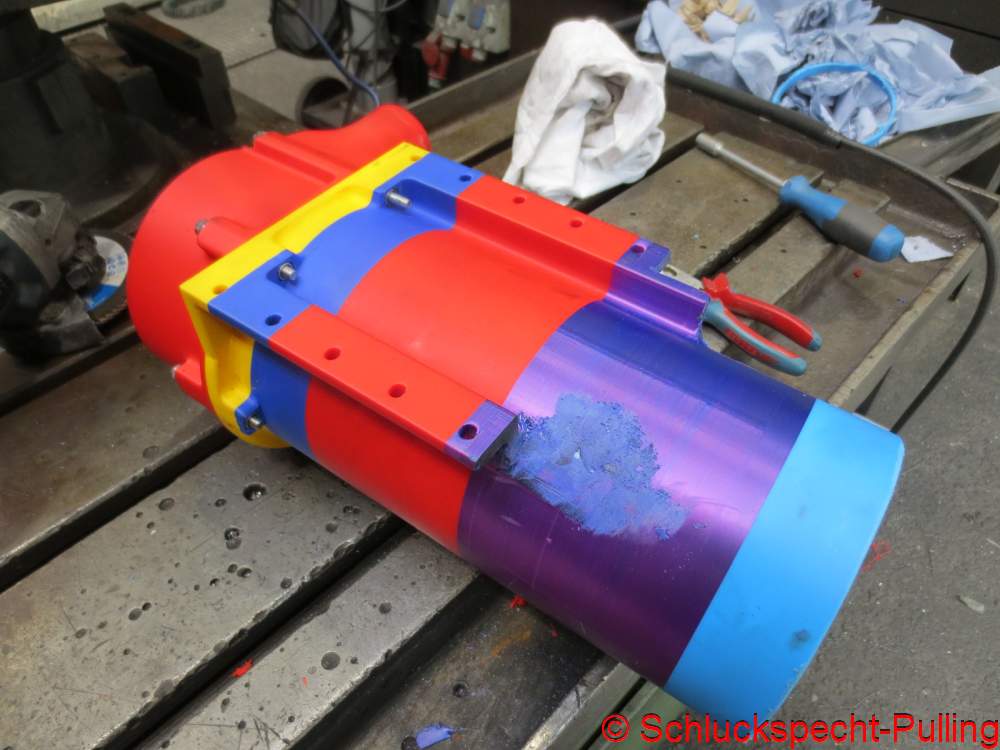
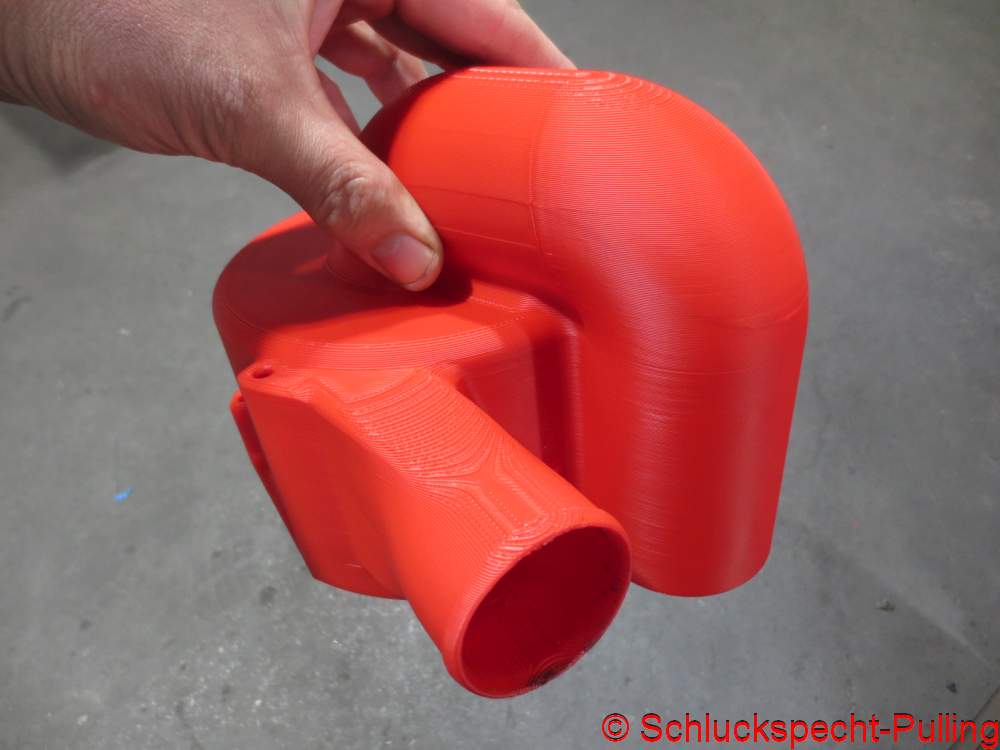
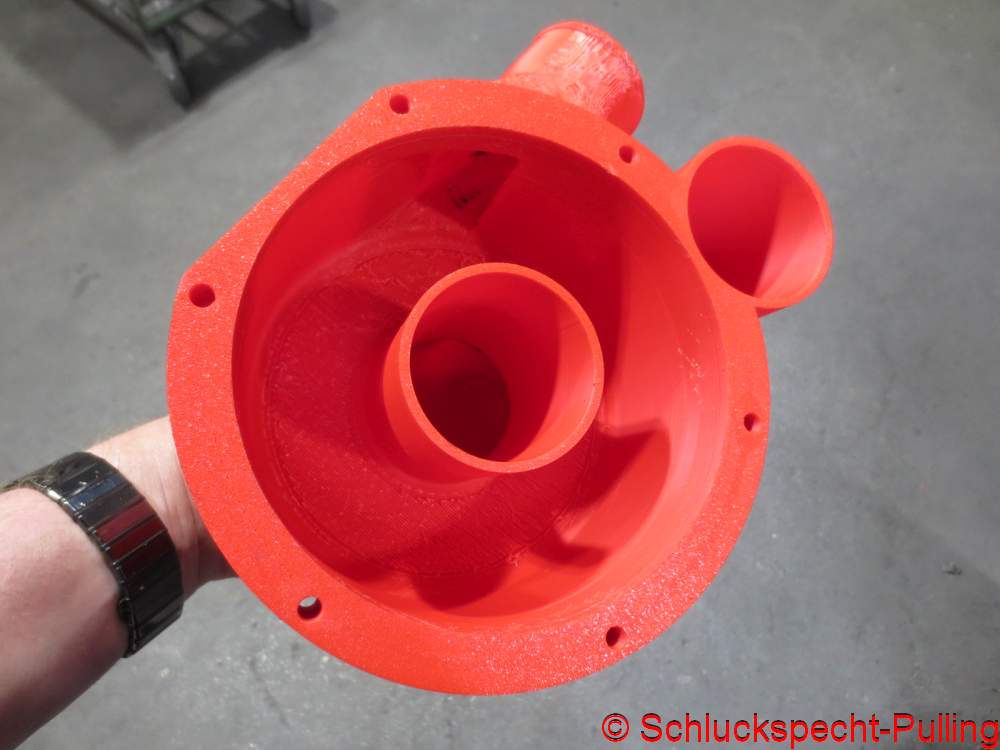
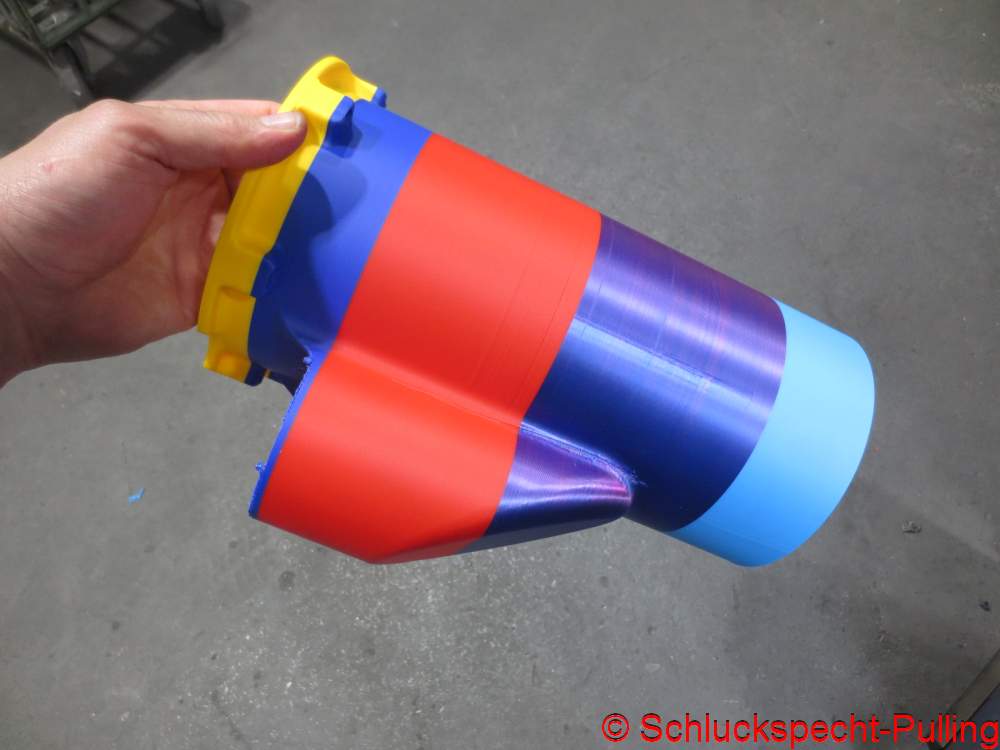
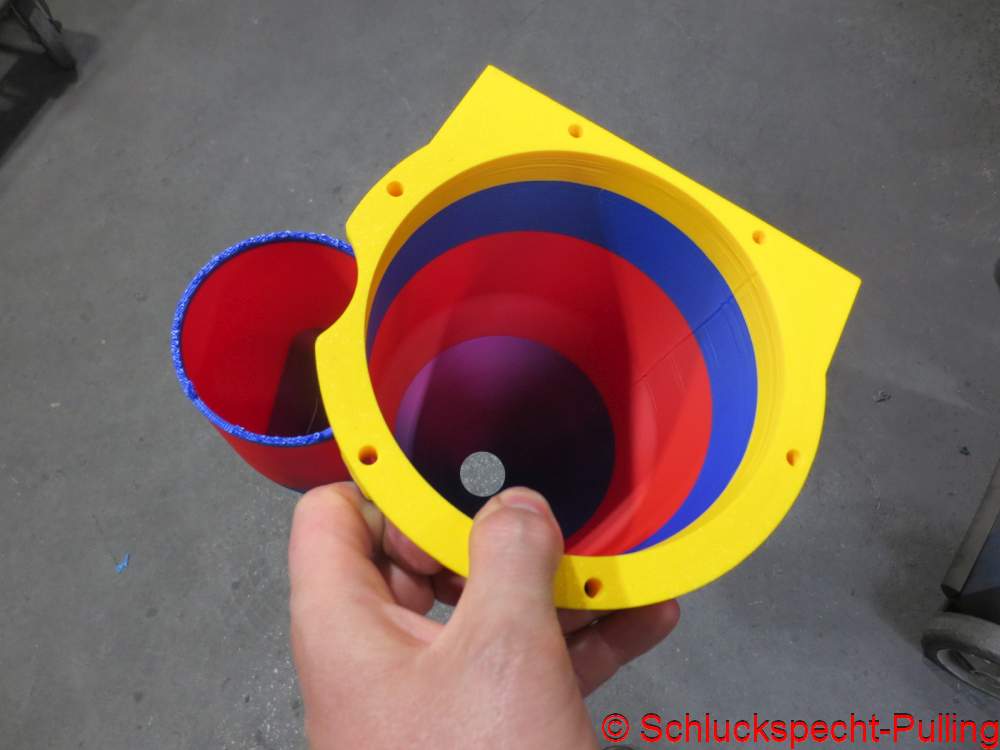
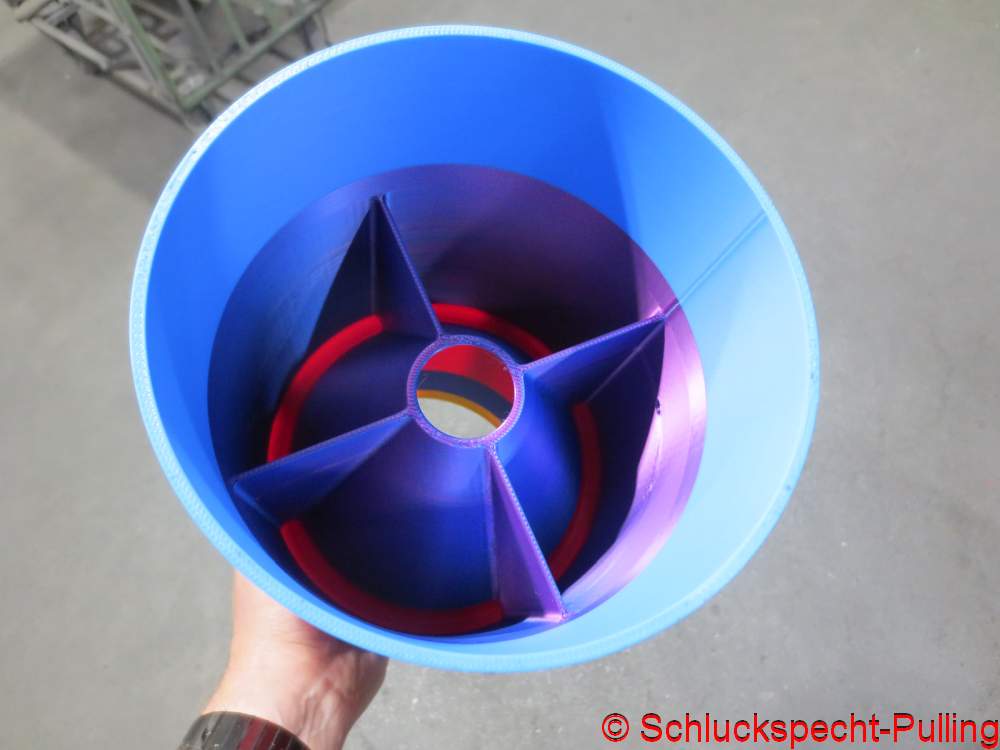
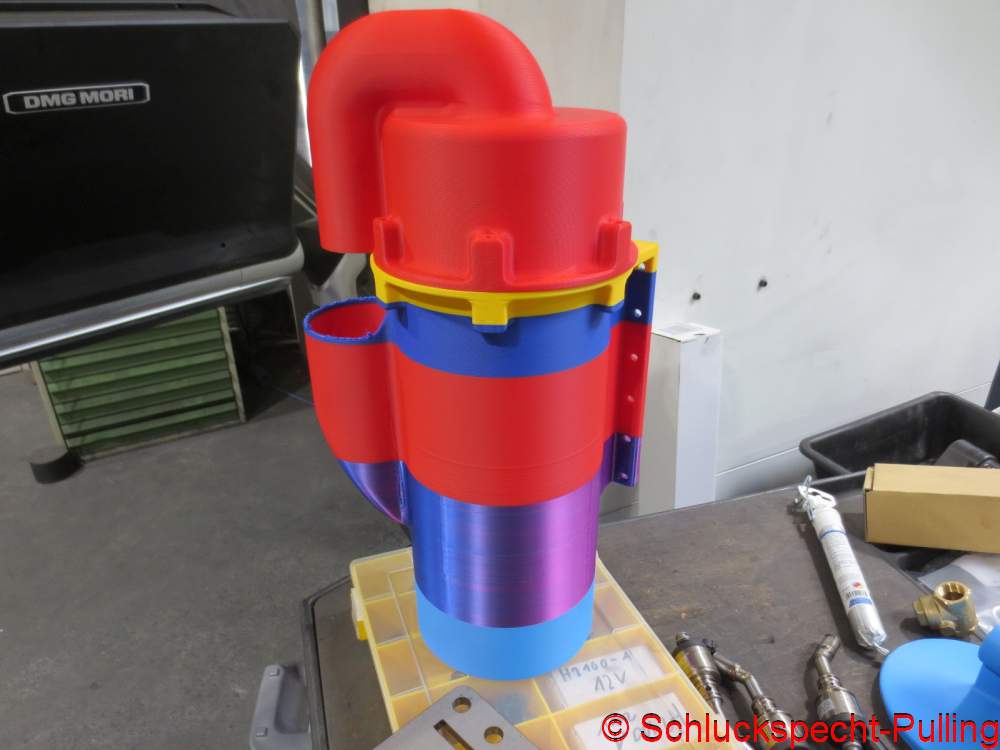
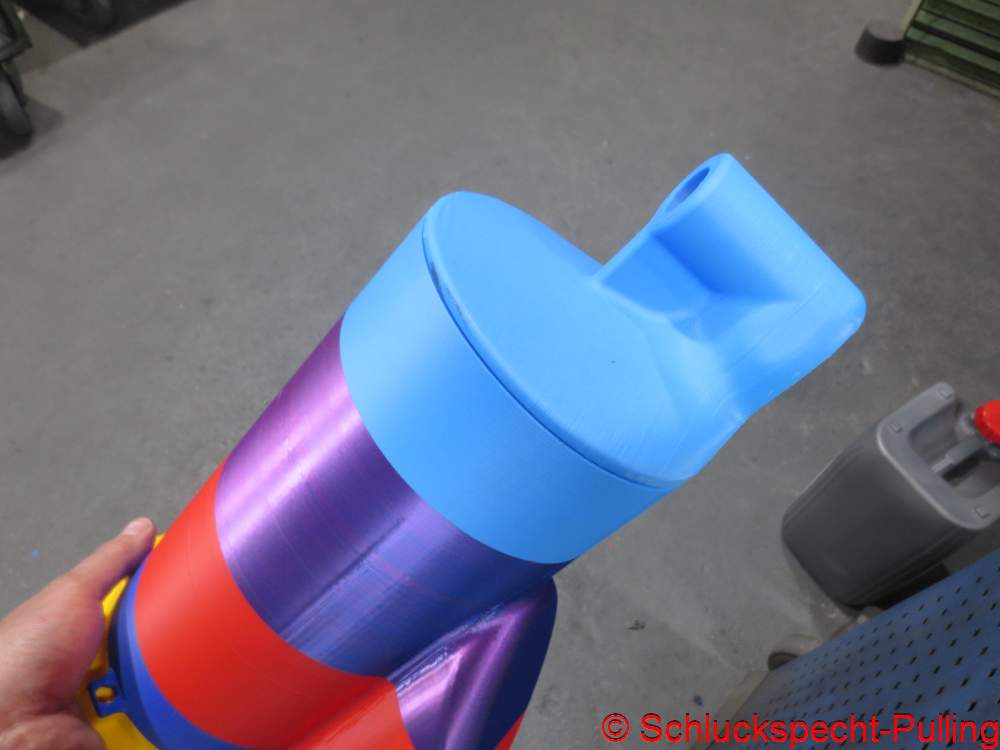
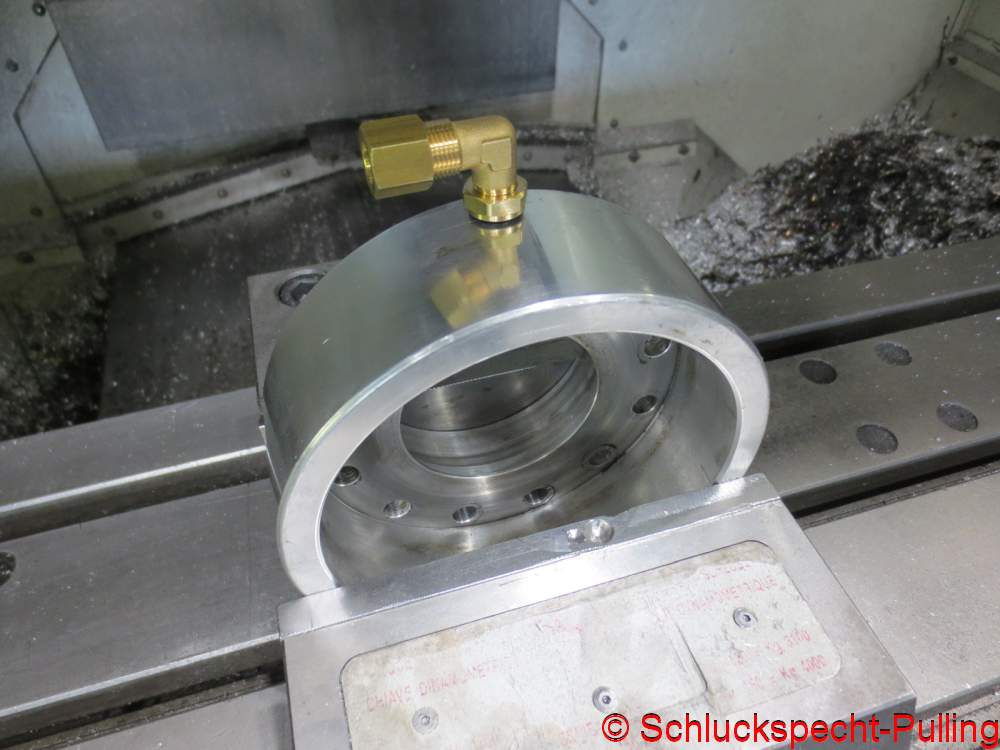
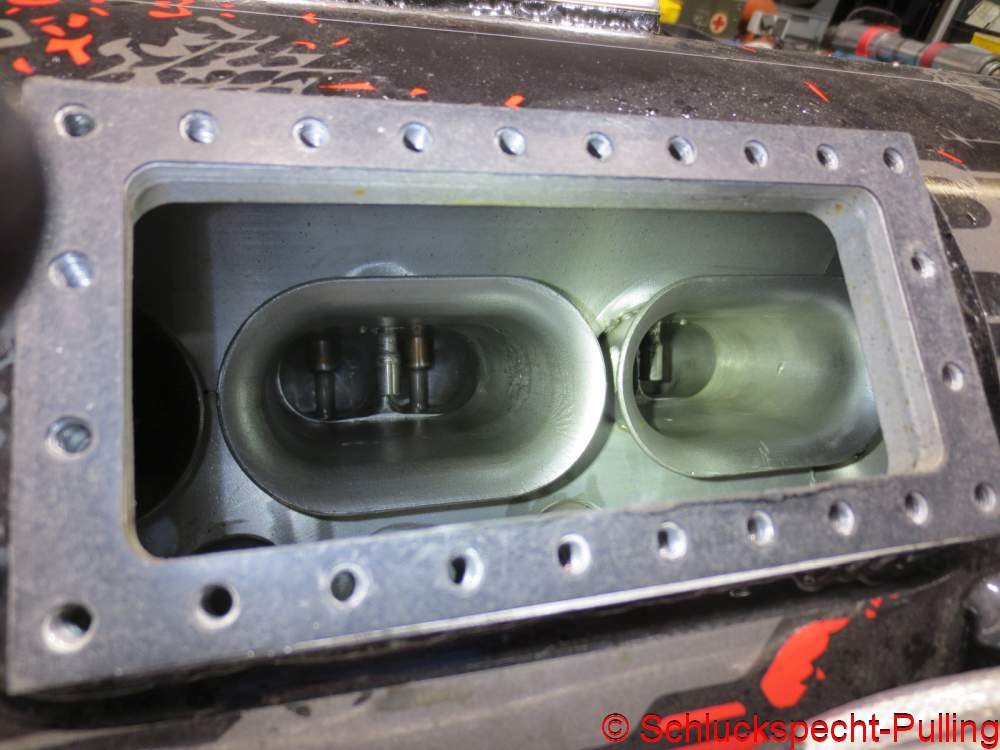
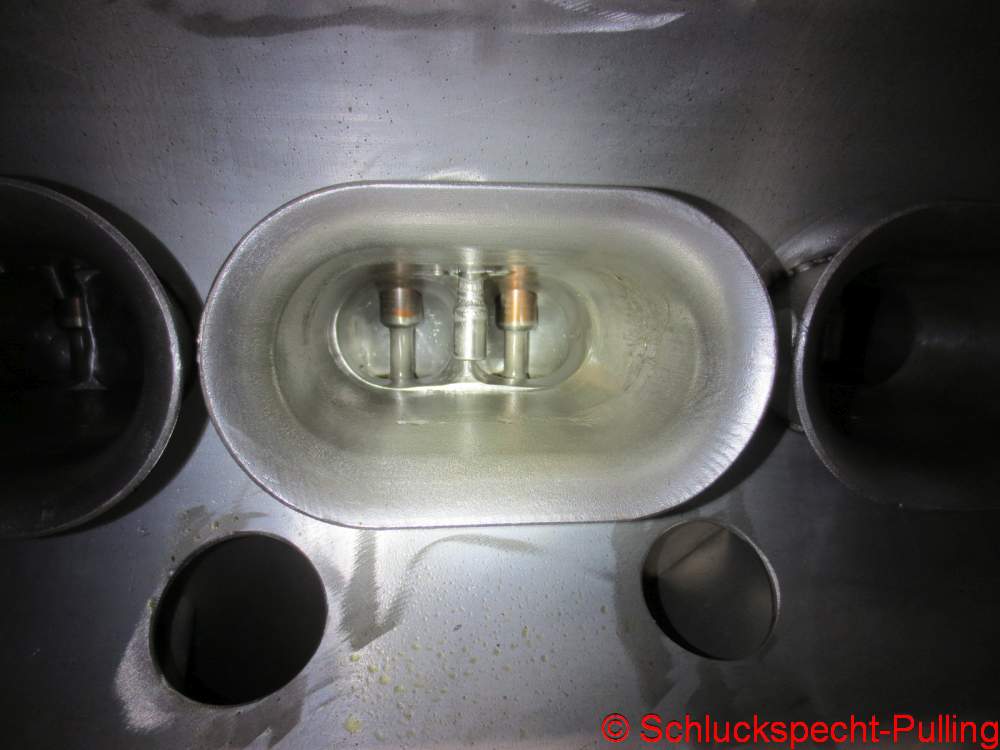
Damit kommen wir dann auch wieder zum Regenbogenölabscheider. Der benötigt noch ein paar Anpassungen….
That brings us back to the rainbow oil separator. It still requires a few adjustments.…
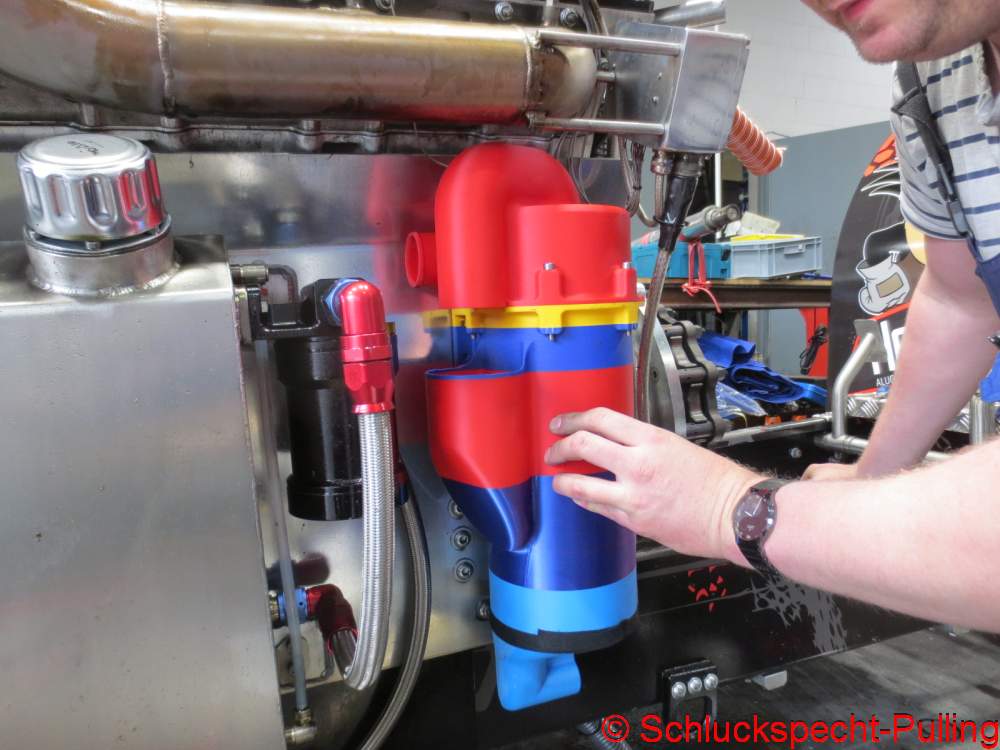
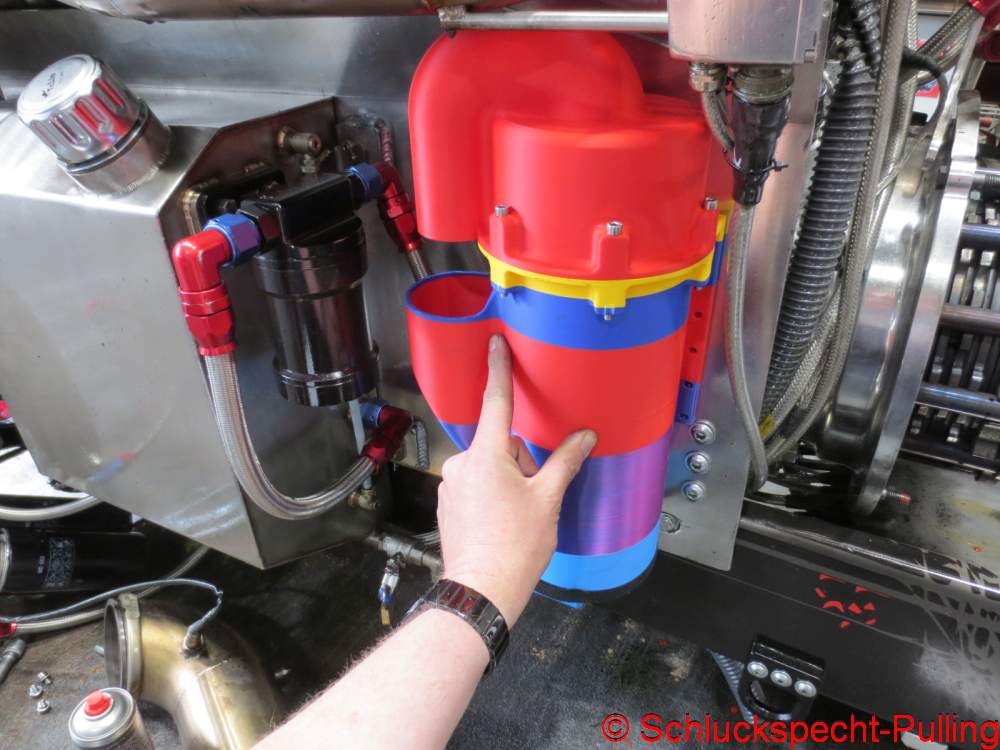
…bevor er verklebt und in rot lackiert Platz nehmen kann. die obigen Bilder sehen identisch aus….wer findet den Unterschied?
…before it can be glued, painted red, and installed. The images above look identical… who can spot the difference?
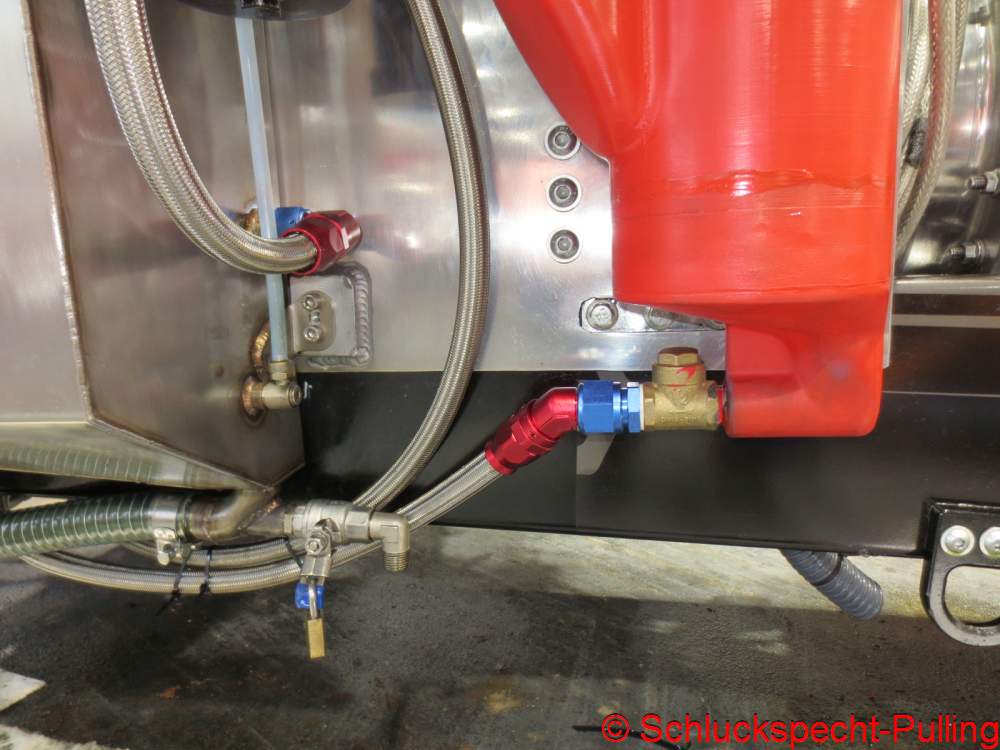
Klar, die Richtung des Ölauslaufes wurde geändert. Da bin ich ja mal gespannt ob das alles funktioniert und ob das Teil aus dem 3D-Drucker hält…
Right, the direction of the oil outlet has been changed. I’m really curious to see if it all works and if the 3D-printed part holds up…

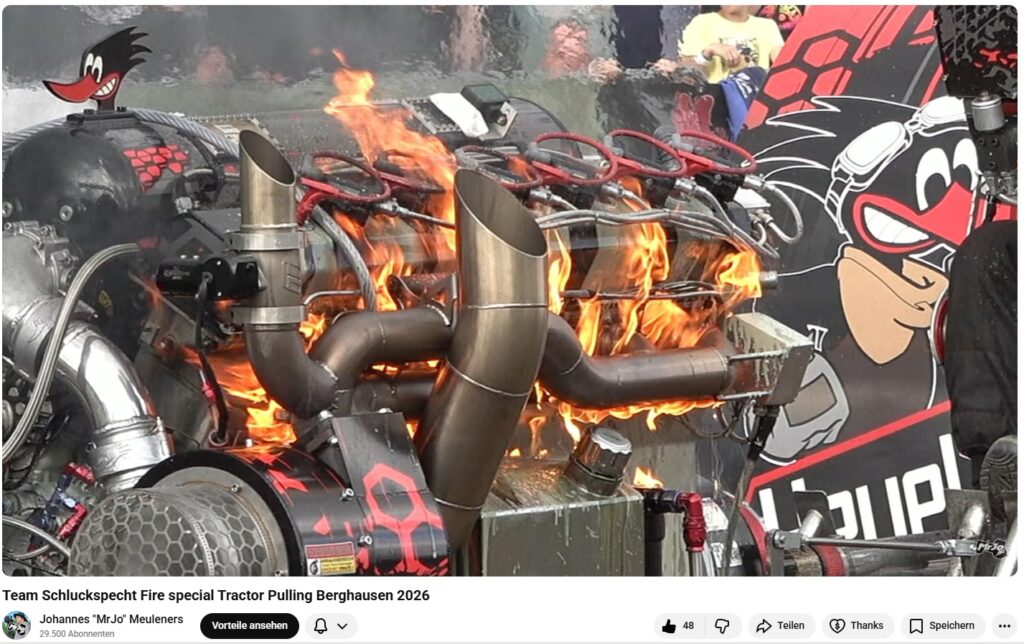
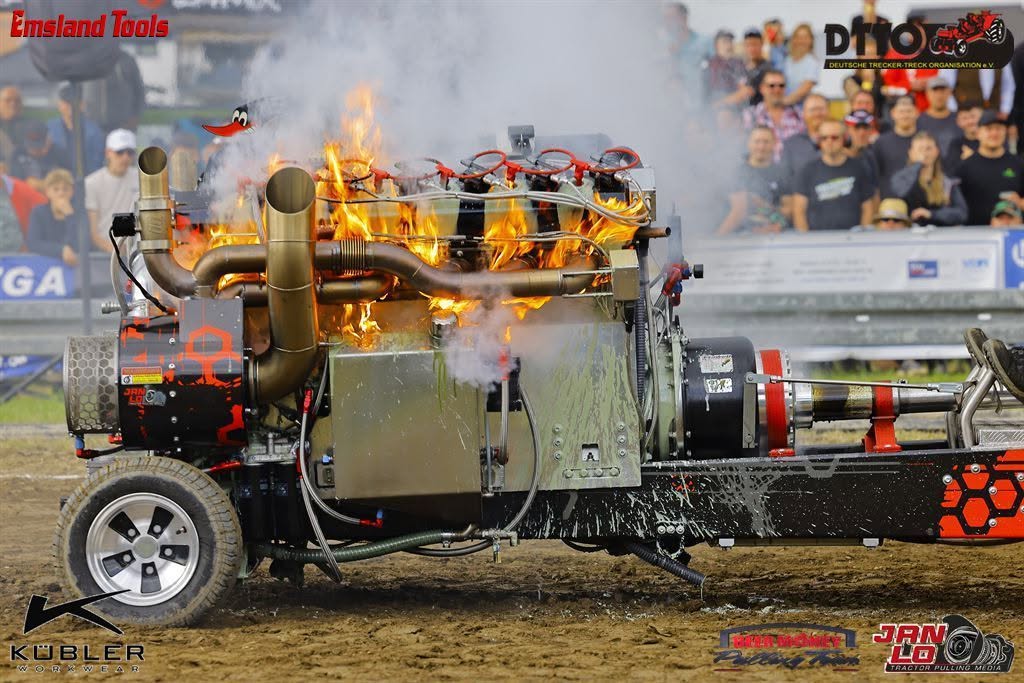
Ganz nebenbei wurden die Spuren des Feuers sog gut es geht beseitigt.
At the same time, the traces of the fire were cleared away as best as possible.
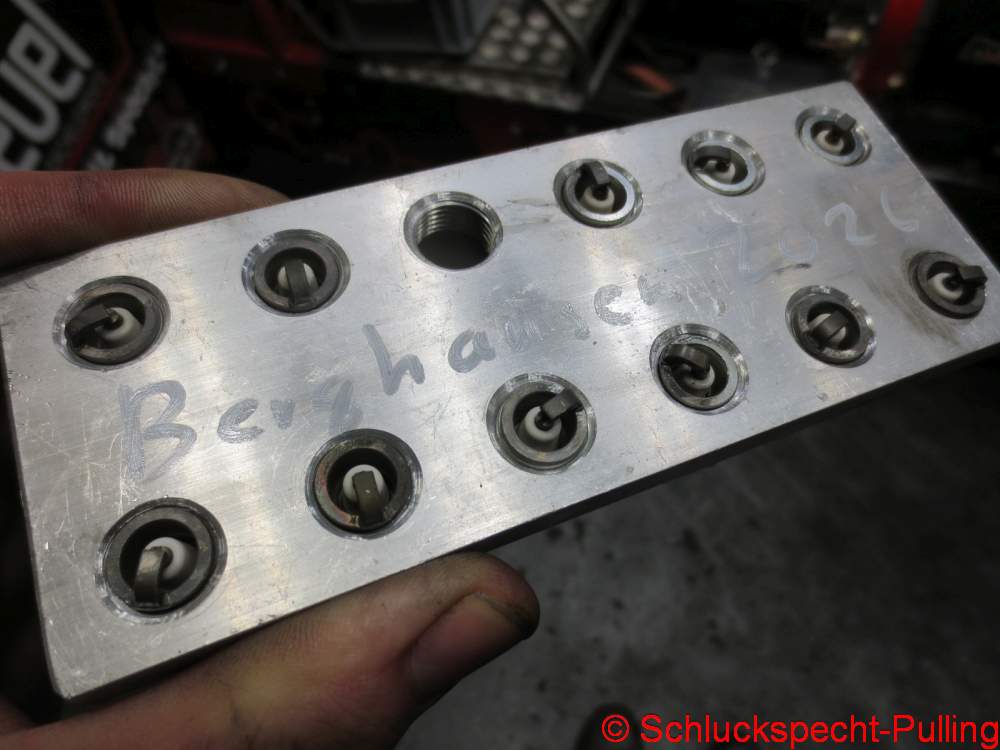
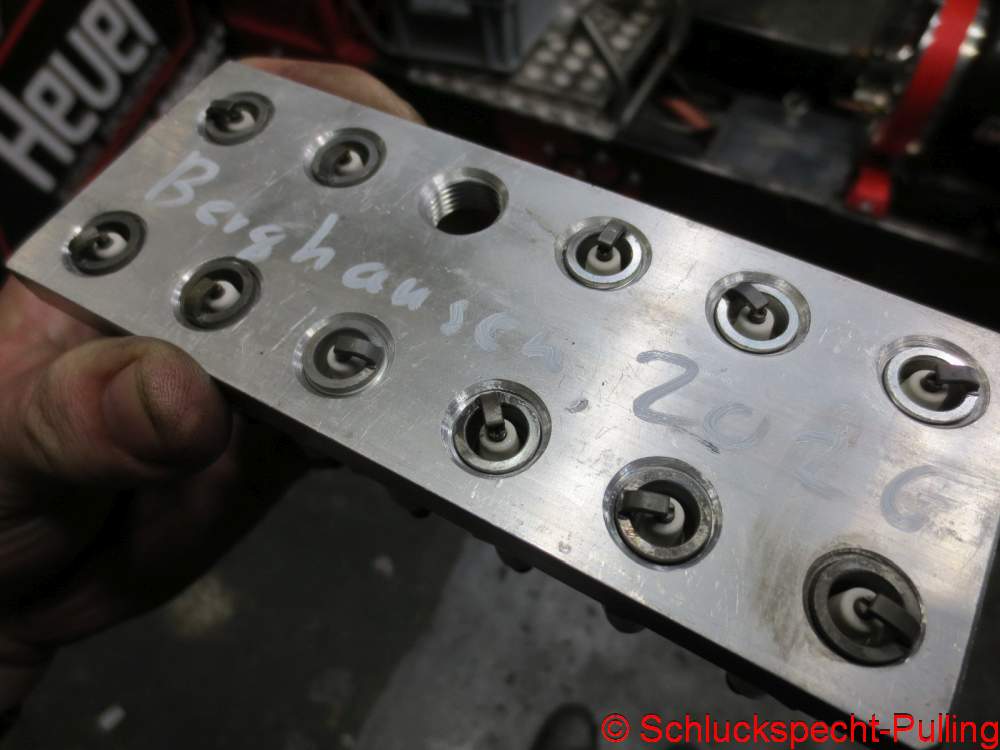
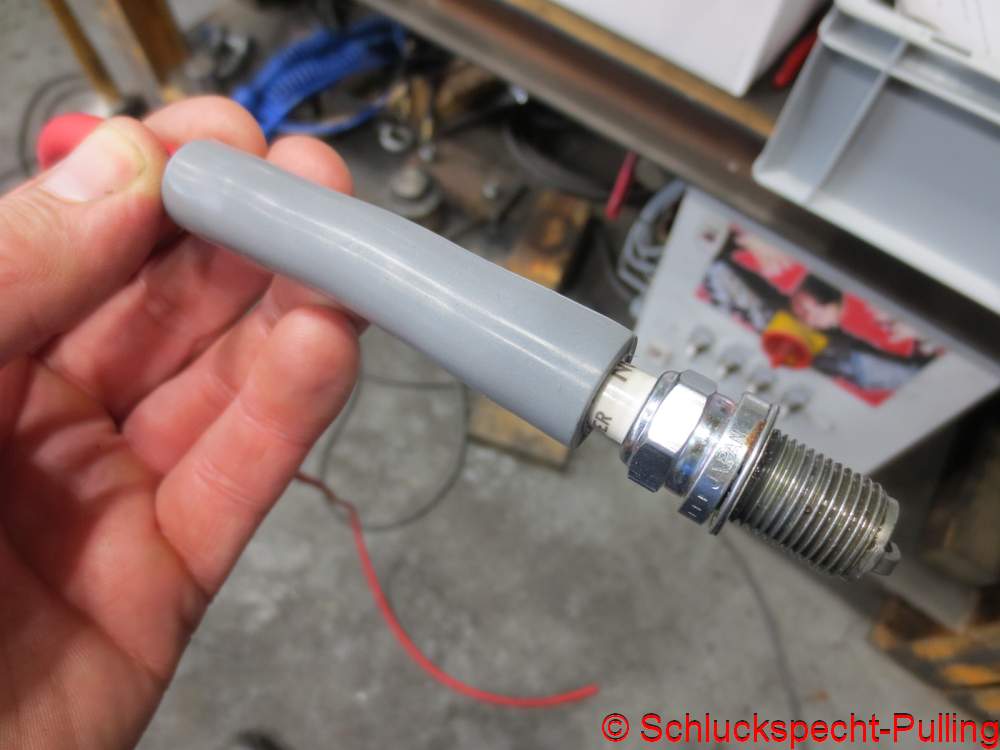
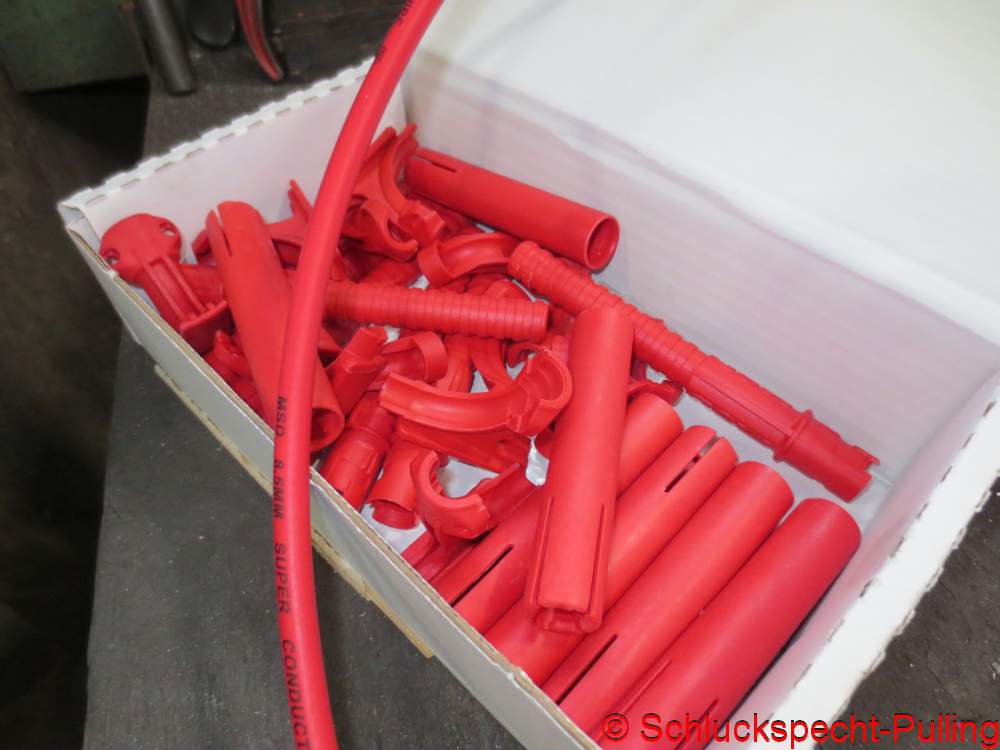
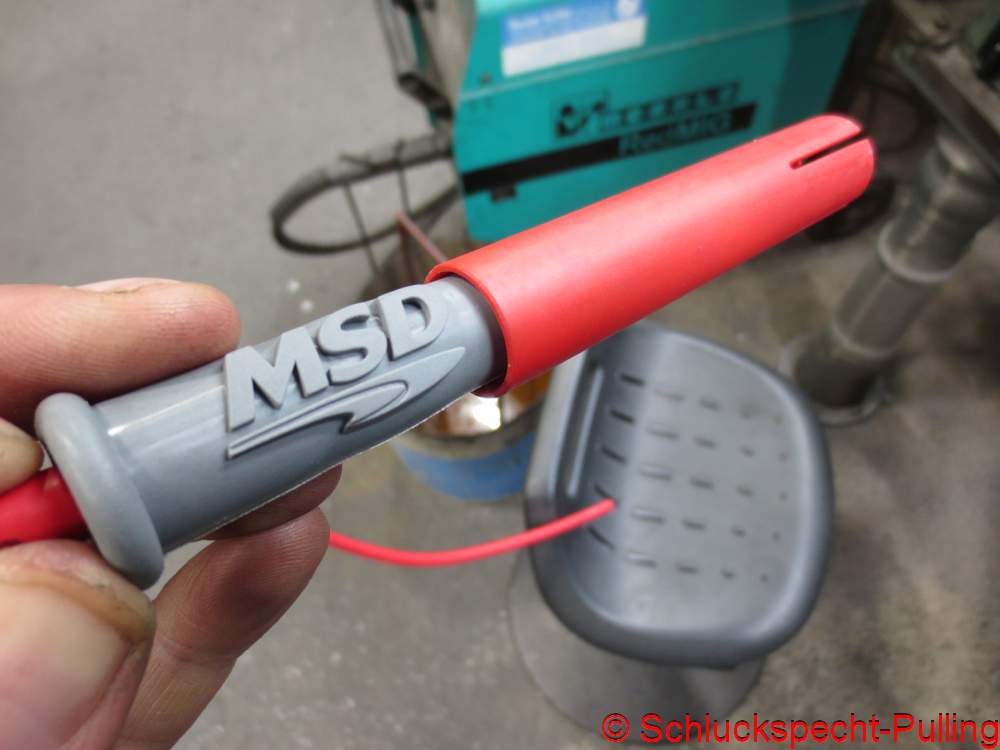
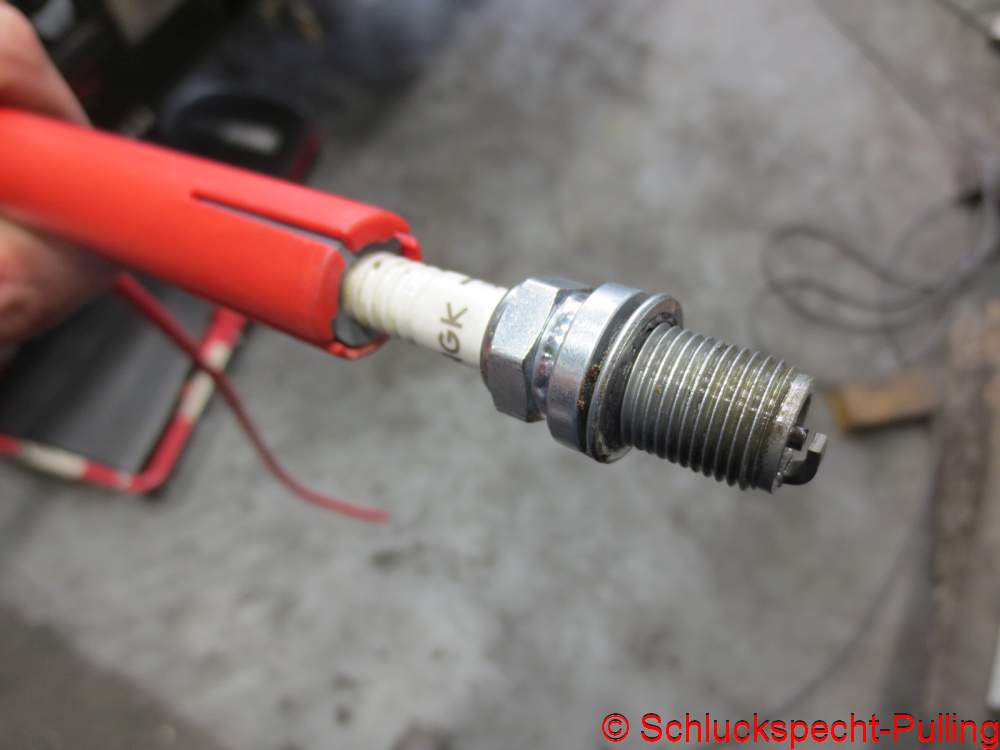
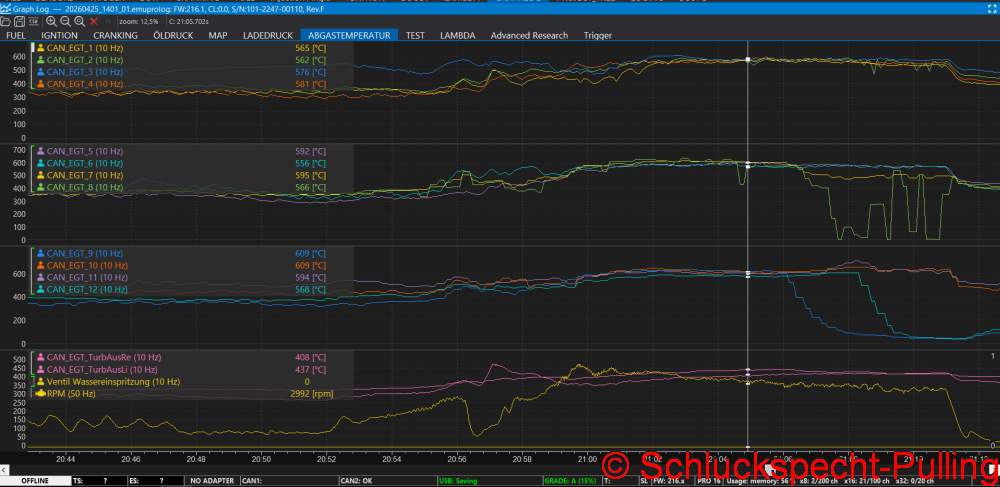
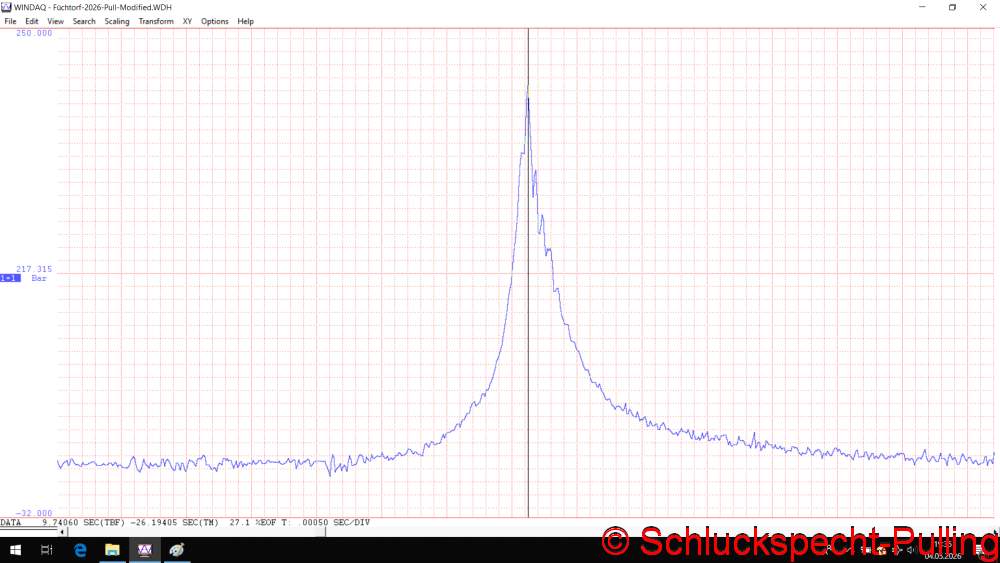
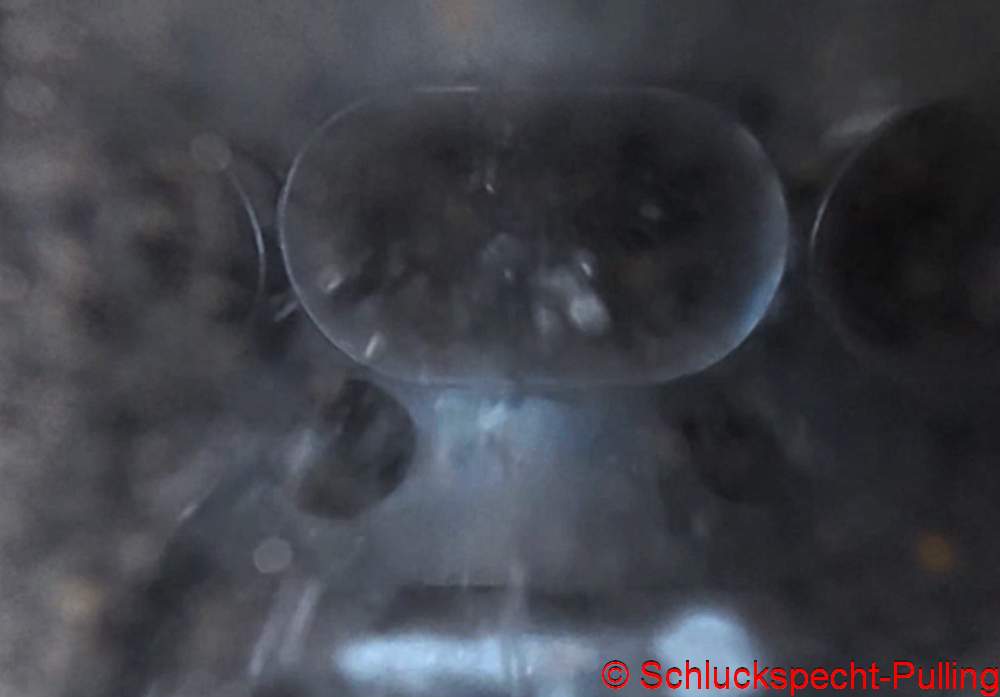
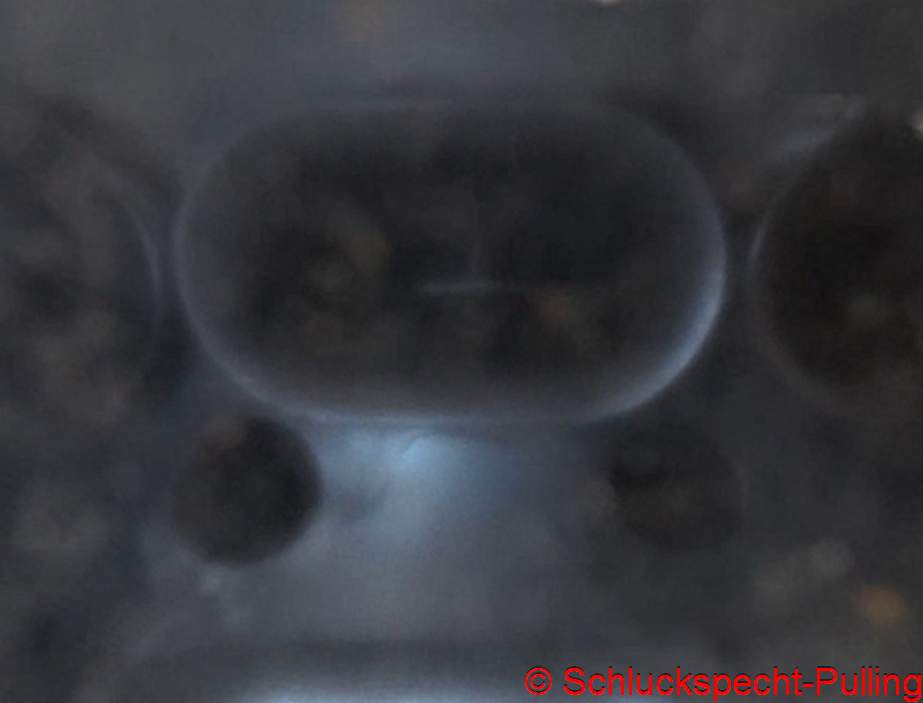
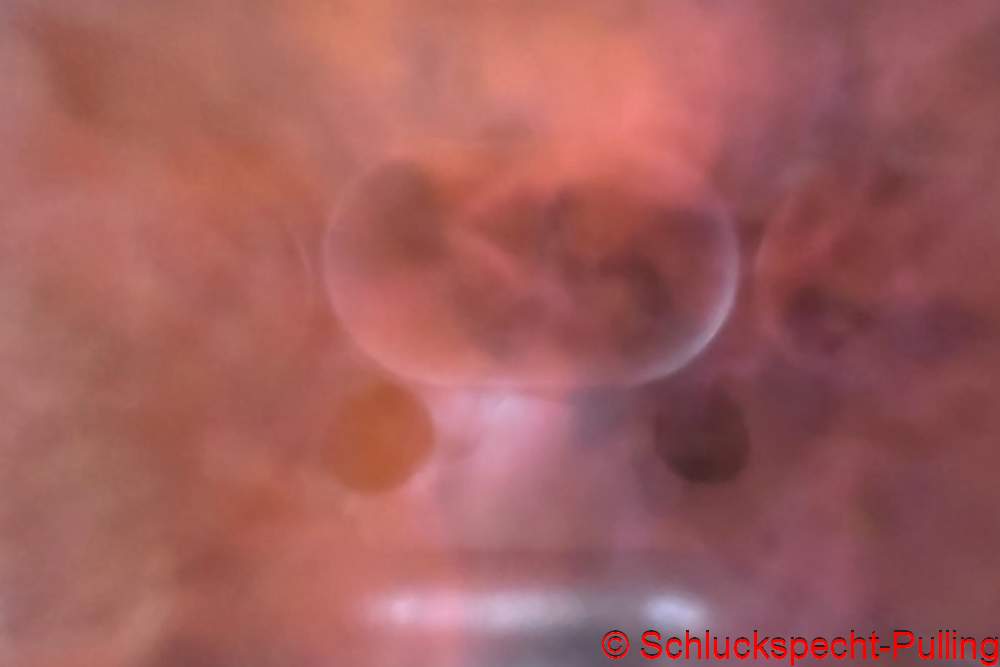
Nachtrag: Hier noch die Zündkerzen aus Berghausen. Die bekommen langsam etwas mehr Temperatur. Wir sollten Sprit nur noch in kleinen Schritten rausnehmen. 😉
Update: Here are the spark plugs from Berghausen. They’re starting to run a bit hotter. We should only pull fuel in small increments from now on. 😉
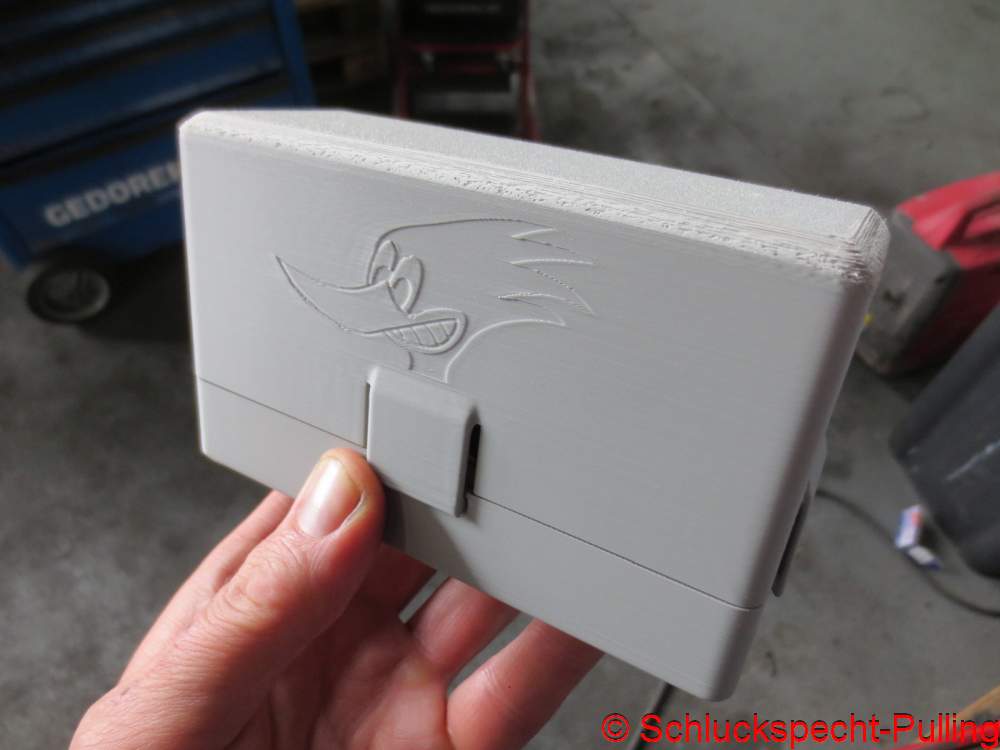
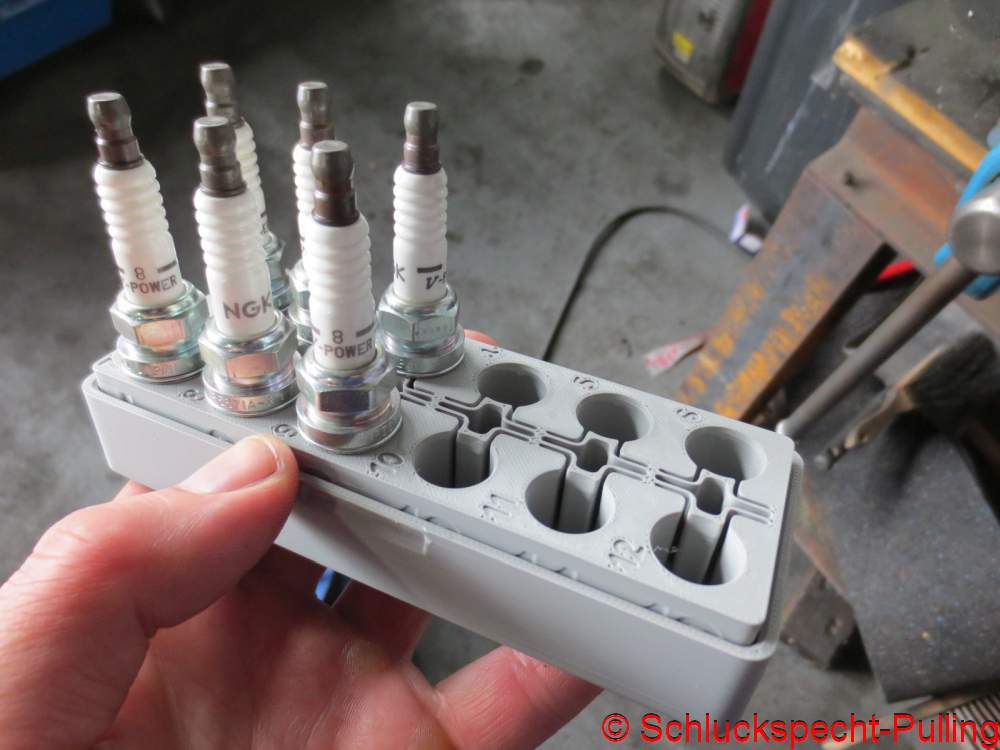
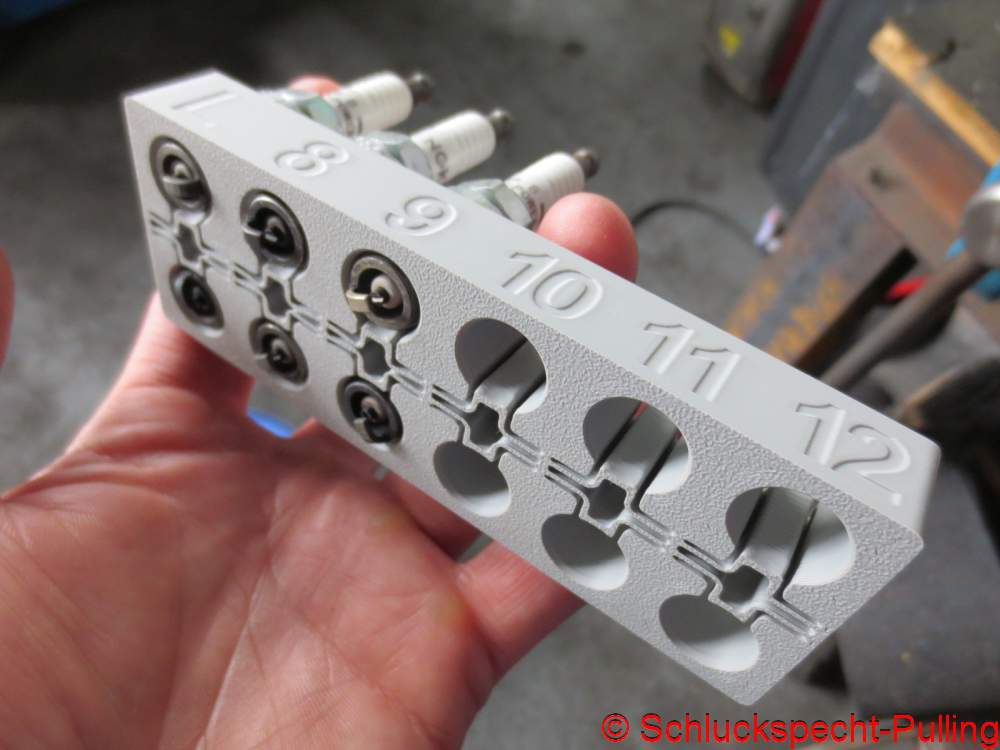
So ganz nebenbei hat sich der 3D-Drucker ein weiteres mal nützlich gemacht. So eine praktische Kerzenbox wollte ich schon immer mal haben 😉
The 3D printer came in handy once again, almost as an aside. I’ve always wanted a handy candle box like this 😉
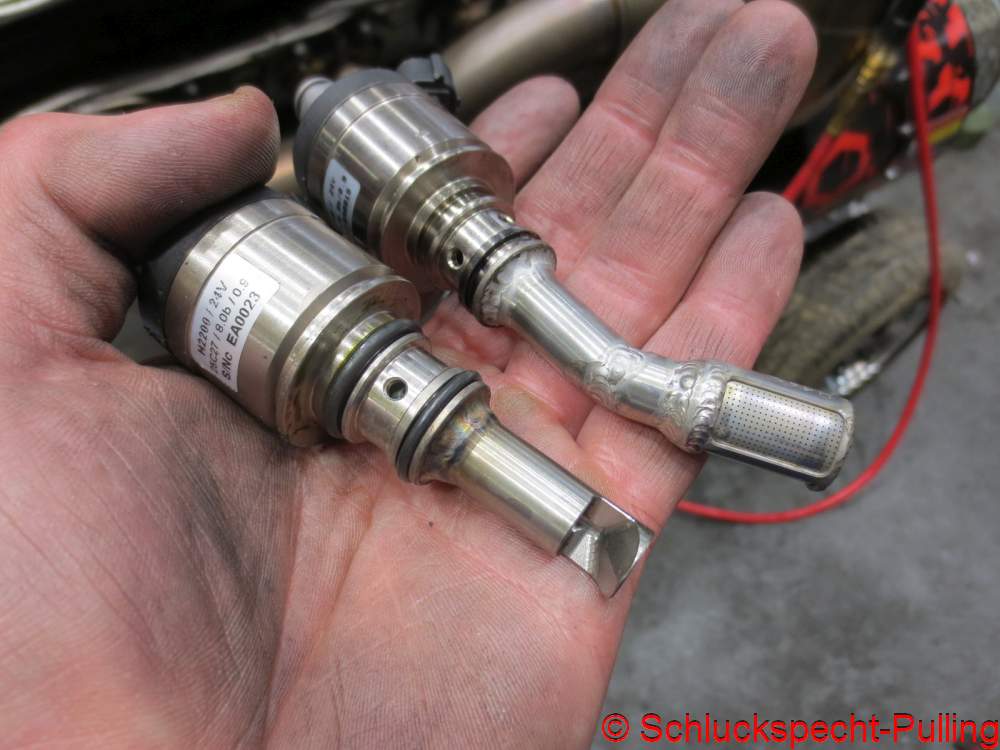
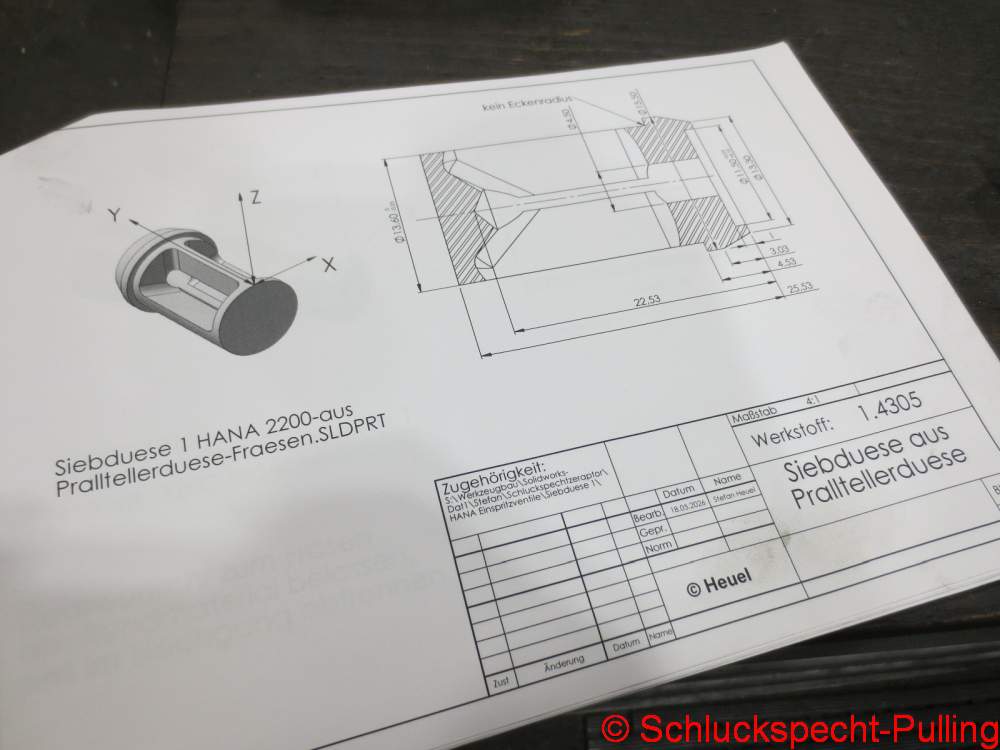
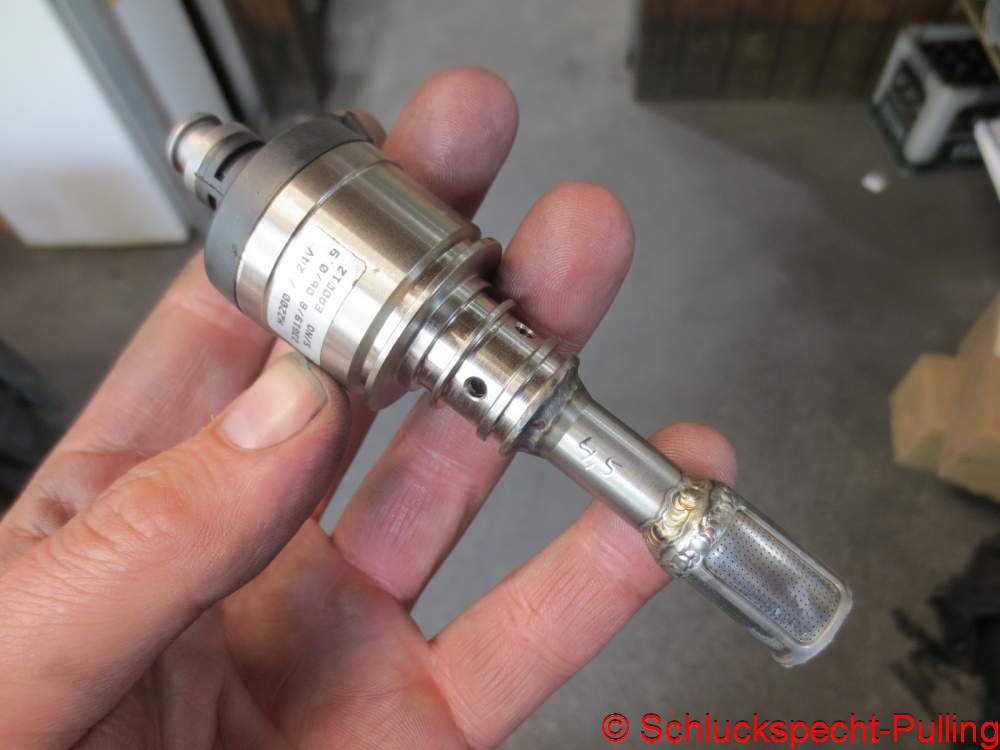
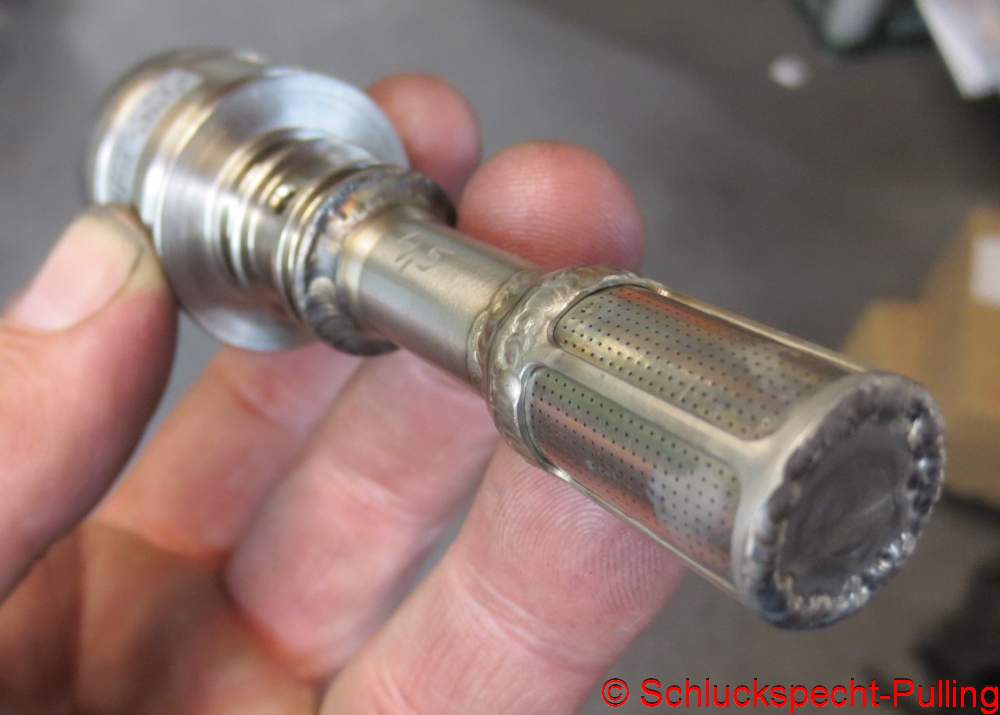
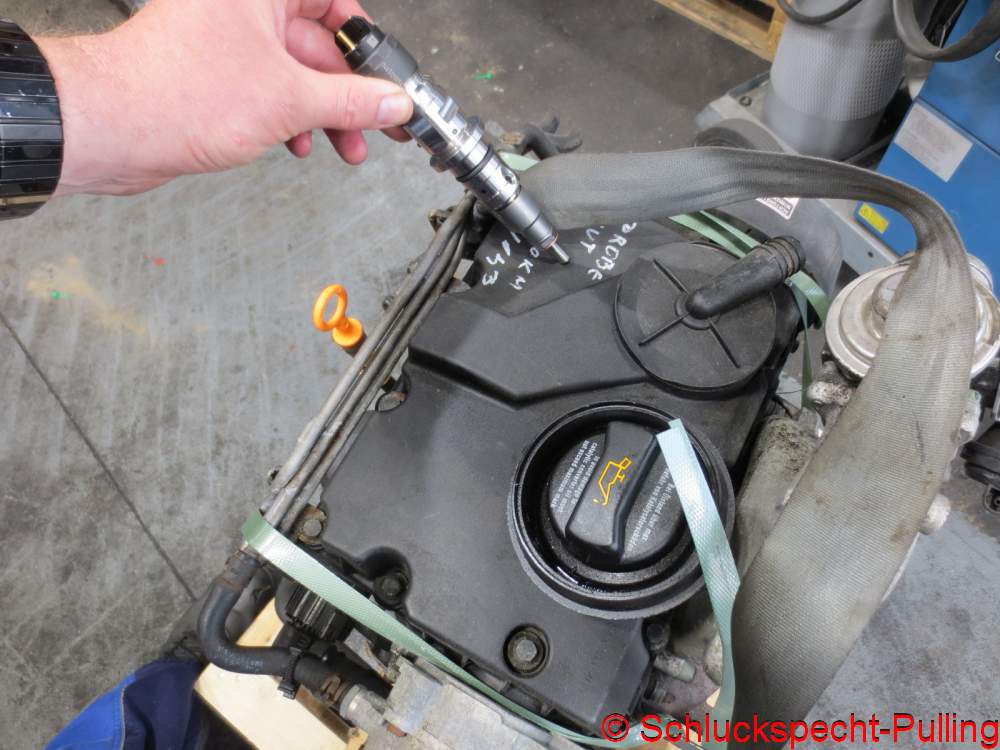
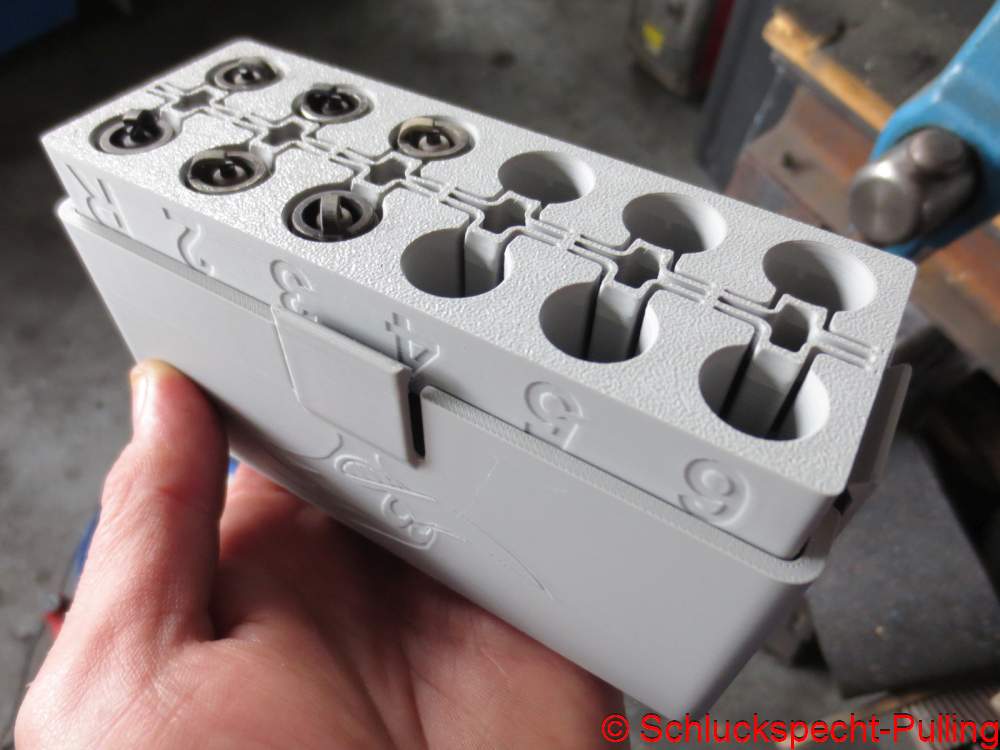
Und wieder ein Themensprung. Zwei Prototypen der neuen Einspritzdüsen sind schon fertig, nur passen sie einfach nicht in die bestehende Ansaugbrücke.
And another change of topic. Two prototypes of the new fuel injectors are already finished, but they simply don’t fit into the existing intake manifold.
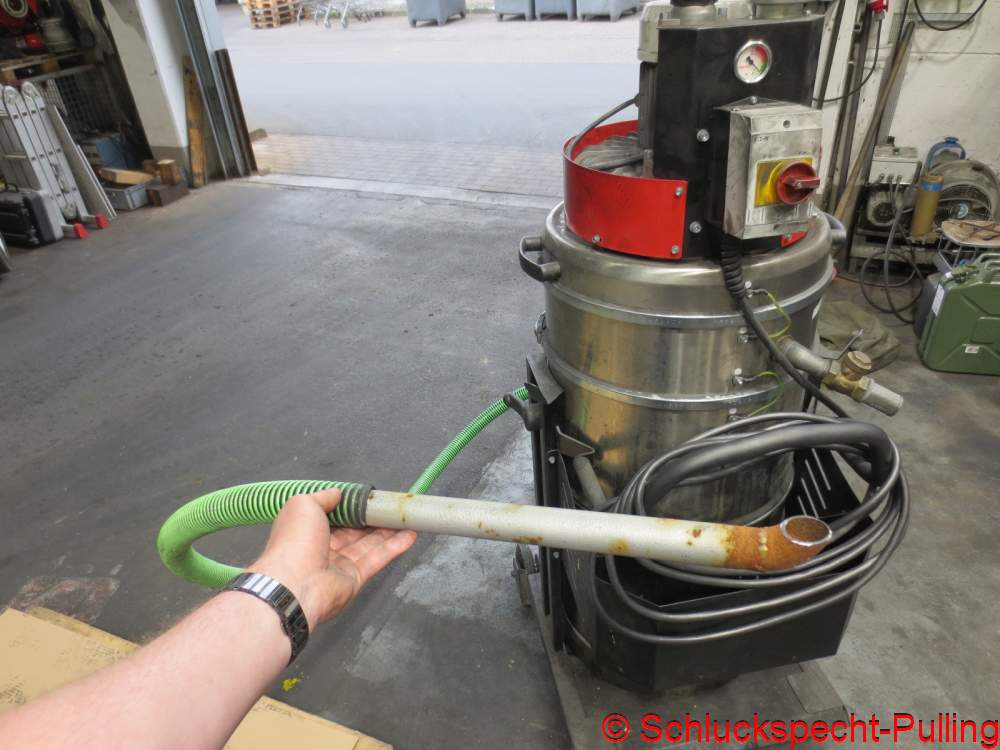
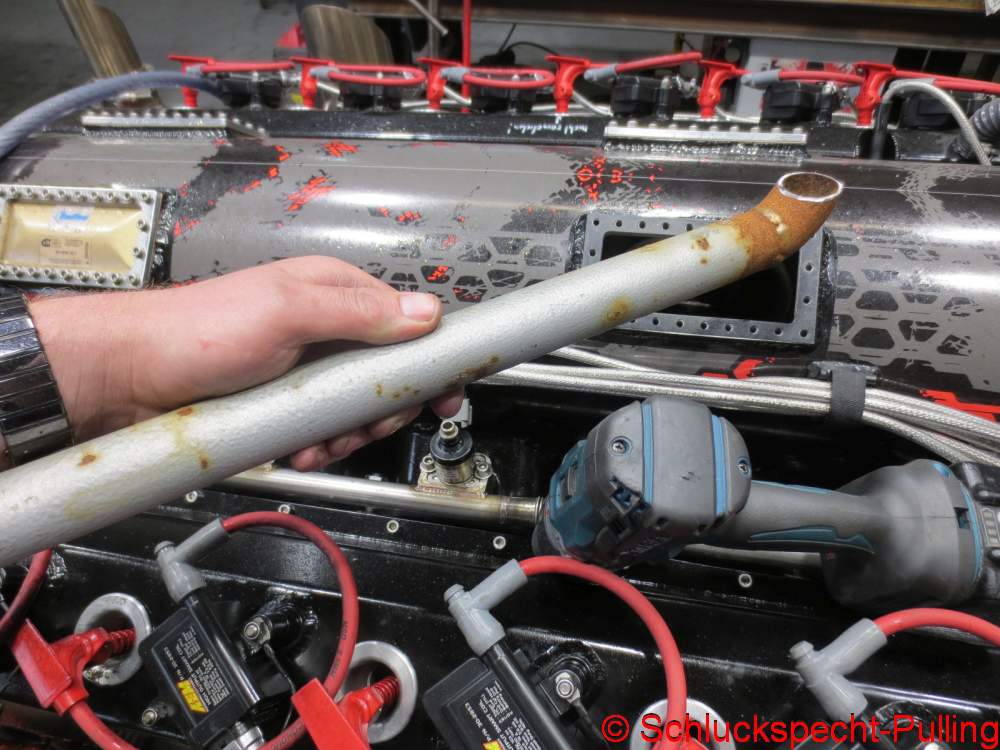
Da bedarf es einer ausgebufften Konstruktion basierend auf einem Rohr vom Schrott und einem Staubsauger.
That calls for a clever setup based on a piece of scrap pipe and a vacuum cleaner.
Und natürlich einem Lukas der das Ganze hält 😉 😉
And of course, a Lukas who holds it all together 😉 😉

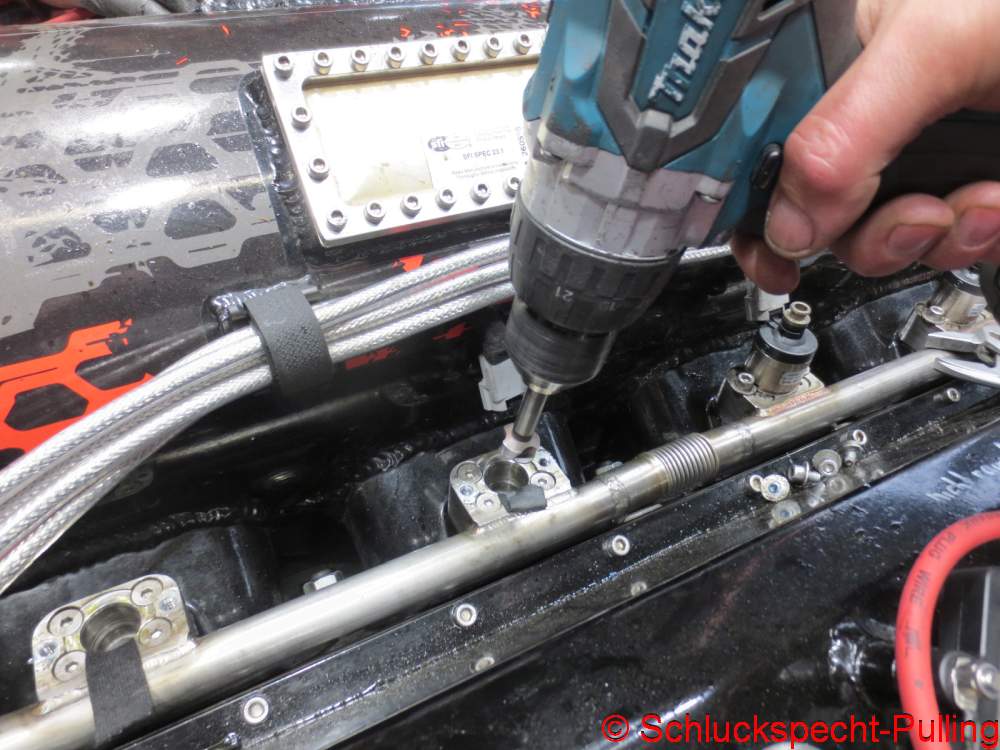
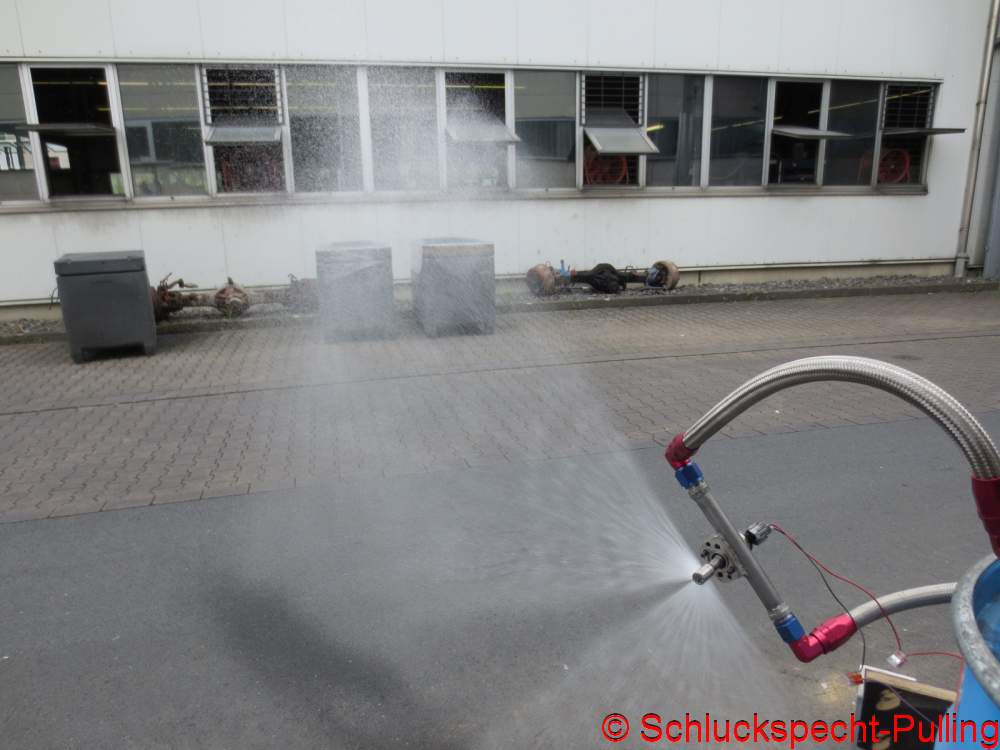
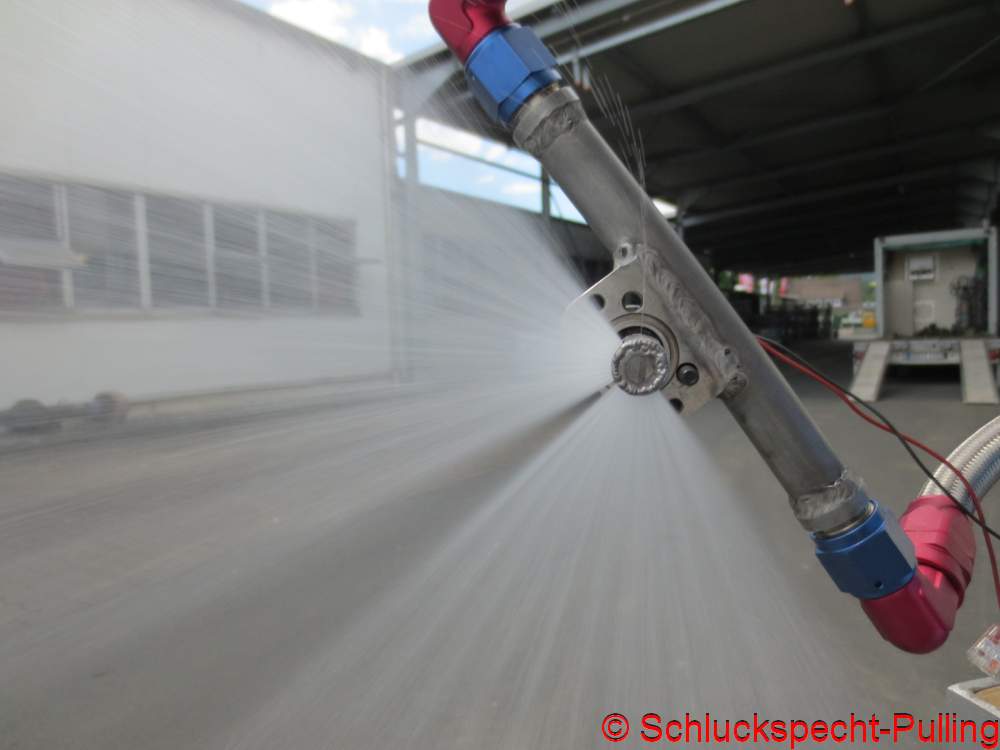
Mittels sinnreicher Abklebungen, eines umgeschliffenen Senkers und der Power eines Industriestaubsaugers wurde kurzerhand der nötige Platz geschaffen….
By means of clever masking, a reground countersink, and the power of an industrial vacuum cleaner, the necessary space was created in short order….
….um die Düsen aufnehmen zu können.
….to accommodate the nozzles.
Dem aufmerksamen Fan ist es sicher nicht entgangen. Ordnung ist nicht so meine Stärke. 😉 Da an Arbeiten auf der Werkbank nicht mehr zu denken war und ich mich des Gefühls nicht erwehren konnte, das der ordnungsliebende Simon schon Blitze von seiner Wolke in meine Richtung schleudern wollte, musste ich mich dann doch mal an eine gründliche Aufräumaktion machen. Das hier ist nur der Anfang, nicht das Endresultat 😉
The observant fan surely hasn’t missed it: Tidiness isn’t exactly my strong suit. 😉 Since working at the workbench was out of the question—and I couldn’t shake the feeling that Simon, a lover of order, was about to hurl lightning bolts at me from his cloud—I finally had to tackle a thorough cleanup. This is just the beginning, not the final result. 😉
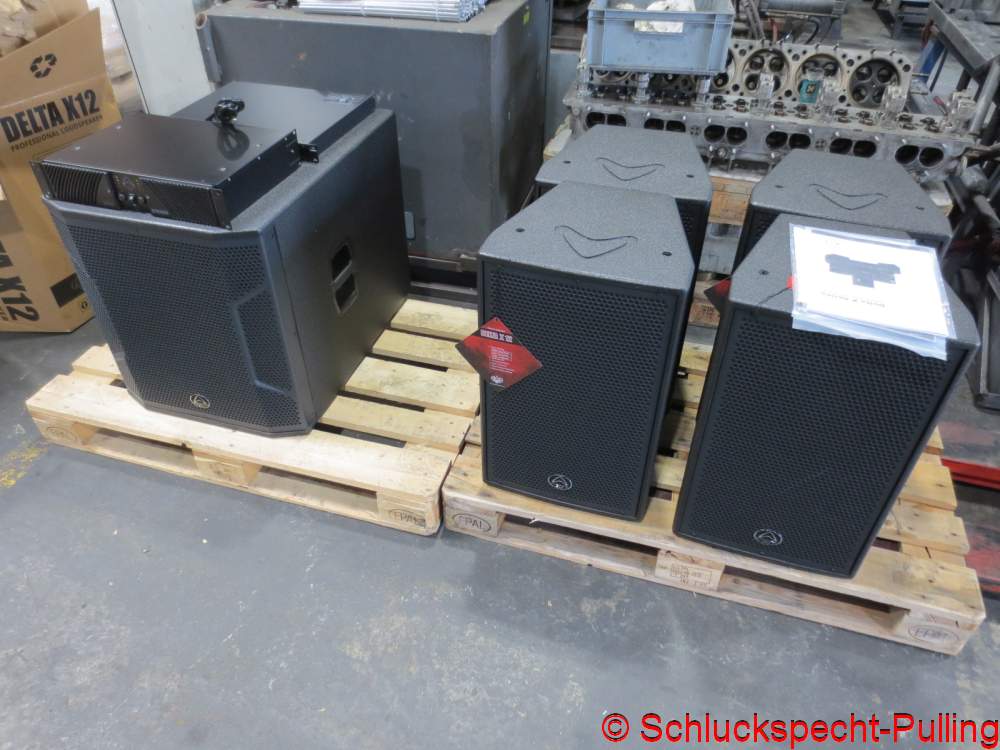
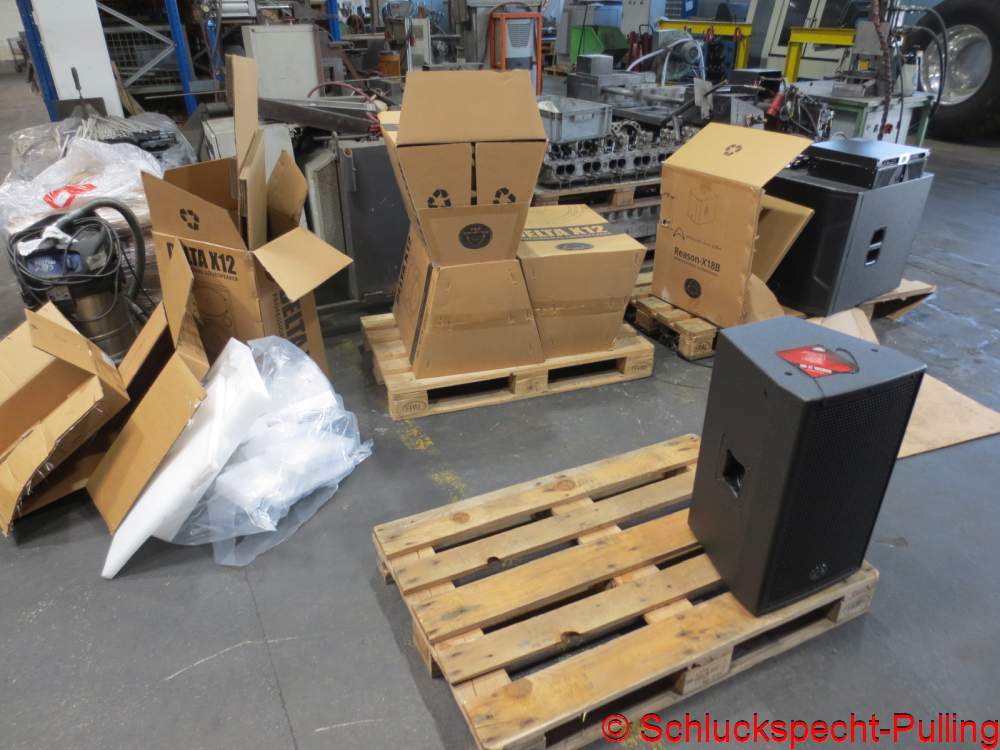
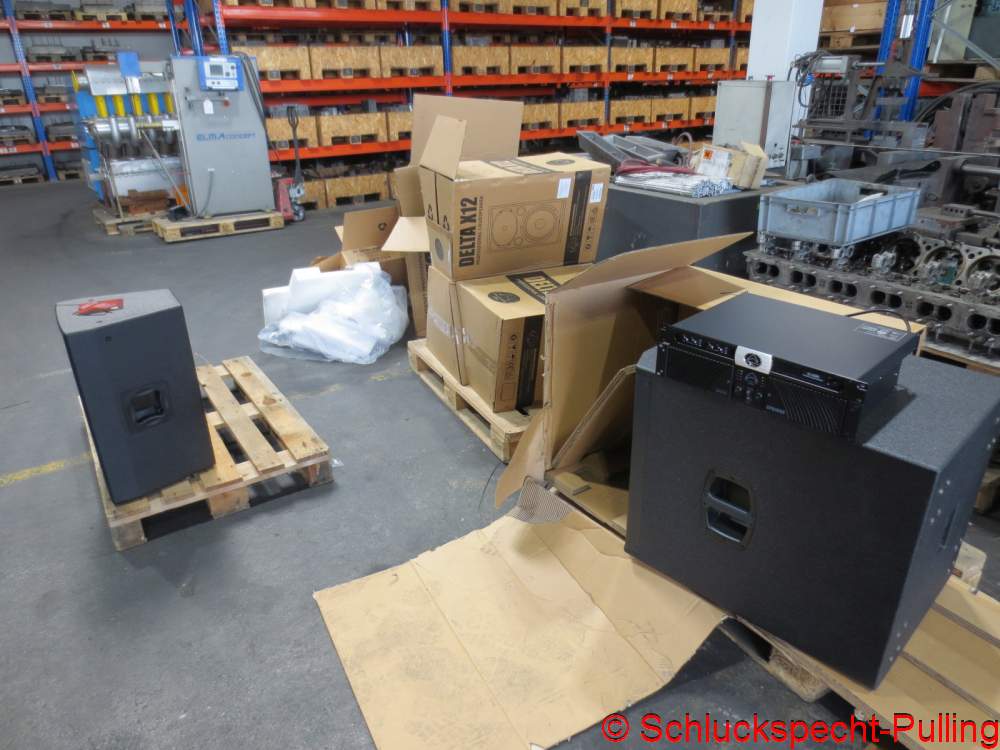
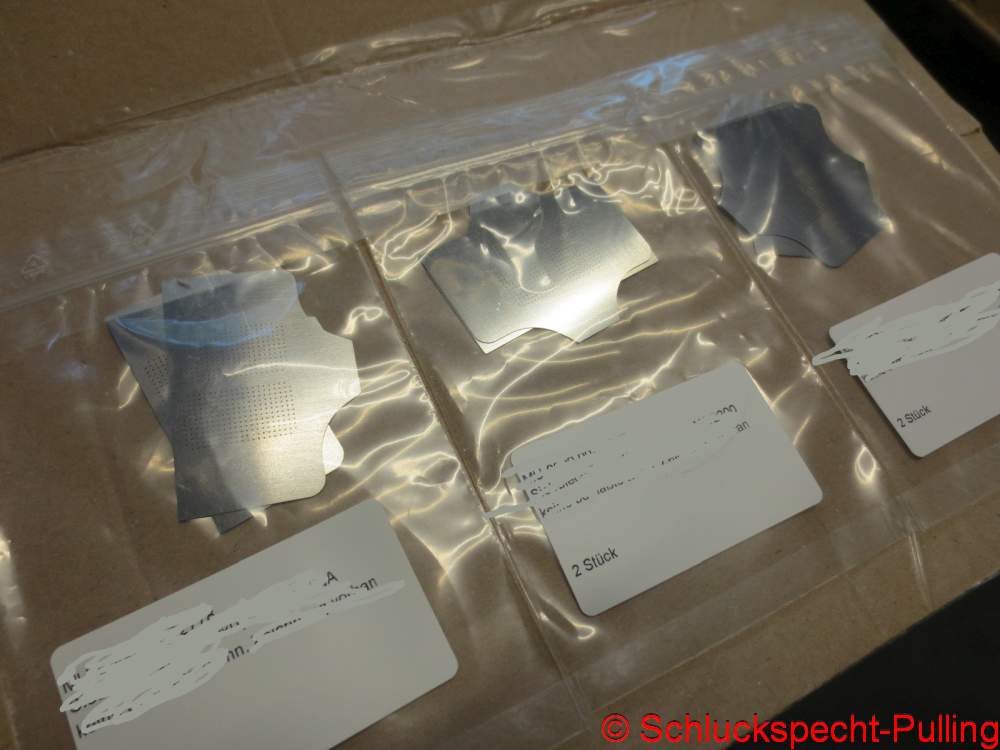
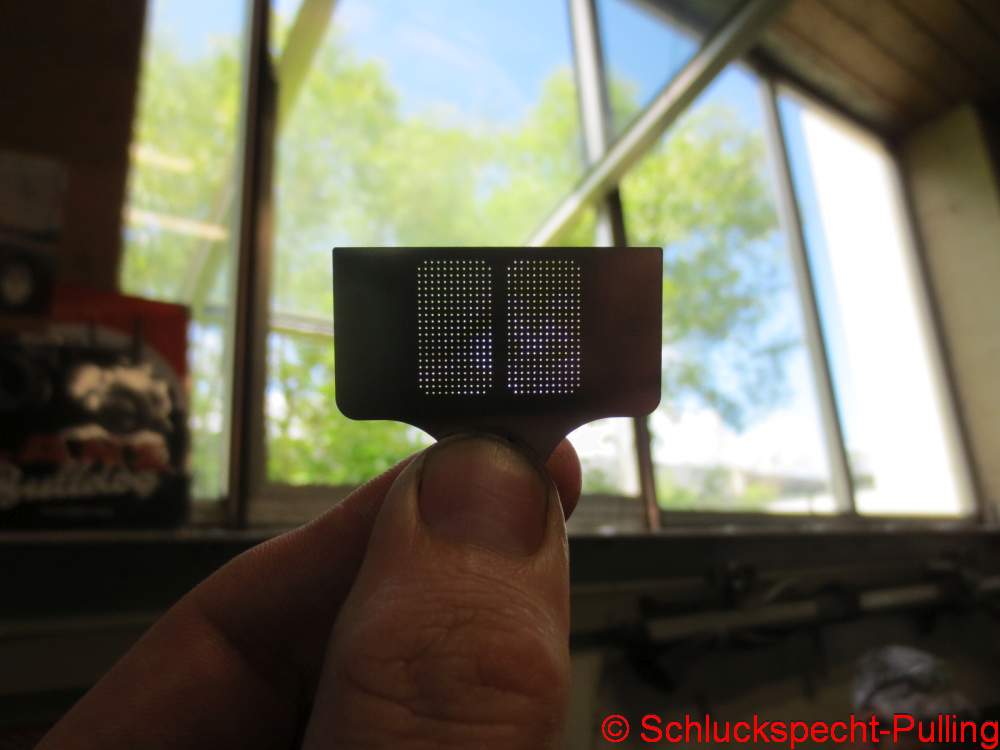
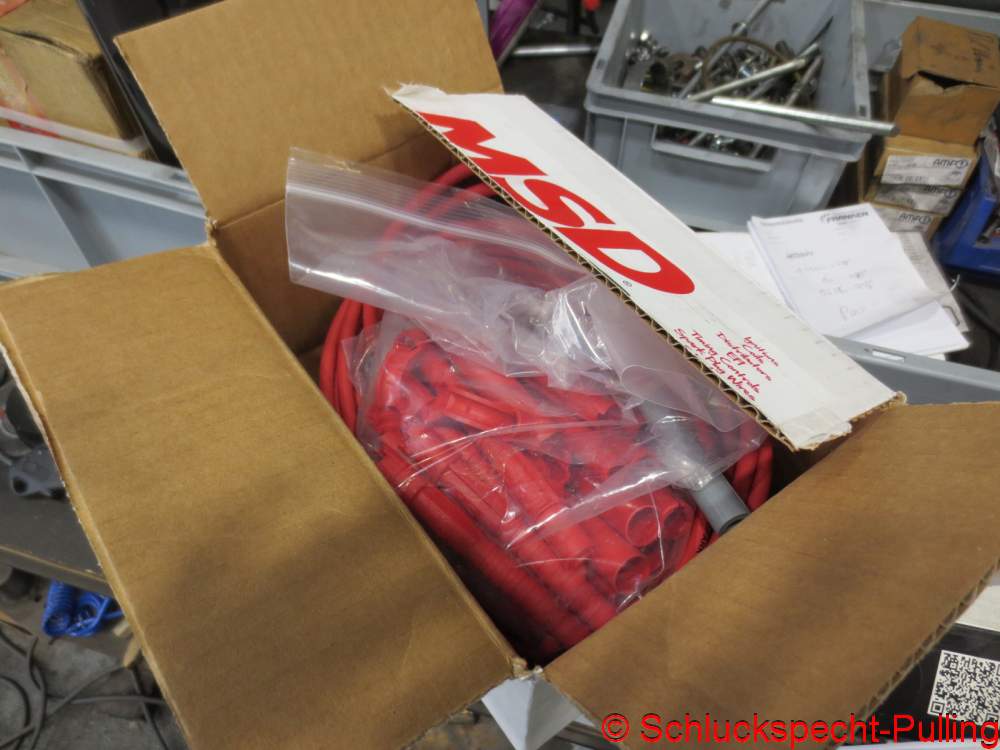
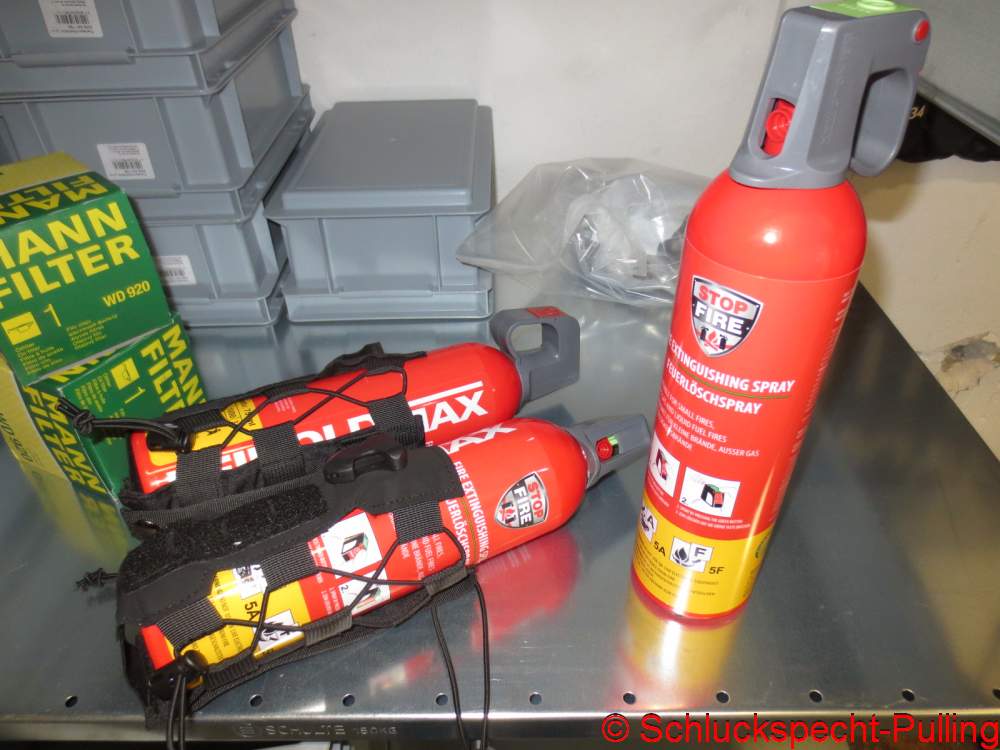
Die meisten haben es wohl schon auf Facebook gesehen. Uns erreichte eine Lieferung von DJ-Checkpoint.de. Jetzt sollten wir in unseren Werkzeugbau ordentlich Schalldruck reinbekommen.
Mit dieser Sensation entlasse ich euch für heute aus diesem Beitrag. Bitte drückt uns die Daumen, dass zumindest die Suche nach einem Transportfahrzeug bald ein Ende finden wird. Meine Nerven machen den Scheiß nicht mehr mit….
Allen deutschen Teilnehmern in Edewecht wünschen wir für die Europameisterschaft alles erdenklich Gute und ein gutes Händchen beim Setup! In dem Sinne: Bleibt dran!
Most of you have probably already seen it on Facebook. We received a delivery from DJ-Checkpoint.de. Now we should be able to generate some serious sound pressure in our tool shop.
I’ll leave you with that exciting news for today. Please keep your fingers crossed that the search for a transport vehicle finally comes to an end soon. My nerves just can’t take this crap anymore…
We wish all the German competitors in Edewecht the very best for the European Championship and a deft hand with their setups! With that said: stay tuned!