The Green Bulgarian (english below)
Erstmal noch ein frohes neues Jahr an alle! Auch wenn es schon fast wieder rum ist 😉
Wir waren natürlich nicht untätig und haben kräftig geschraubt.
First of all, a happy new year to everyone! Even if it’s almost over again 😉
Of course we were not idle and worked hard.

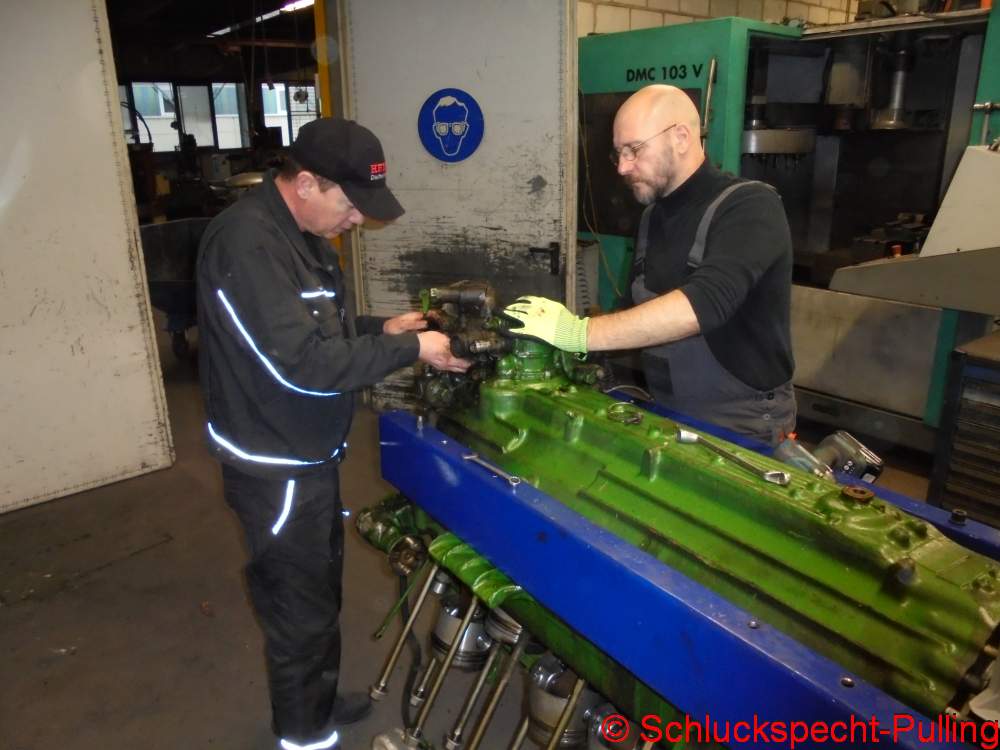
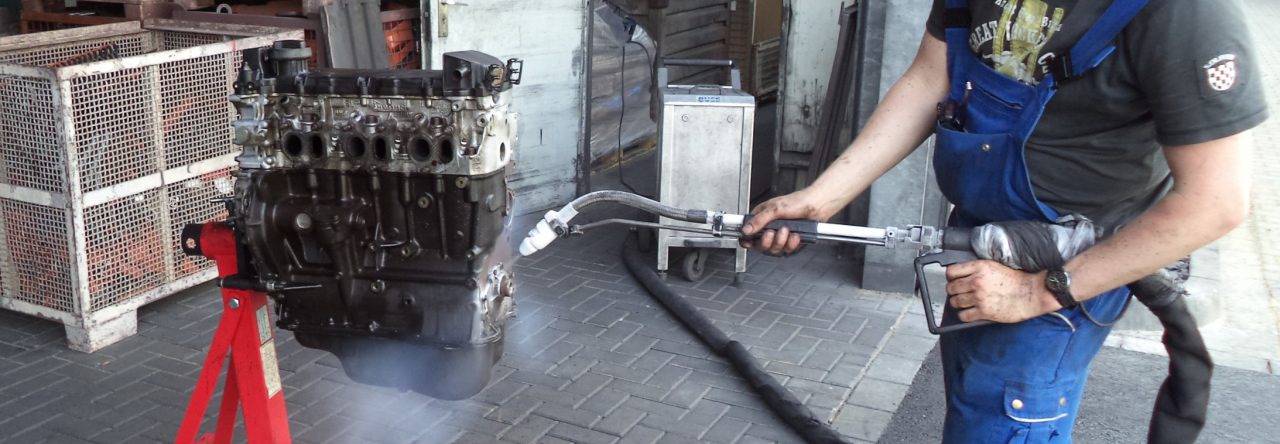
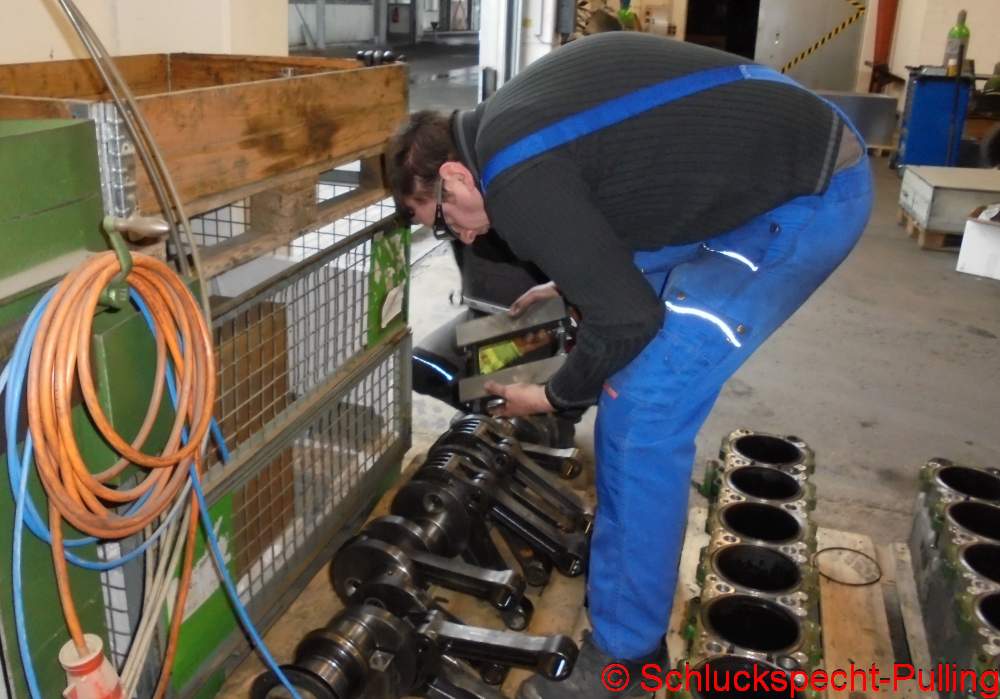
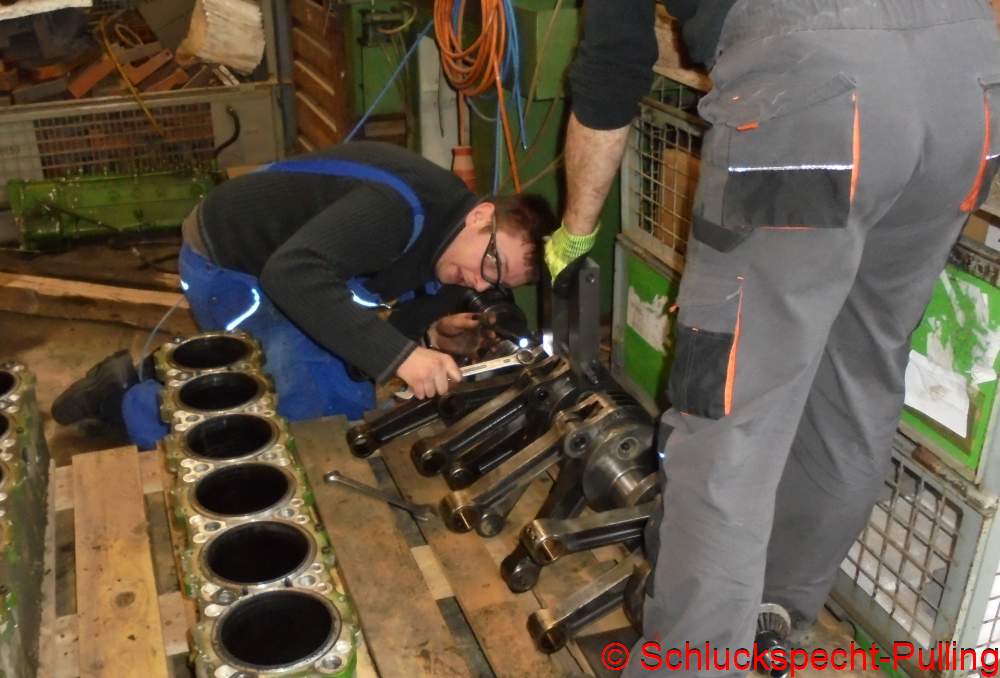
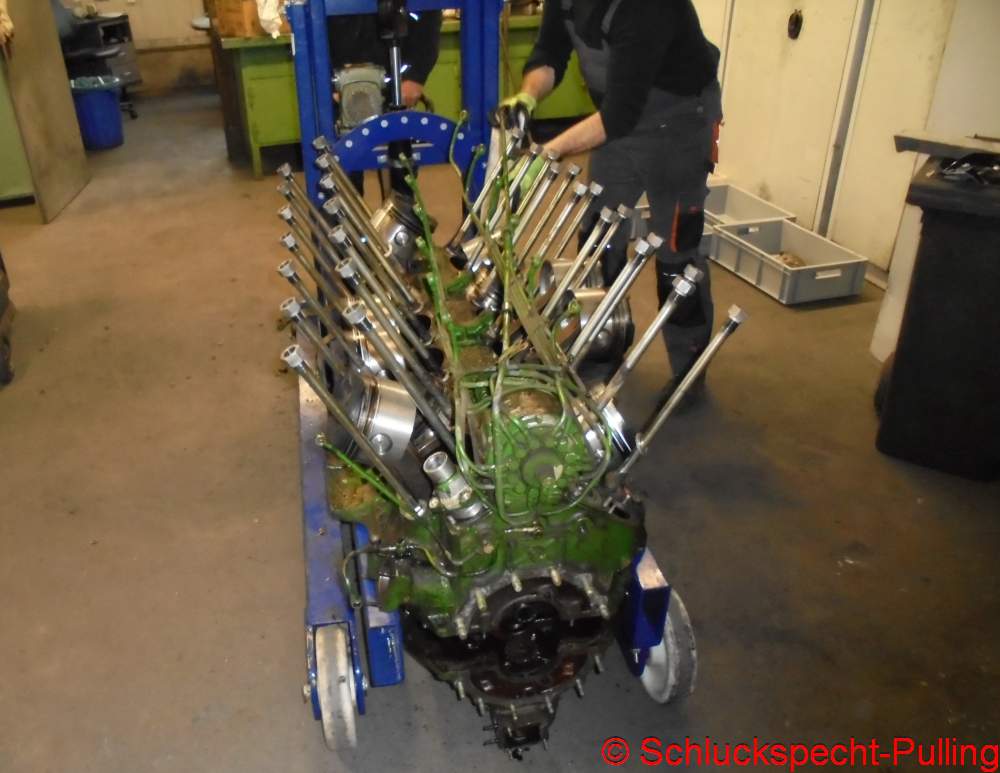
Zwischen den Jahren haben wir uns den grünen Transmash aus Bulgarien vorgenommen. Wie schon mal geschrieben ist der zwar aus Grauguss und damit für uns ungeeignet, aber die ganzen Ersatzteile sind trotzdem zu gebrauchen. Simon (sagt) hat auch Spaß am Schrauben gefunden und packt wieder kräftig mit an.
Between the years we took on the green Transmash from Bulgaria. As already written, it is made of gray cast iron and is therefore unsuitable for us, but all the spare parts can still be used. Simon (says) also enjoyed working with screws and is getting involved again.
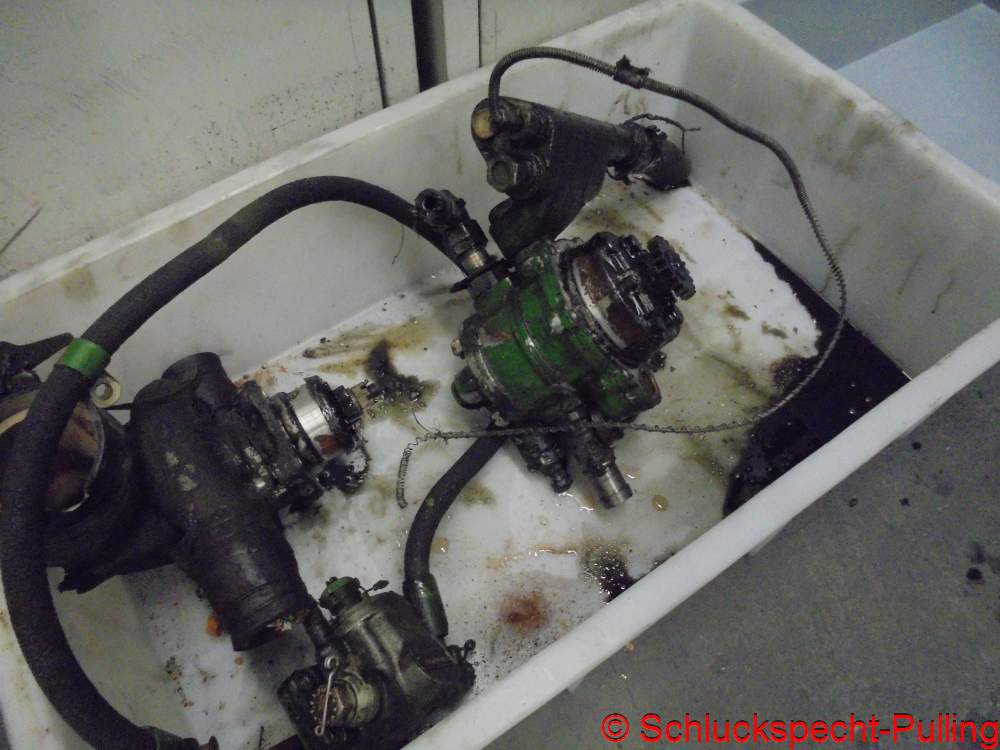
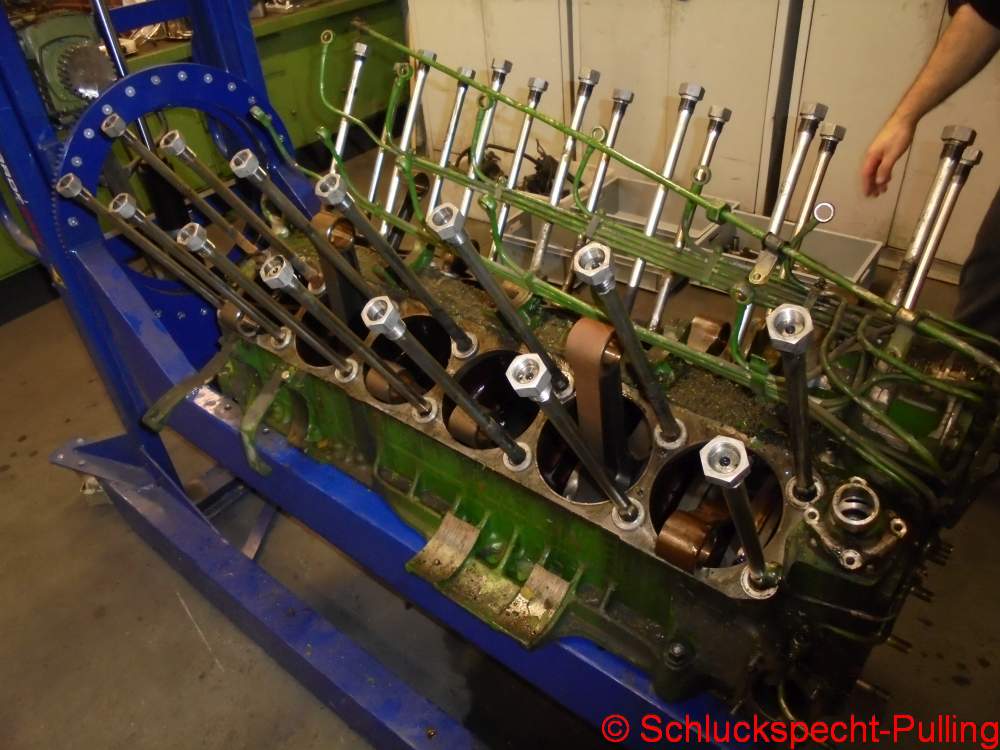
Grundsätzlich gibt es den Transmash mit 2 verschiedenen Ölpumpenvarianten. Dies hier ist die ältere wie sie auch im T34 verbaut wurde. Die findest sich halt auch in vielen Industriemotoren. Die späteren Panzermotoren hatten eine Pumpe die deutlich flacher gebaut hat. Allen gemein ist, dass die Pumpe eine Druckstufe und zwei Saugstufen hat. Mal schauen was wir mit dieser anstellen können 😉
Basically you can get the Transmash with 2 different oil pump variants. This is the older one as it was installed in the T34. It can also be found in many industrial engines. The later tank engines had a pump that was built much flatter. What they all have in common is that the pump has one pressure stage and two suction stages. Let’s see what we can do with this one 😉


Hier mal ein Blick auf die diversen Antriebe für die Zusatzaggregate.
Here’s a look at the various drives for the auxillary units.
Während Alex und Simon den grünen Bulgaren zerlegen, widme ich mich wieder einem noch ungelösten Problem: Die Kegelstifte aus den Pleulen raus zu treiben. Nach dem Desaster mit dem umgebauten Bolzenschneider machen wir das jetzt mal alles ein wenig gröber.
While Alex and Simon disassemble the green Bulgarian, I devote myself again to an unsolved problem: Driving the taper pins out of the connecting rods. After the disaster with the modified bolt cutters, let’s make things a little rougher.
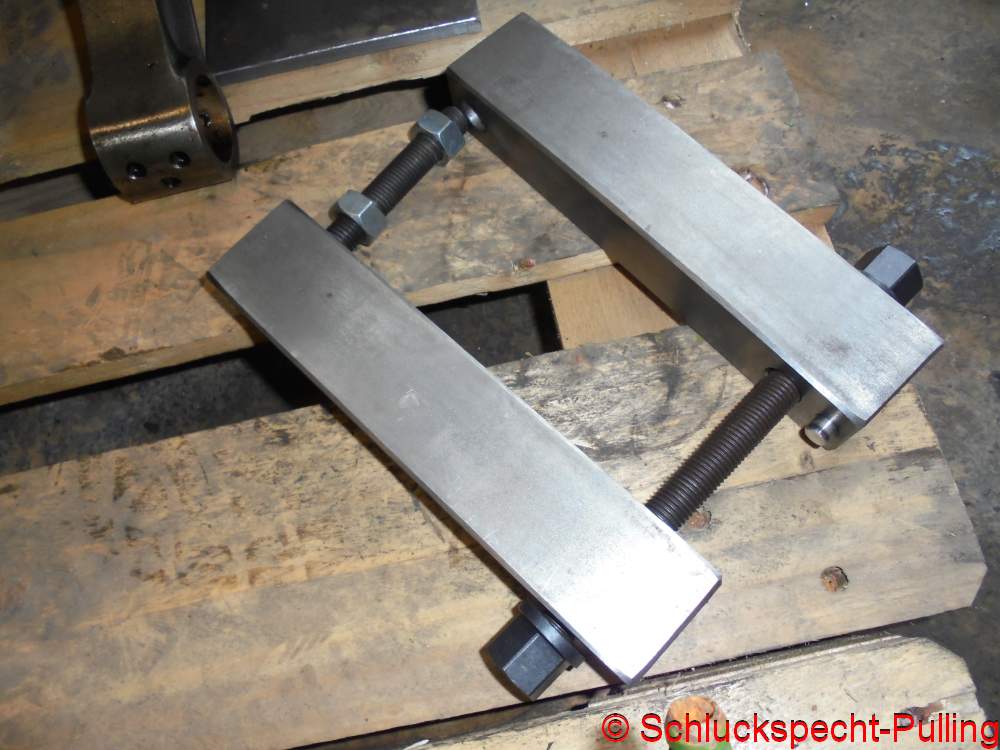
40x40mm Stahlvierkant, 2x M16 und ein direkt niedlich anmutender 10mm Auswerfer. Man darf gespannt sein…also wortwörtlich 😉
40x40mm steel square, 2x M16 and a directly cute-looking 10mm ejector pin. You can be curious 😉

Ansetzen……
Attach……
…ausrichten….
...align….

…und mit fürchterlich viel Spannung auf den Schrauben und etwas Nachhilfe mit dem (großen) Hammer hat es tatsächlich funktioniert. Der Stift ist locker.
..and with an awful lot of tension on the screws and some extra help with the (big) hammer it actually worked. The pin is loose.
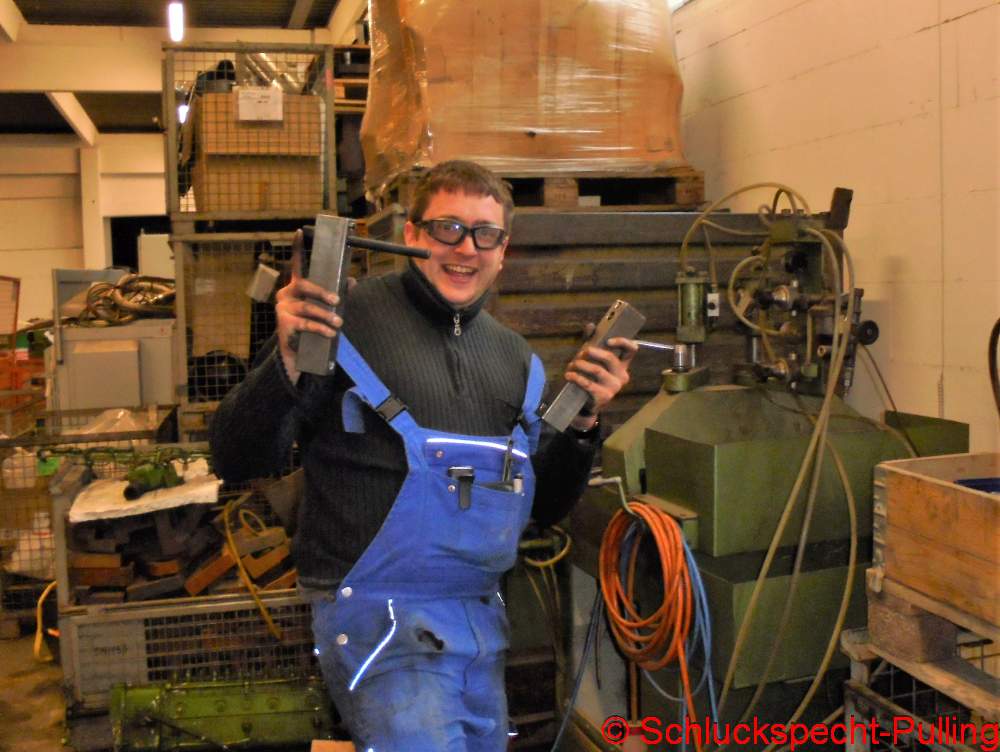
Stefan freuts 😉 😉
Stefan is happy 😉 😉
Wieder zurück zum Bulgaren. Die Ölwanne ist ab.
Back to the Bulgarian. The oilpan is off.
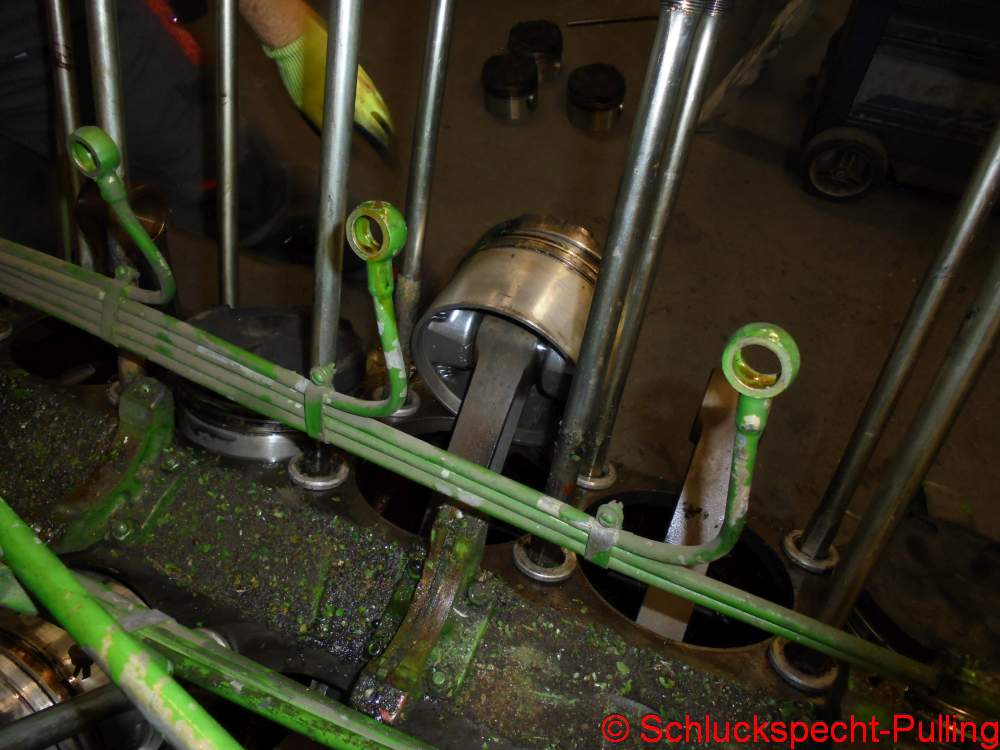
Und direkt eine Überraschung. Muss man die Schmiedekolben ordentlich erhitzen um die Kolbenbolzen raus zu bekommen, so hat dieser in den Gusskolben einen Schiebesitz.
And a surprise. If you have to heat up the forged pistons properly to get the piston pin out, it has a sliding seat in the cast piston.

Die Demontage erfolgt entsprechend vollkommen unspektakulär. Vermutlich haben die Kolben durch einen erhöhten Siliziumgehalt einfach eine geringere Wärmedehnung die die leichtere Passung ermöglicht.
The dismantling is therefore completely unspectacular. Presumably, the pistons simply have less thermal expansion due to an increased silicon content, which allows for an lighter fit.
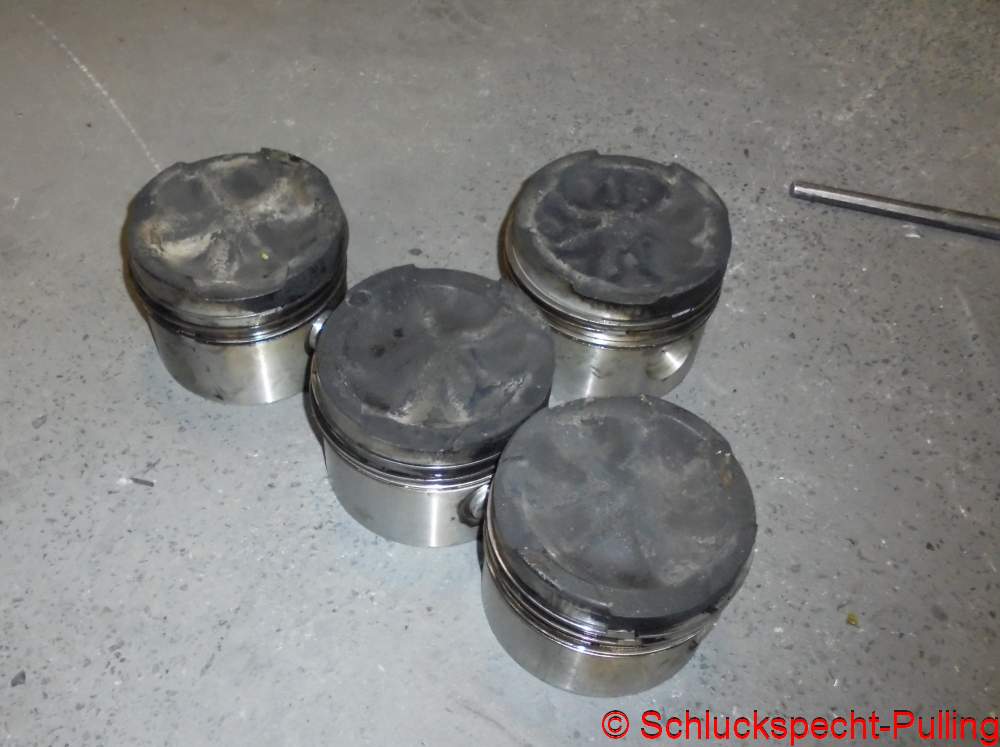
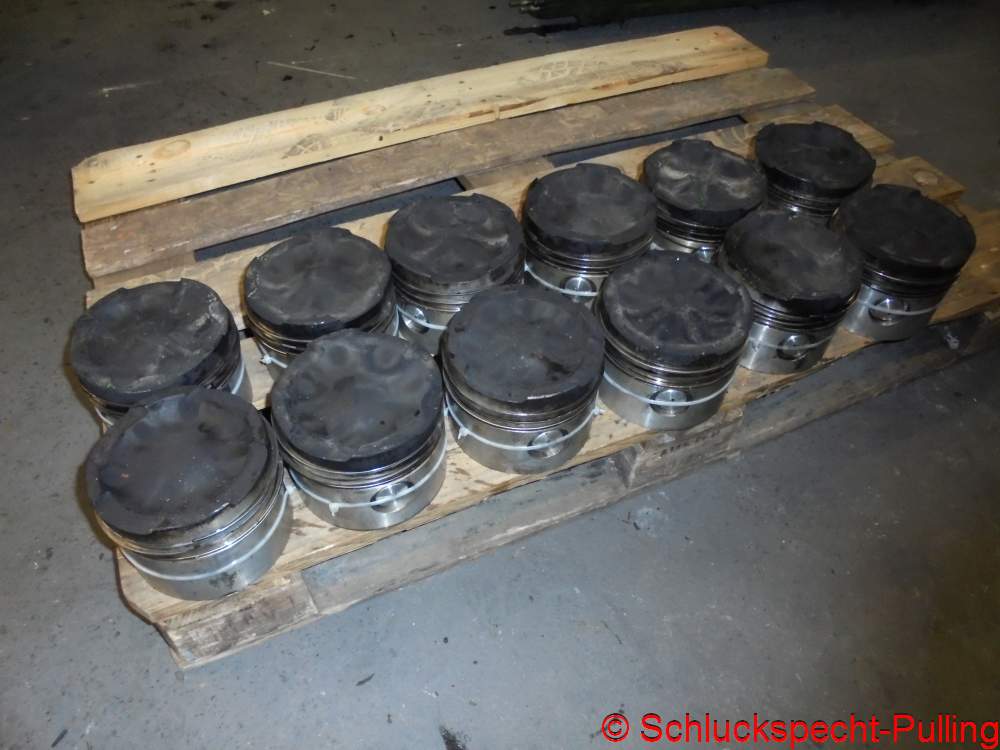
So sind in wenigen Minuten alle Kolben ausgebaut. Sehr schön.
All pistons can be removed in just a few minutes. Very nice.
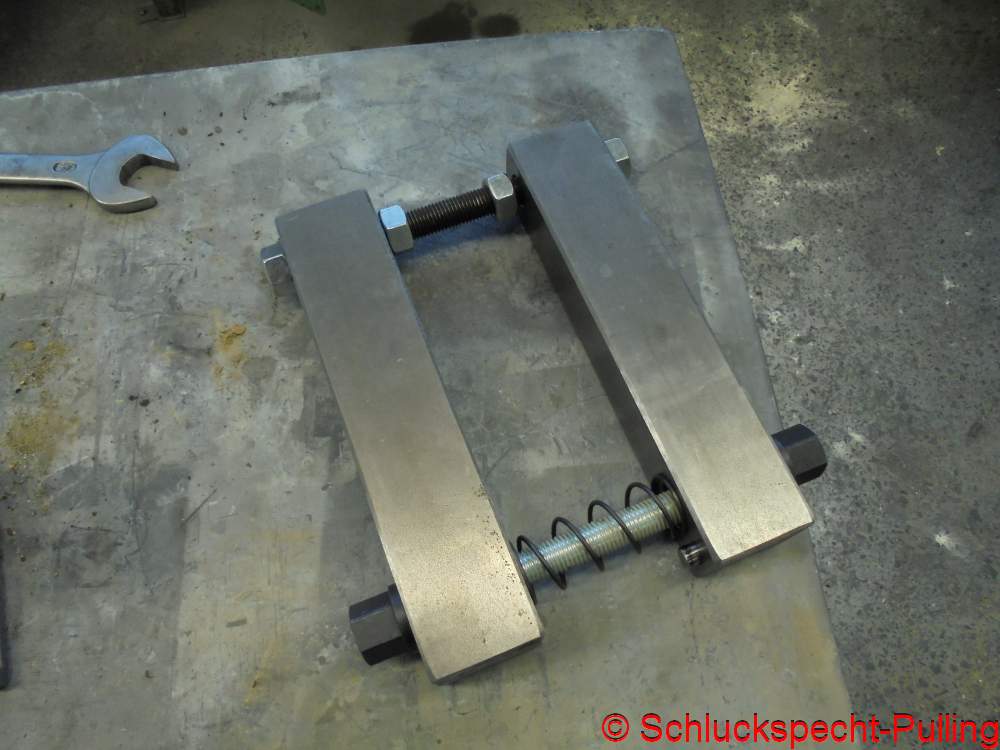
Das Presswerkzeug hat noch eine Feder und andere Gewindebolzen bekommen. Einfach damit die Handhabung besser wird.
The pressing tool got a spring and other threaded bolts. Just to make it easier to use.
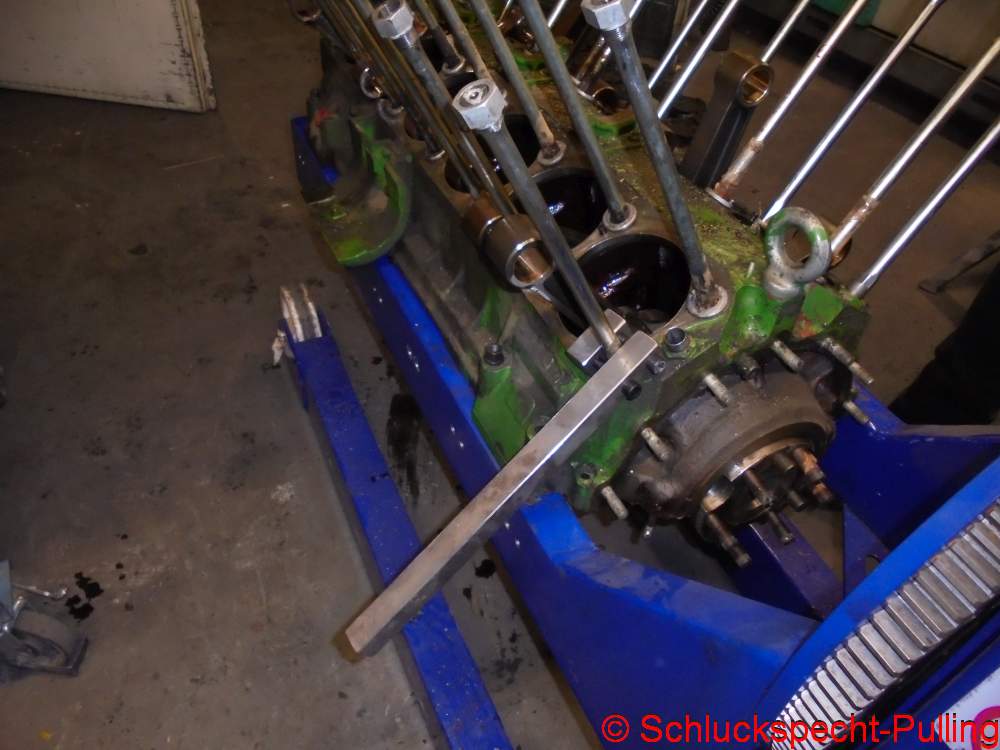
Beflügelt vom Erfolg mit den Kegelstiften in den Pleuel, habe ich mich dann direkt an das nächste Problem gemacht. Der Block wandert in den Schrott, die Stehbolzen hingegen kann man immer mal gebrauchen. Nur wie soll man die raus bekommen? Selbst die besten 19mm Maulschlüssel haben vollkommen versagt. Ringschlüssel bekommt man nicht oben über das Gewinde gesteckt. Also was tuen?
Inspired by the success with the taper pins in the connecting rods, I then went straight to the next problem. The block goes to the scrap, but the stud bolts can always be used. How are you supposed to get them out? Even the best 19mm open-end wrenches have completely failed. Ring wrenches cannot be put over the thread at the top. So what to do?
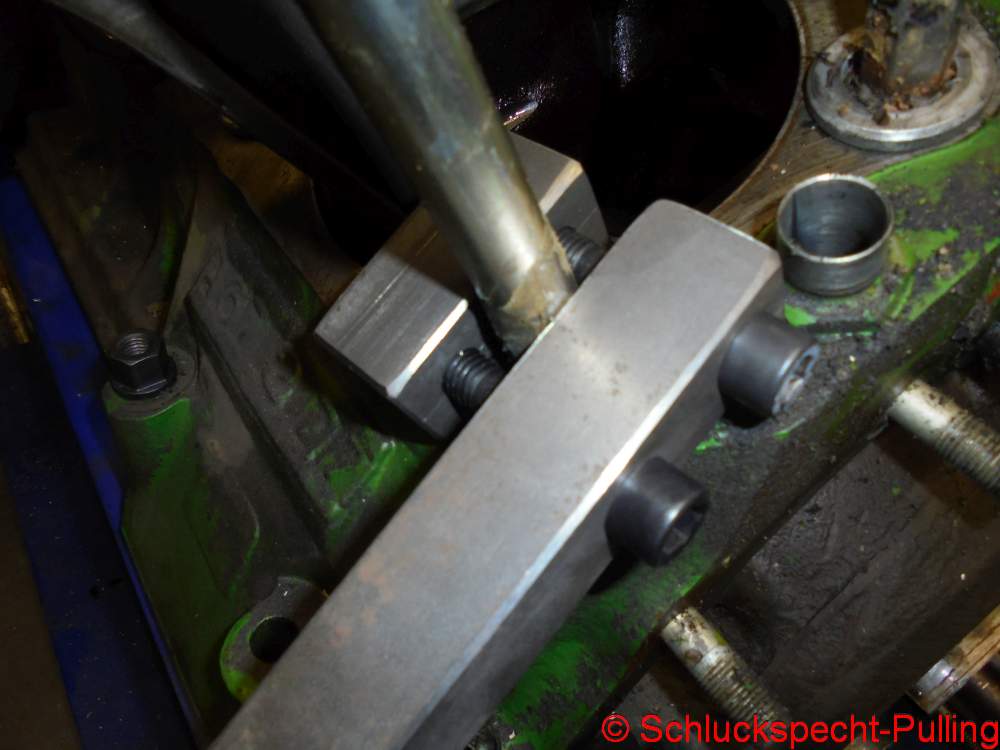
30x30mm Stahlvierkant, 2x M12 und schon hat man den Bolzen ordentlich gepackt. Ich weiß ja nicht womit die den eingeklebt haben, aber so wirklich die Lösung ist das hier noch nicht. Der Motor hat 28 Stehbolzen! Ich hab da schon so eine Idee… Mehr dazu in späteren Beiträgen 😉
30x30mm steel square, 2x M12 and you’ve got the bolt properly clamped. I don’t know what they used to glue it in, but this isn’t really the solution yet. The engine has 28 studs! I already have an idea… More on that in later posts 😉
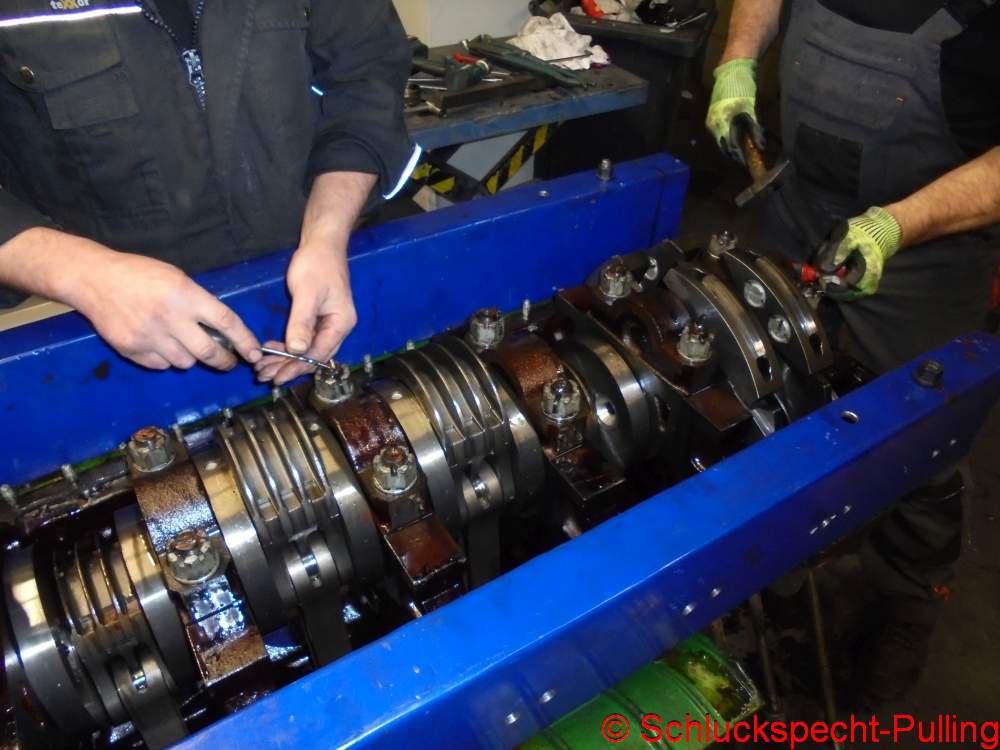

Anstatt Stunden um Stunden mit den Stehbolzen zu verplempern, haben wir lieber die Kurbelwelle ausgebaut.
Instead of wasting hours and hours on the studs, we preferred to remove the crankshaft.
Der Lagerbockabzieher macht sich wieder bezahlt 😉
The bearing block puller pays off again 😉

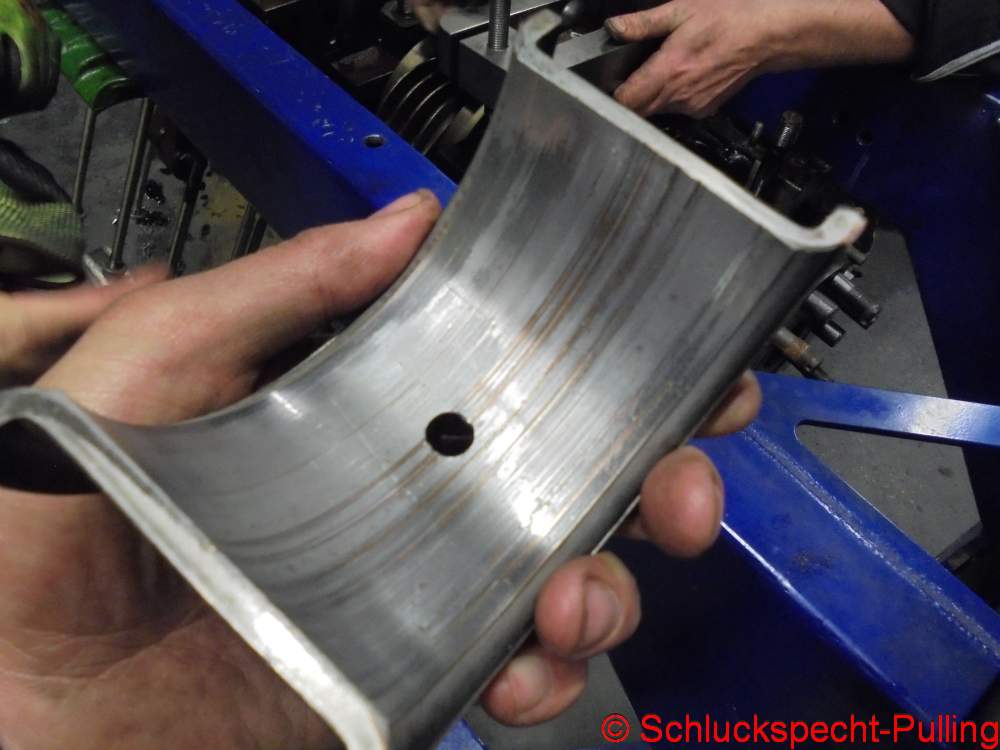
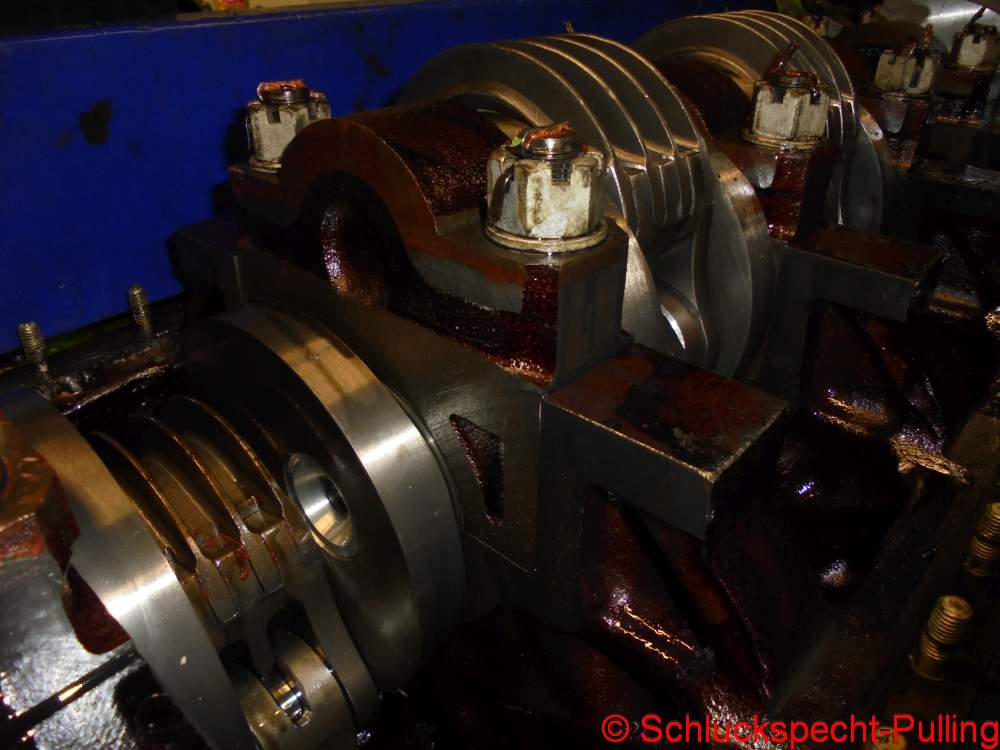
Hier mal das Lager das den Hauptunterschied zwischen Industrie- und Panzermotoren ausmacht. Die axiale Lagerung wird hier durch ein Bundlager realisiert. Irgendwas ist auf alle Fälle schon durch das Lager durch gegangen was da nicht rein gehört hat. Etwas riefig das Ganze 😉
Here’s the bearing that makes the main difference between industrial and tank engines. The axial bearing is realized here by a flange bearing. In any case, something has already gone through the bearing that didn’t belong there. The whole thing is a bit rough 😉

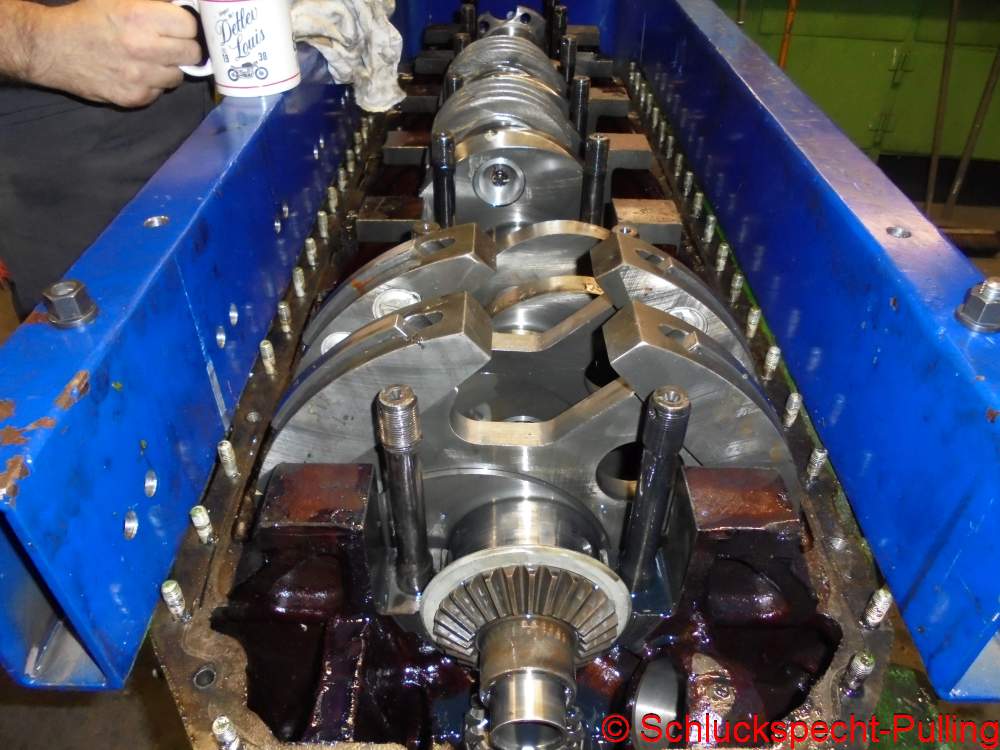
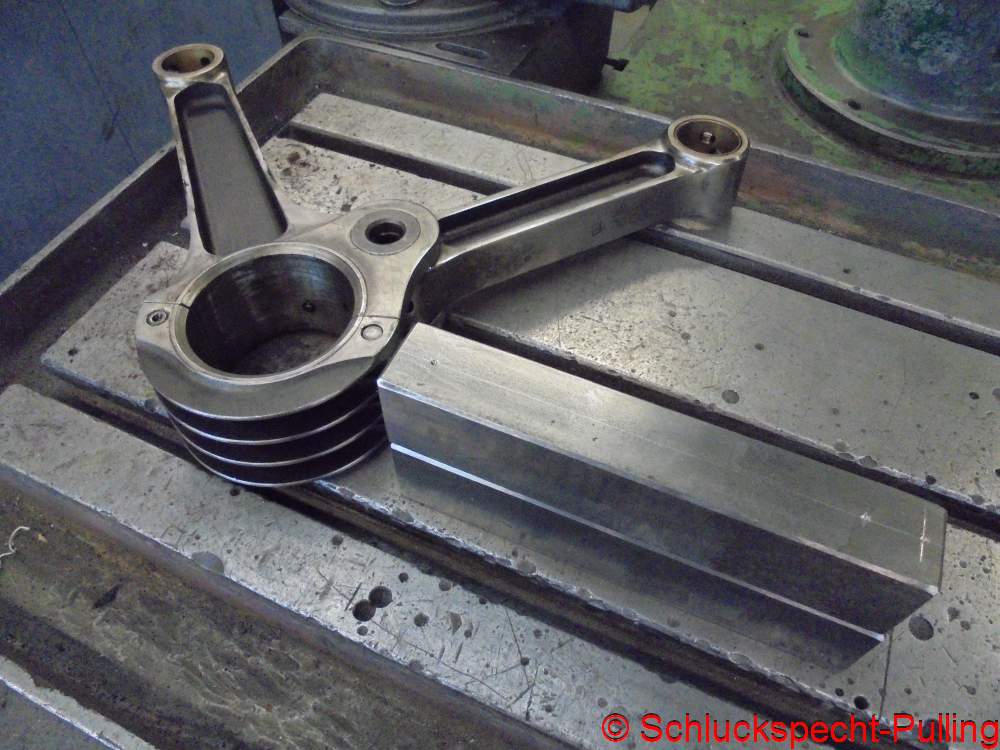
Etwas ganz besonderes bei den Industriemotoren ist der Drehschwingungsdämpfer auf den vorderen Kurbelwangen. Es scheint fast so, als würden gerade die Stromaggregate genau bei der Drehzahl laufen wo die Kurbelwelle eine Resonanzfrequenz hat. Das geht dann natürlich nicht lange gut. Darum sitzen insgesamt 6 schwimmend gelagerte Gewichte auf zwei Haltern die sie mit der Kurbelwelle verbinden. Dabei werden die Gewichte über eine Steuerkulisse geführt. Die Fliehkraft schleudert sie nach außen. Möchte eine Drehschwingung nun die Rotationsgeschwindigkeit der Gewichte ändern zwingt die Steuerkulisse das Gewicht im Gegenzug näher zum Rotationsmittelpunkt, sprich der Fliehkraft entgegen. So wir das System bedämpft. Irre einfach aber total genial!
Something very special about the industrial engines is the torsional vibration damper on the front crank webs. It almost seems as if the generators are running at exactly the speed where the crankshaft has a resonant frequency. Of course, that doesn’t go well for long. That’s why a total of 6 floating weights sit on two holders that connect them to the crankshaft. The weights are guided via a control link. The centrifugal force throws them outwards. If a torsional vibration now wants to change the rotational speed of the weights, the control link forces the weight closer to the center of rotation, i.e. counter to the centrifugal force. So we dampened the system. Crazy simple but totally awesome!

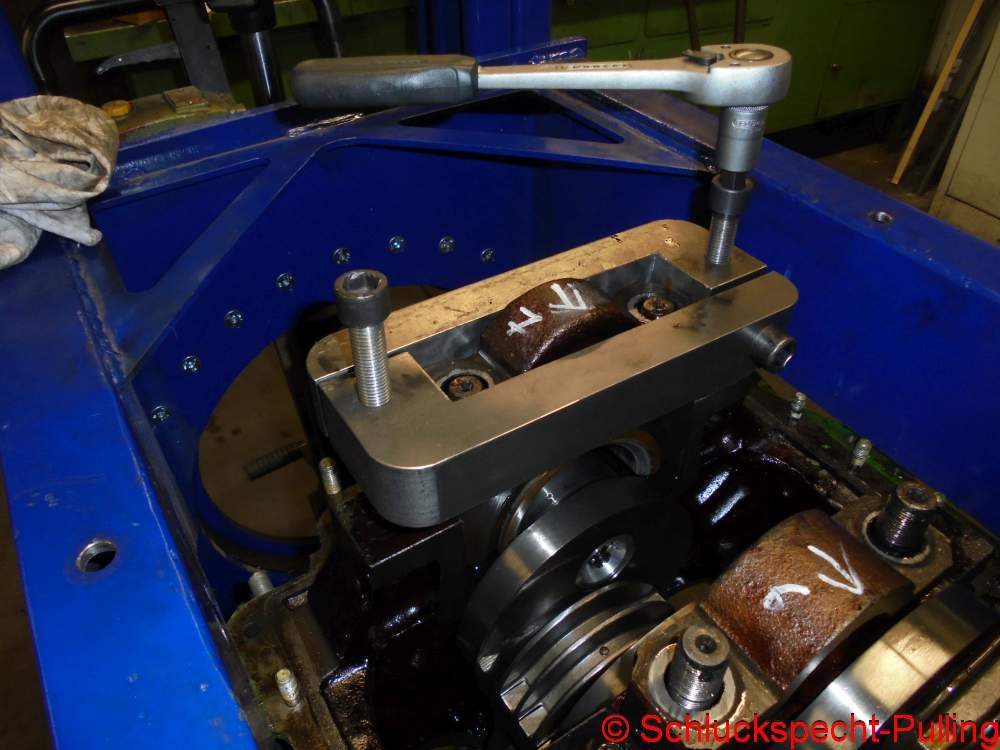
So, die Kurbelwelle ist damit bereit zum Ausbau. Die entsprechenden Halteplatten sind schon montiert.
So, the crankshaft is now ready for removal. The corresponding retaining plates are already installed.

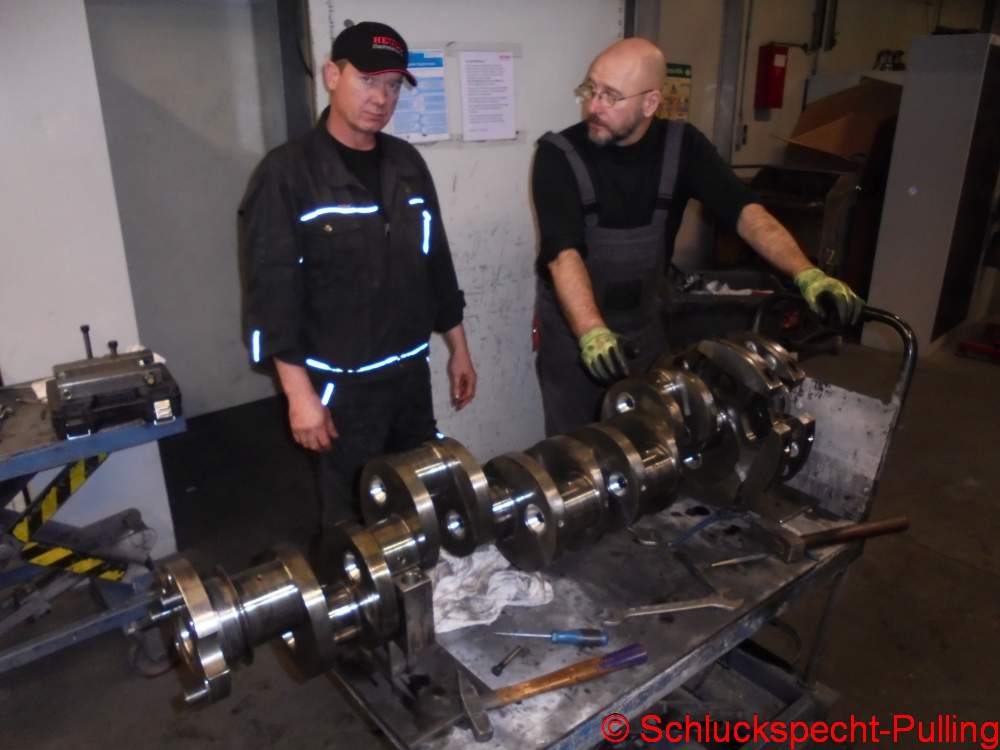
Und schon ist sie ausgebaut. Ganz ohne Kran…..
And it’s already dismounted. Without a crane…..

Dank des neuen Werkzeuges waren auch die Pleuel relativ schnell demontiert. Die Kraft die man auf die Kegelstifte bringen muss ist dennoch brutal. Eventuell erwärmen wir beim nächsten mal die Stellen etwas. Mal schauen was das bringt.
Thanks to the new tool, the connecting rods were dismantled relatively quickly. The force you have to put on the taper pins is still brutal. Maybe we’ll heat up the spots a bit next time. Let’s see what that brings.
Ein langer Bastelnachmittag geht zu Ende. Es wurde eine Menge geschafft, das ist das wichtigste 😉
A long afternoon of handicrafts comes to an end. A lot has been accomplished, that’s the most important thing 😉
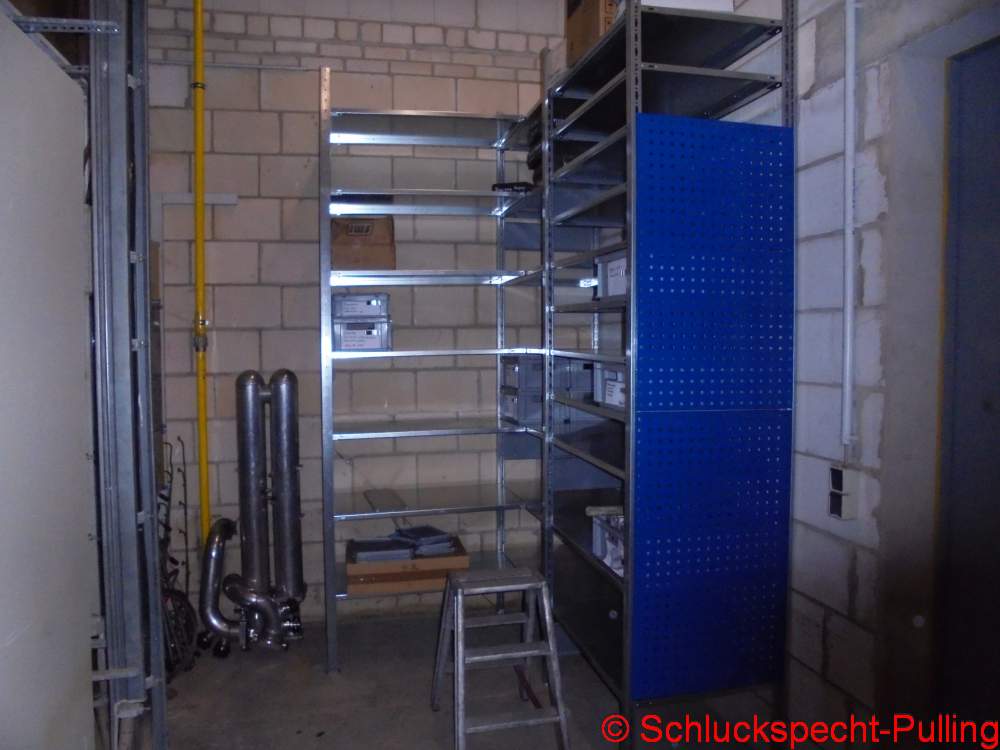
Um mal langsam aus dem Beitrag raus zu kommen hier mal ein sehr seichtes Bild. Wir haben in ein Regal investiert um endlich mal ein wenig Ordnung in unsere Teile, Werkzeuge und sonstiges Geraffel zu bekommen. 😉
To slowly get out of the post here is a very shallow picture. We have invested in a shelf to finally get some order in our parts, tools and other junk. 😉
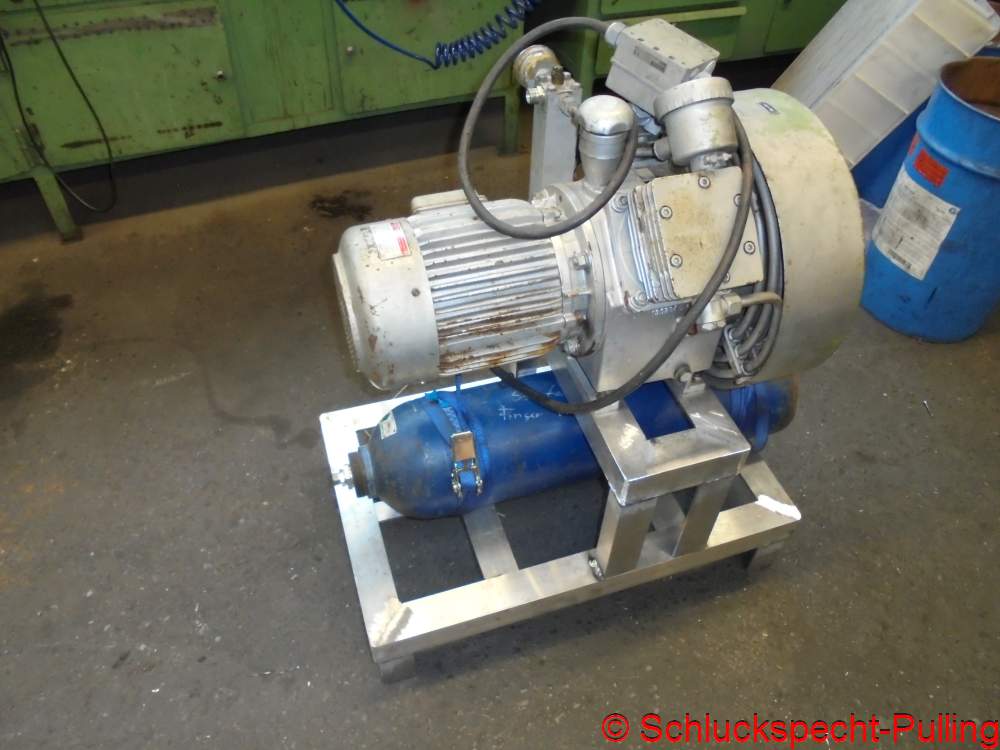
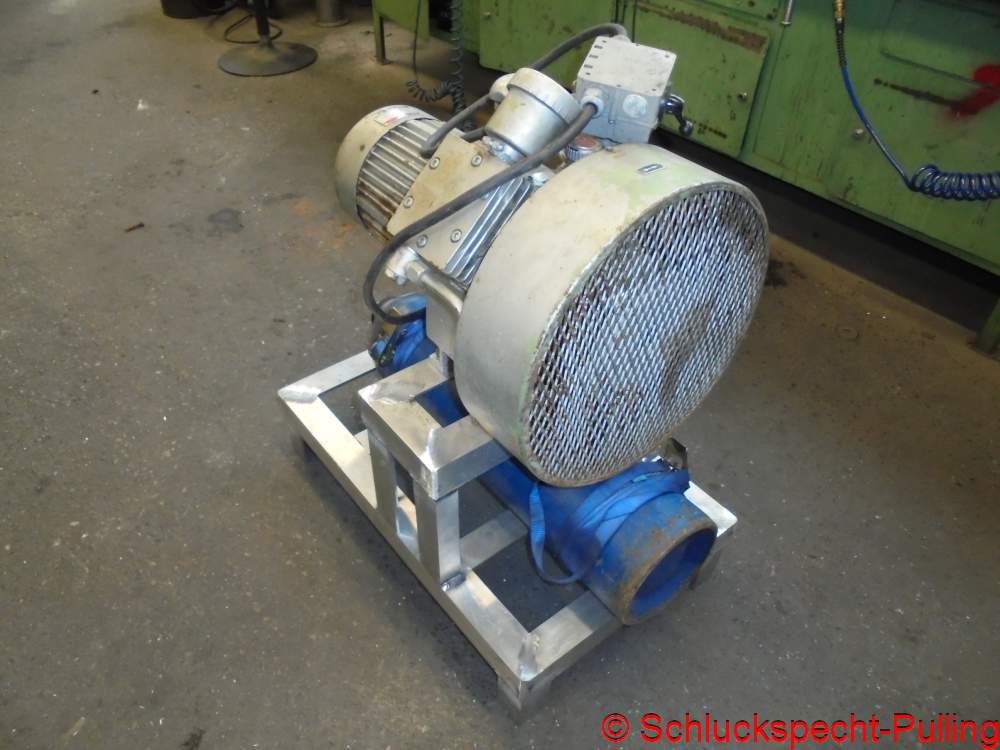
Der 40 Bar Kompressor ist auch endlich von seiner kaputten Holzpalette runter gekommen. Jetzt kann man dasmit einem Hubwagen fahren ohne das ständig die Gasflasche runter fällt. Eventuell kommt auch noch eine Flasche drunter um dann 40 Liter Vorrat zu haben. Ganz nach einem Zitat aus einem der wohl besten deutschsprachigen Filme aller Zeiten: „Eine allein sieht nicht gut aus!“ 😉 😉
Bauen wir noch ein wenig mehr Druck auf….
The 40 bar compressor has finally come down from its broken wooden pallet. Now you can drive it with a pallet truck without the gas bottle constantly falling down. Possibly there is also a second bottle in the future underneath to have a 40 liter supply. According to a quote from one of the best German-language films of all time: „One alone doesn’t look good!“ 😉 😉
Let’s put some more pressure on…
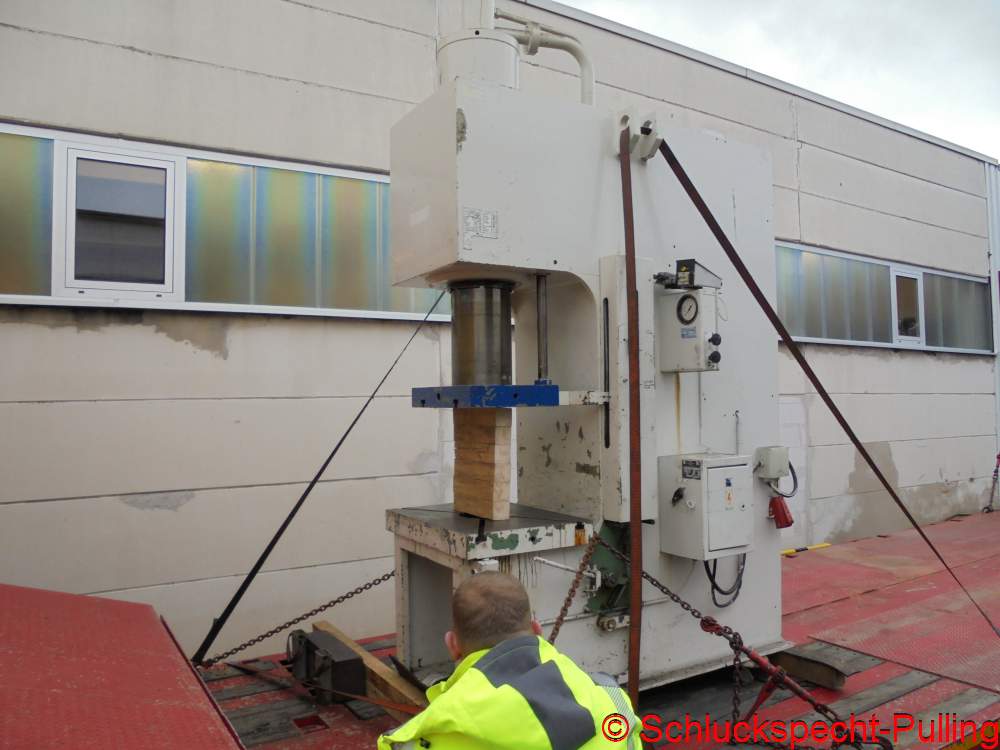
Mit einer hydraulischen 100 Tonnen Presse 😉
With a hydraulic 100 ton press 😉

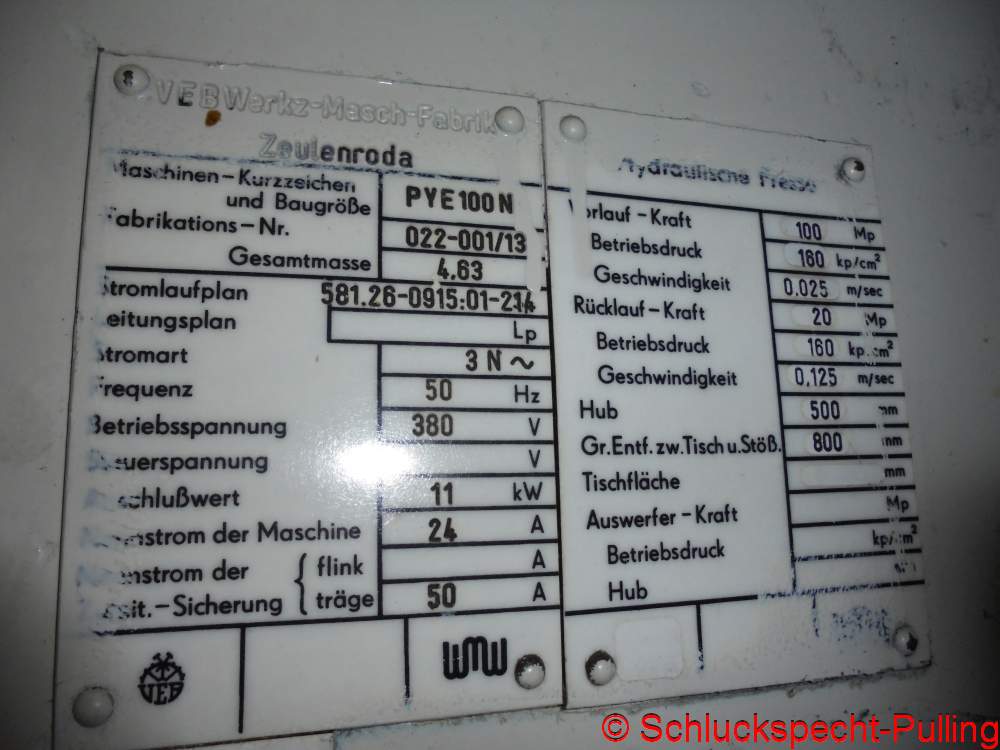
Wofür die ist und was das alles….
What is it for and what this all….
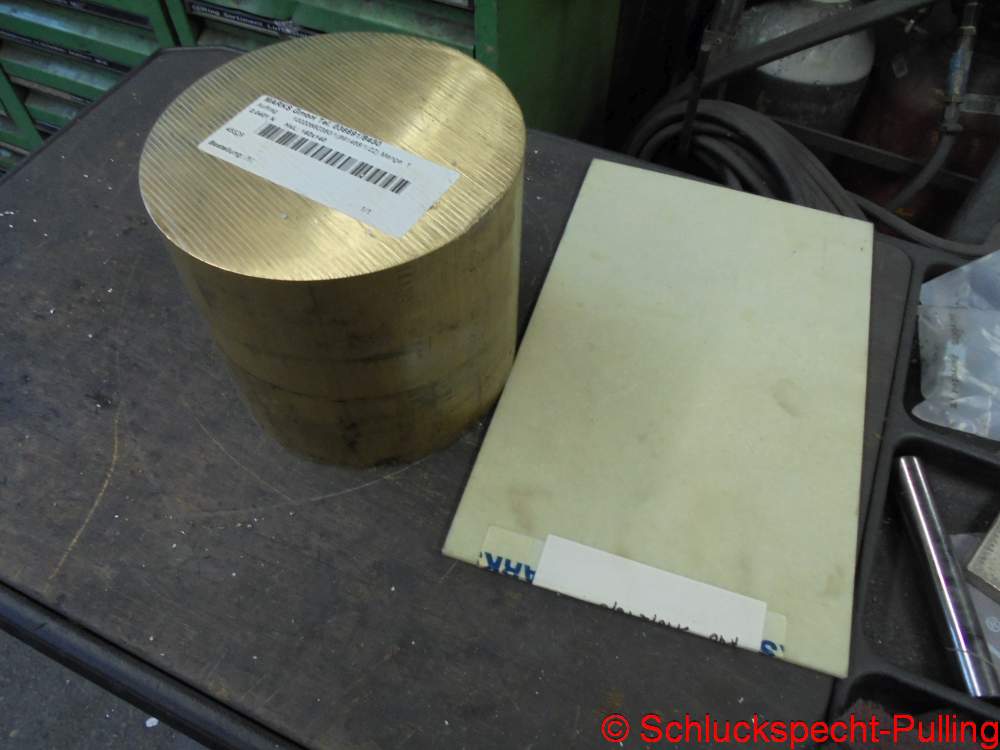
…mit diesem Messingklotz und einer Wärmeschutzplatte zu tuen hat? Ja das besprechen wir dann mal in kommenden Beiträgen! 😉
In diesem Sinne: Bleibt gesund und bleibt dran!
…has to do with this brass block and a heat protection plate? Yes, we’ll talk about that in future posts! 😉
With this in mind: Stay healthy and stay tuned!
 8155total visits,1visits today